
The Perfect Pants – How to get a great fit in a knit pant sewing pattern
By Ann Siegle, interviewing Christine Jonson
Ann: So tell me more about the fit of these pants and how they came to be
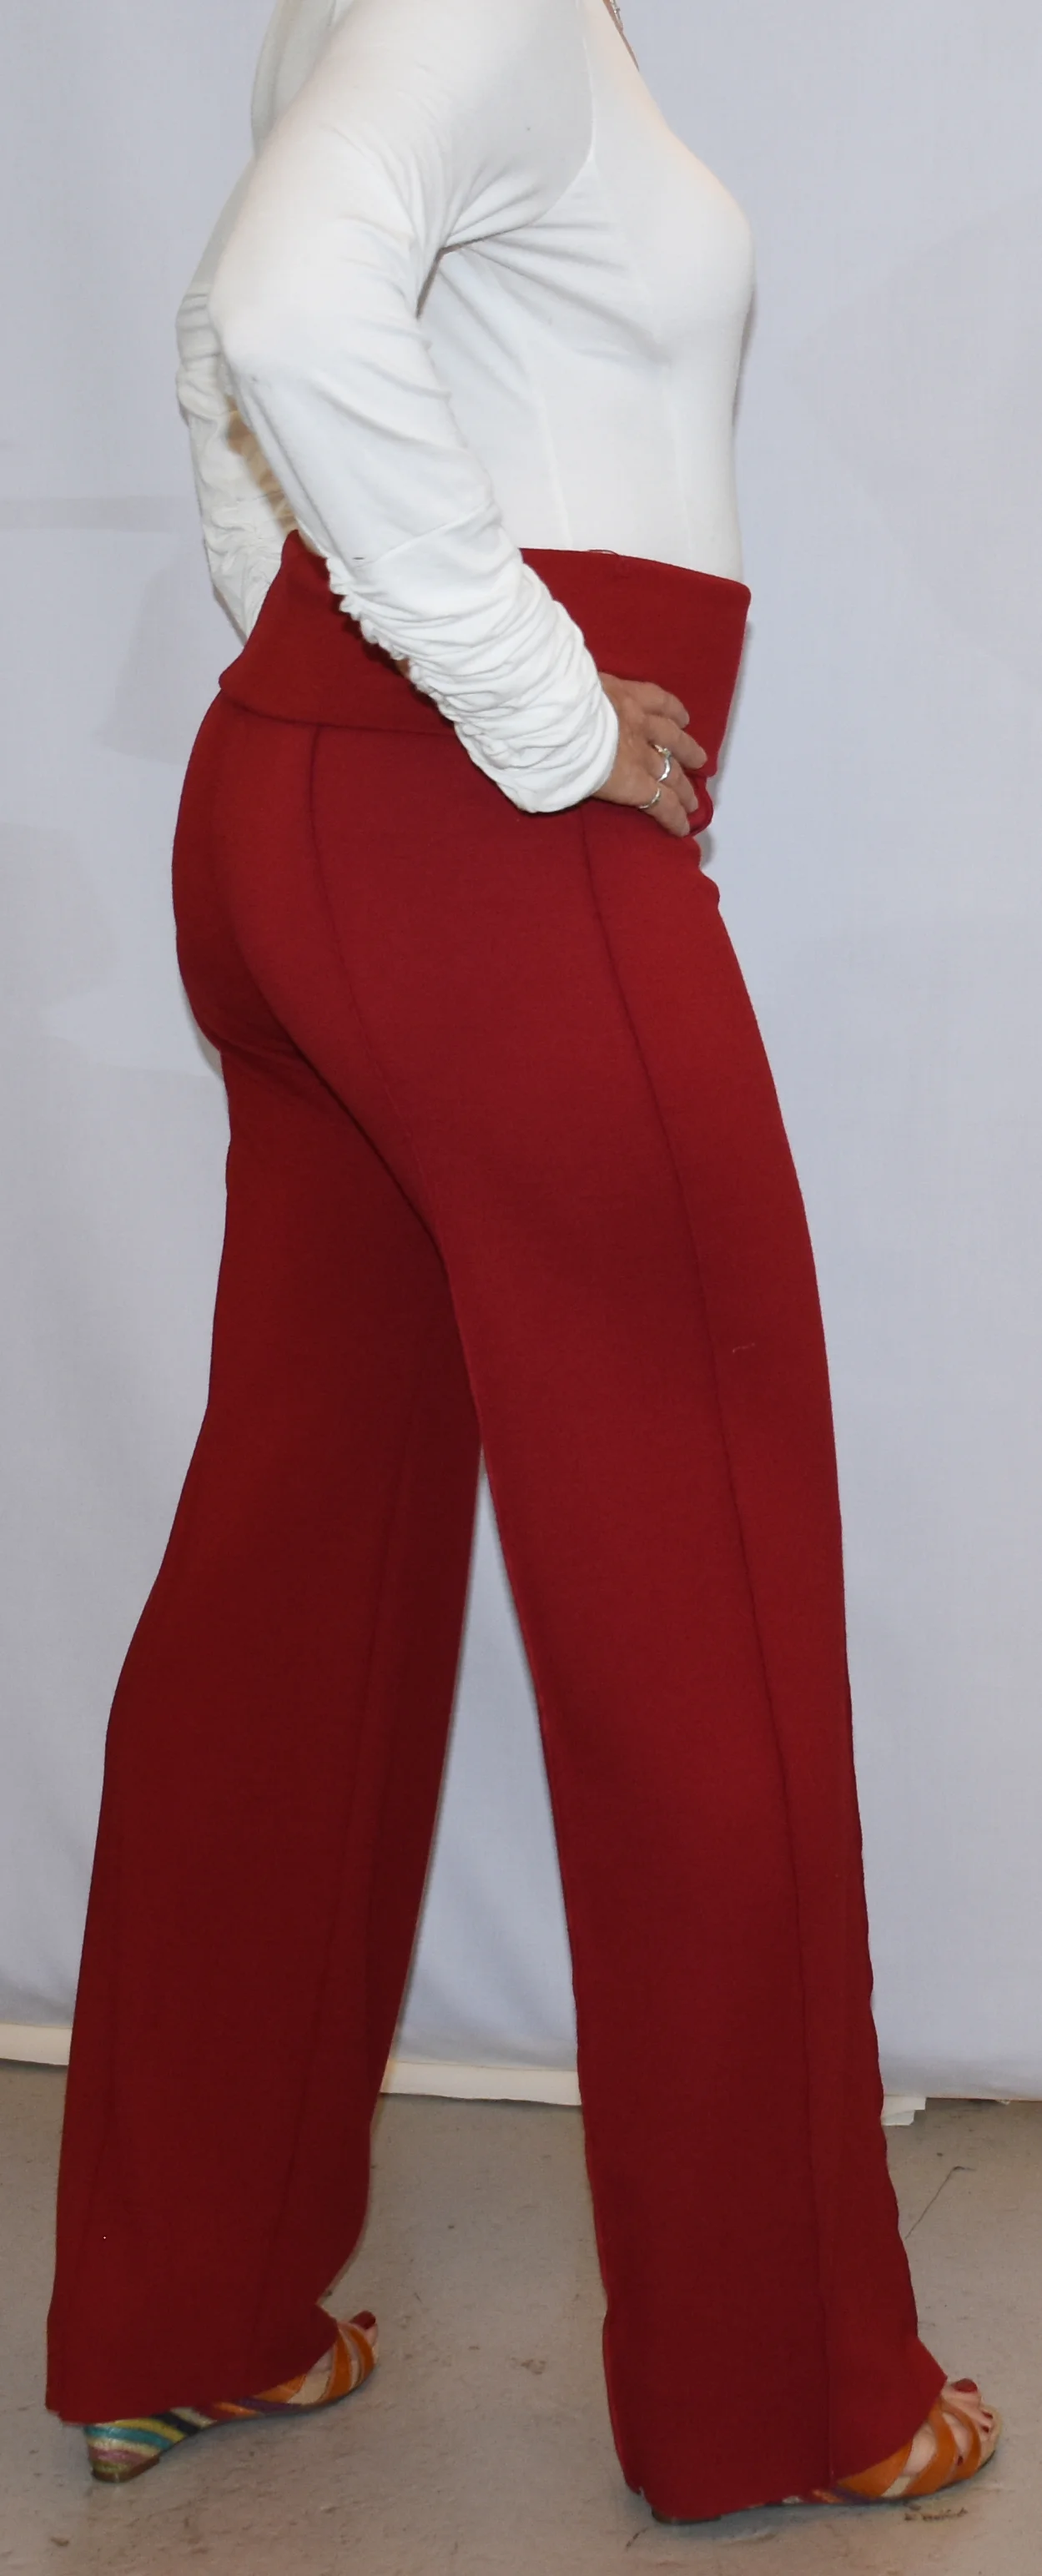
My butt does not look this good IRL (in real life). The ponté knit of these samples shot in the studio at Christine Jonson Patterns is the reason it looks so good. You can lift your butt cheek and position it in the pants and have it stay right there! Not kidding! Look at how good these look. They'll make your butt look amazing too!
Christine: About five years ago, I set out to design a perfect pant. I wanted something that would feel like you were wearing your favorite yoga pants, but were more upscale. I looked at a lot of ready-to-wear retailers like Athleta, Nike and Lululemon, bought their pants, saw the fabrics they were working with. When I put together a sewing pattern (which can take a up to a year and many, many samples), I knew I wanted a pair of pants that our sewing friends could sew that would be their very favorite pants.
A: Why do these pants work so well?
C: If you look at the samples that you tried on (shown here, in red, Ann’s derriere in the Perfect Pant Classic Wide Leg), there’s a reason that your butt looks so good. There is up to 9” of negative ease and these are in a multi-way stretch Ponté.
You can literally grab your butt cheek and lift it up, and the fabric of these pants will do it’s job and keep your butt cheek right in that same spot!
Trust the ponté knit – it will do it’s job! Not all ponté is created equal though. Some ponté has crosswise but not lengthwise stretch. Some has unequal crosswise and lengthwise stretch.
A: This pattern goes up to a 2X. Tell me about fitting a 54” hip in these pants when the pattern says you’ll have only 45” of fabric without stretch.
C: At a 54” hip, you are looking at 45” of fabric without stretch. That’s 9” of negative ease. It seems crazy, but if you divide yourself in half, that’s 4 ½” and half again, that’s only 2 ¼” less on each pattern piece.
Negative ease works different in different fabrics. If you have a not-as-stretchy ponté or even a very ‘snappy’ recovery knit and you try to make these, you may well have to grease yourself with Vaseline and use a shoehorn to get yourself in them. But if you use a fabric with a soft recovery such as a rayon/lycra jersey, you will have enough stretch to feel comfortable. That doesn’t mean a plus size cannot wear these in ponte – it just means you may need to choose a soft recovery knit fabric for your first pair, or look for a ponté with more fluid recovery (like a rayon lycra ponté) or an ITY knit. It means you will need to try them on, and you might need to grade up for less stretchy fabrics. That’s pretty easy, actually; you can see the pattern lines for each size – just trace it off, adding extra for each additional size you want to go up. You can use the same grading distance from the next closest size.
A: Tell me about the size breaks (S,M,L, etc.)
C: The pants are designed to fit the larger of the two measurements in the size group, with negative ease. What that means (negative ease) is the pant non-stretch measurement is much smaller than your body measurements. But you will not need elastic to hold these pants up. The fabric does the work of making your waist, butt, hips and thighs look smoothed out and shapely. So for a 12 (I’m a size 12), I would trace them out with kids’ chalk and cut on the inside of the chalk line to essentially cut 1/8” off each pattern piece – over the entire garment, that’s enough to take them in to the right size.
A. Let’s talk crotch fit in these pants
C: If you’re having frowny or smiley wrinkles near the crotch, you might need to shorten or lengthen the crotch length. This is outlined very well in our 3-Step Pant Fitting guide. Basically you’ll either slash and spread at the center front (but not side seam) or slash and fold (and then straighten out the CF). But do NOT change the crotch curve (some women have used a french curve or a tin foil ‘sausage’ on other patterns). Do NOT do this: the reason you never change this crotch curve is that I worked for years on this one – I have fit patterns on hundreds and hundreds of women. It’s perfect.
A: Let’s talk fabric
C: When I set out to design these pants, I bought a lot of ready to wear pants. The RTW pants, some of the fabric, you and I could grab a leg and literally stretch it across the room. The super stretch fabric (four way ponte or sport lycra) is harder to come by for home sewists, so the closest we get is for a 4-way ponte knit or a sport lycra. Then I made dozens and dozens of pairs of these pants before we released them. I fit these pants on dozens of women of all sizes to see how they worked. In a stretch ponte (with 4-way stretch), these are truly amazing pants.
A: Other pant design alterations that you want to talk about?
C: You can crop these too! Making the skinny or skinny with a skirt in the crop is as simple as cutting off the pant leg (with hem allowance) where you want it to fall on you. I think the Perfect Pants Classic would be gorgeous in a rayon/lycra in a white cropped and worn as a beach pant.