Princess Wrap Alterations


The Princess Wrap Top from Pattern #426 is a princess seam wrap top with gathered waistline detail and sleeve variations. Transform this garment by making simple alterations or fabric choices. Create your own unique style:
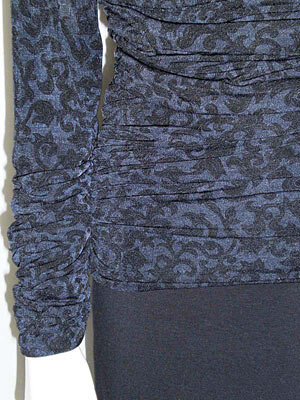
Prints or sheer knits,
Hip, tunic or ankle length,
Cap sleeve, long sleeve or 3/4 sleeve,
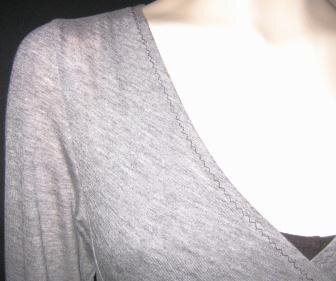
Raise the neckline and/or add a neck band,
The limit is your imagination and inspiration!
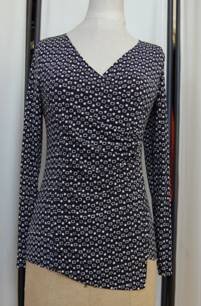
Take a look at some of the many Princess Wraps we have made in the past (shown above). Then scroll down to see how we made the asymmetrical version!
Bonus: How to alter a wrap pattern to raise the neckline!
Asymmetrical Princess Wrap Top
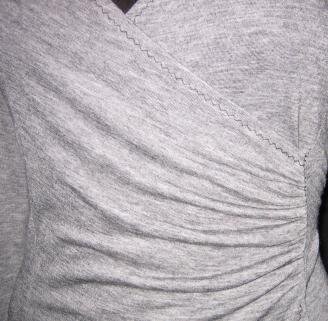
Create this cute ¾ sleeve asymmetrical top with just a few easy alterations to the Princess Wrap Top from #426. All of the hems are secured with a zigzag stitch, an oldie but a goody. Fabric is a rayon/spandex blend.


Pattern Alteration

First, I added 3 inches in length to all of the bodice pieces. Straighten grain lines after lengthening.

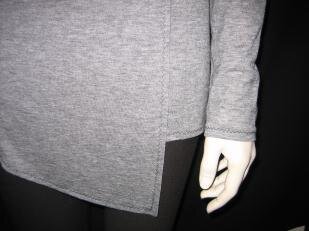
Next, I extended the hem on the right front pattern piece (the gathered side) 3 inches and extended the hem line up to a zero point at the side seam. This alteration affects the side front piece and they should be side by side to ensure that the new hem line transitions all the way to the side seam. A new left side front piece is traced that excludes this new asymmetrical hem extension.

The right front piece will hang freely at the hem. The left front piece still needs to meet up with the right side front piece underneath. Connect those pattern pieces and draw a new hemline that trues the hems up. Draw the new line up to a zero point where it will connect with the left side front piece.
The sleeve pattern piece is shortened to ¾ length.
Construction

Take a ½ clip into the fabric at the bottom notch of the gathered area in on the right front.
Complete steps 1-3.
When attaching the right front piece to the left front use a single needle machine and stop sewing right at the clip (do not sew beyond the clip).
Fold the hem below the gathering and the bottom hem of the right front piece under and press. Miter the corner and sew using a zigzag stitch.

Connect the left side front piece keeping the new right front piece out of the seam after the gathered point using the single needle machine. Only connect the right side front piece till the bottom of the gather. The right front has been hemmed and is meant to hang freely. After ensuring that the right front piece has been left out of the seam beyond the gathers, go over the seam with a serger.
Connect the right side front piece to the front assembly. The only difference here is the right front piece is already hemmed. The rest will hemmed later.
Complete steps 6-8.


Average Rating of 4.9 Stars!
With more than 50 reviews on PatternReview.com, this pattern has proven itself time and again! You do need a login to view the full reviews, but it is definitely worth it to see not just this pattern but just about any other pattern on the market.
Don’t forget that the Shirred Top is also included in pattern #426.