
Sew Along: Curved hem drawstring waist

Sew your own fun midi length curved hem drawstring waist skirt with a basic straight skirt pattern and a fun pattern hack
This easy sewing project gives you a great year-round skirt option and can be made in a knit or woven fabric with just a few basic alterations.
We’ll start with the BaseWear Two Straight Skirt pattern. This elastic waist skirt is designed for knits, so if you’re sewing a knit fabric, you will only need to do one alteration to the pattern. If you’re using a woven, you will need to do a second alteration.
You will need either tracing paper or opaque paper to trace your pattern (newspaper taped together, Kraft paper, freezer paper, tracing paper or leftover tissue from gift wrapping all work.)
Selecting your fabric: ideal fabric for the knit version of the skirt include rayon/lycra jersey, ponte knit, ITY knit solids or prints. Also try a lightweight sweatshirting for winter wear.
Woven fabrics include lightweight, drapey fabrics such as chambray, medium weight linen, cotton garment print fabrics, lightweight wool for winter wear.
You’ll need elastic, and will learn to construct a hybrid elastic drawstring waist using the buttonhole attachment on your machine. If you prefer, you can use large eyelets or grommets instead.
Lesson One: preparing your pattern
Determine your size using the size chart. If you are using a woven fabric, cut one size up. During tracing, you will be adding to the pattern’s width at waistline to ensure you can get the skirt over your hips, but we’ll trace that in the next steps. Check the Tissue Pattern Measurements in the pattern envelope for the finished width at hip and determine if using a woven fabric you may need to go up a size or two for wearing ease of 2-4” at the hip.
Cut out your traced pattern and place it on top of opaque tracing paper or underneath transparent tracing paper.
Trace the skirt in it’s entirety
Remove the pattern pieces
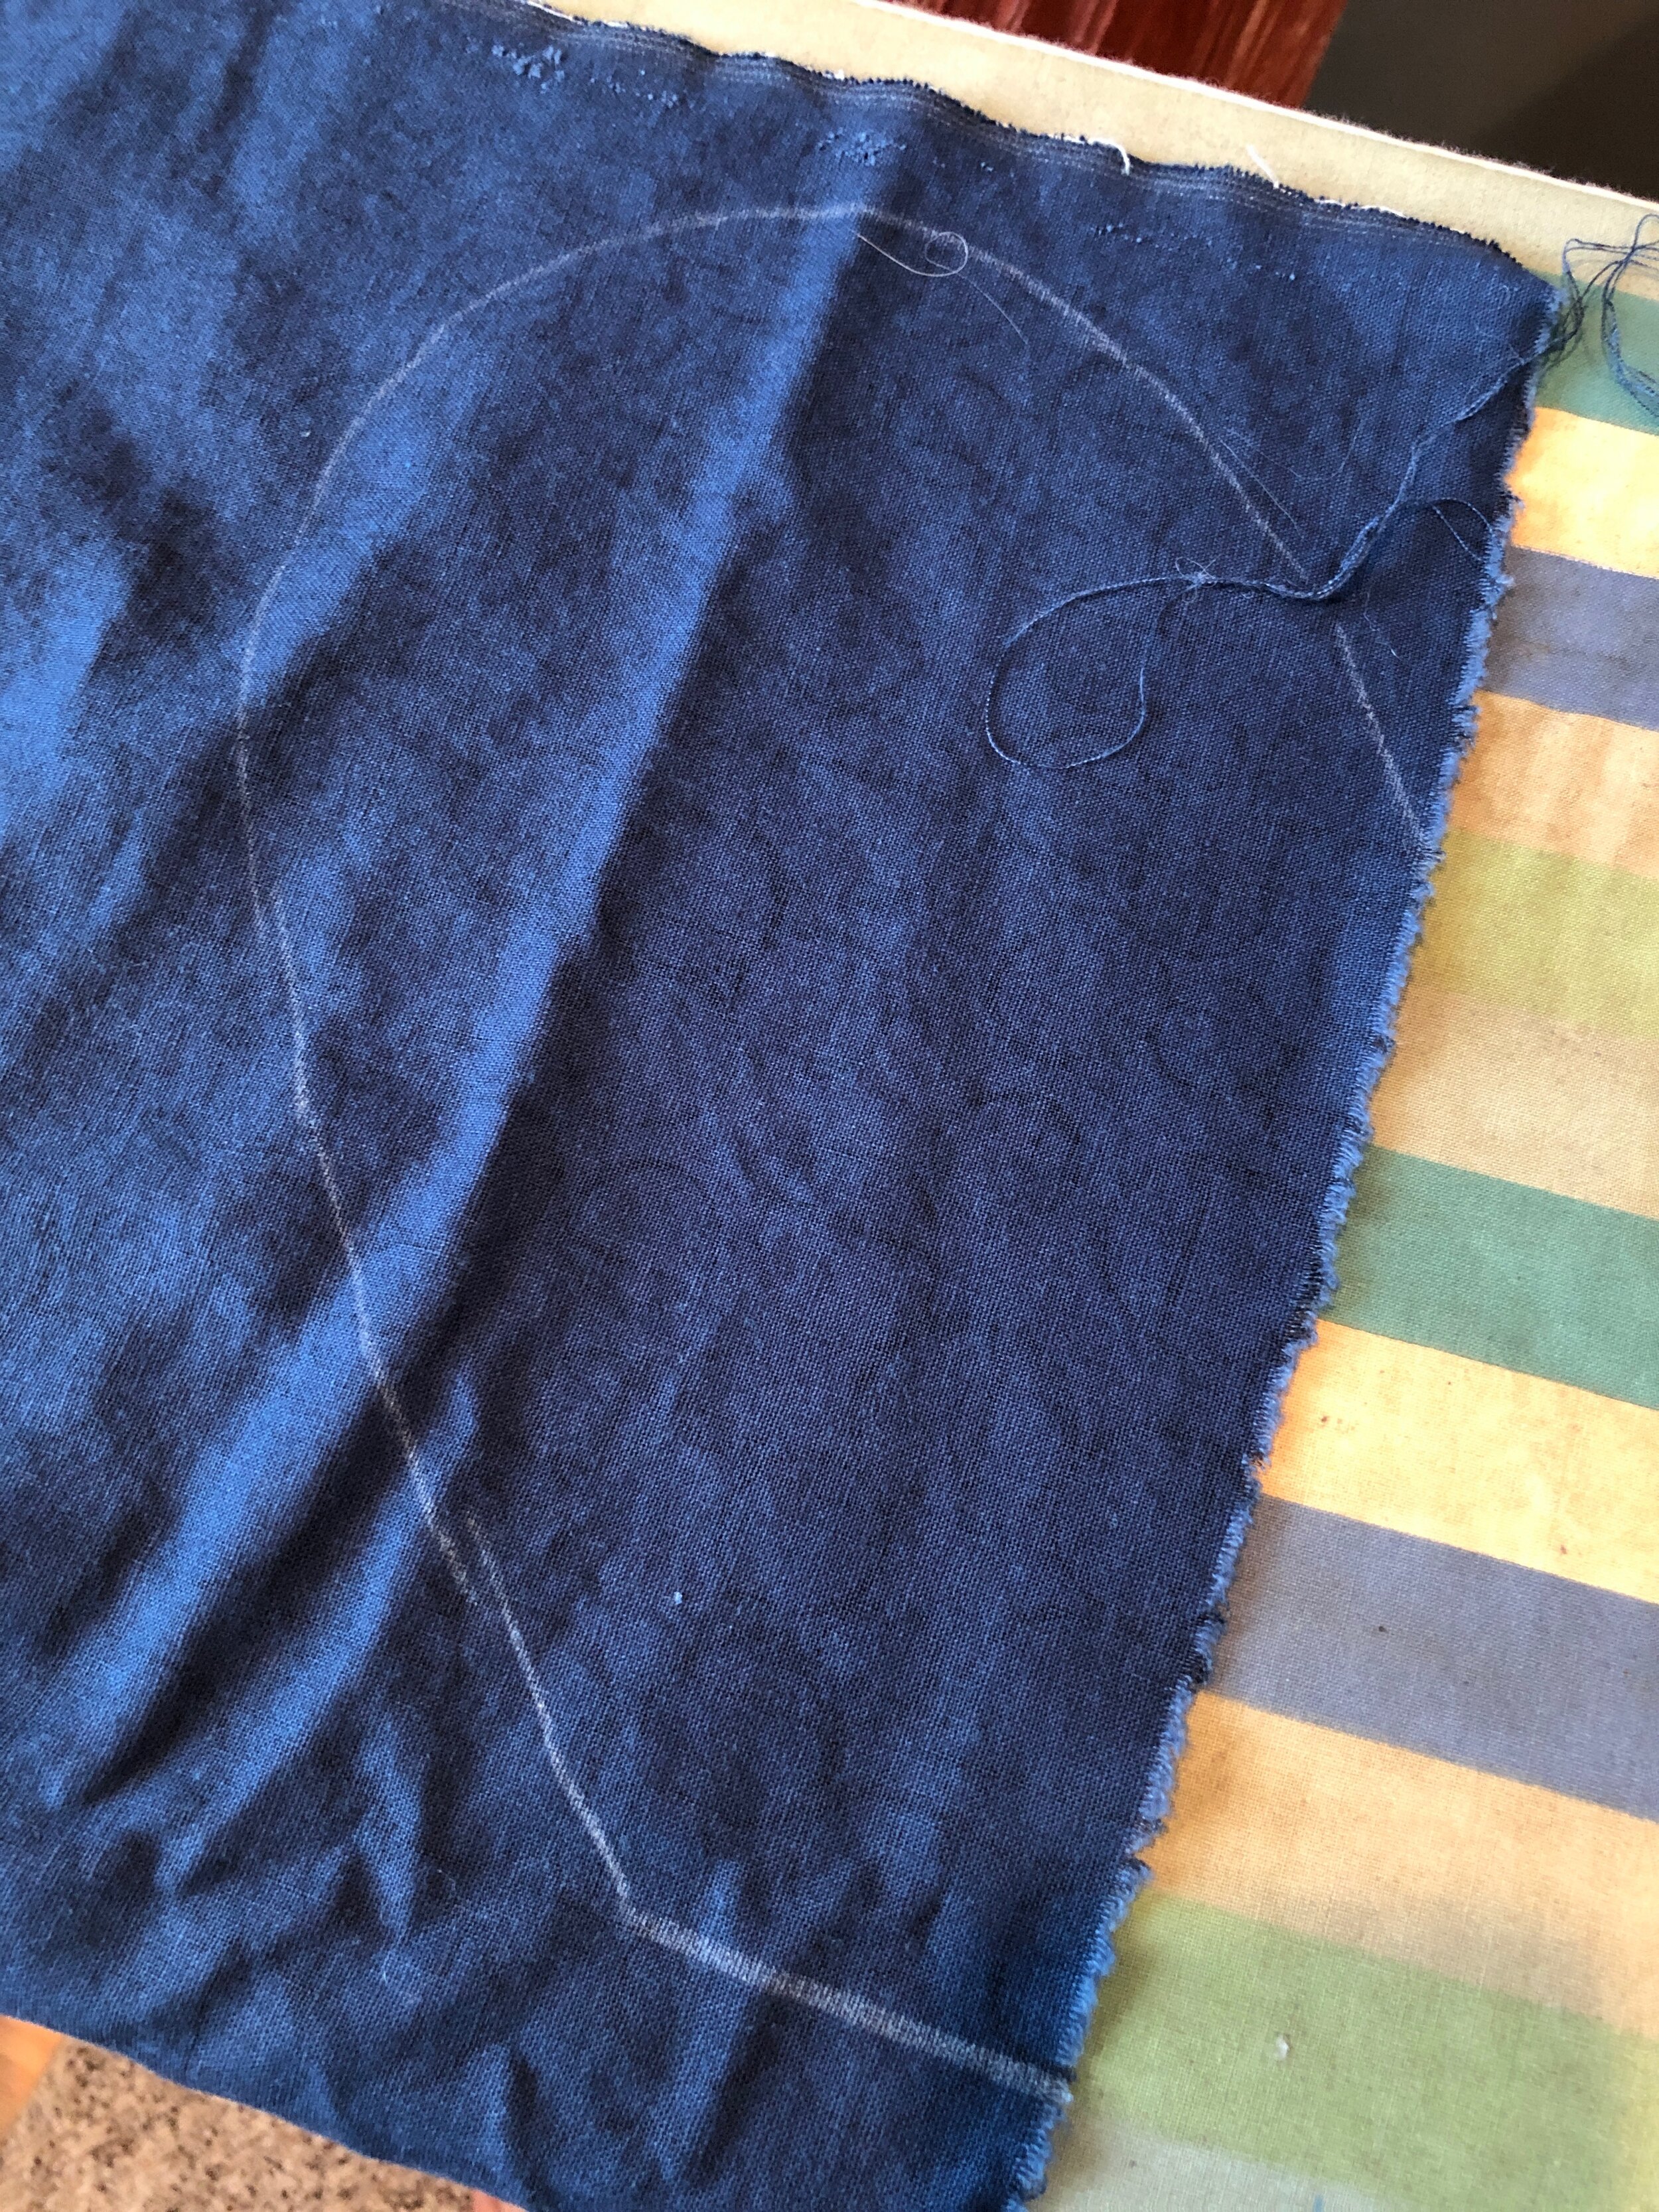
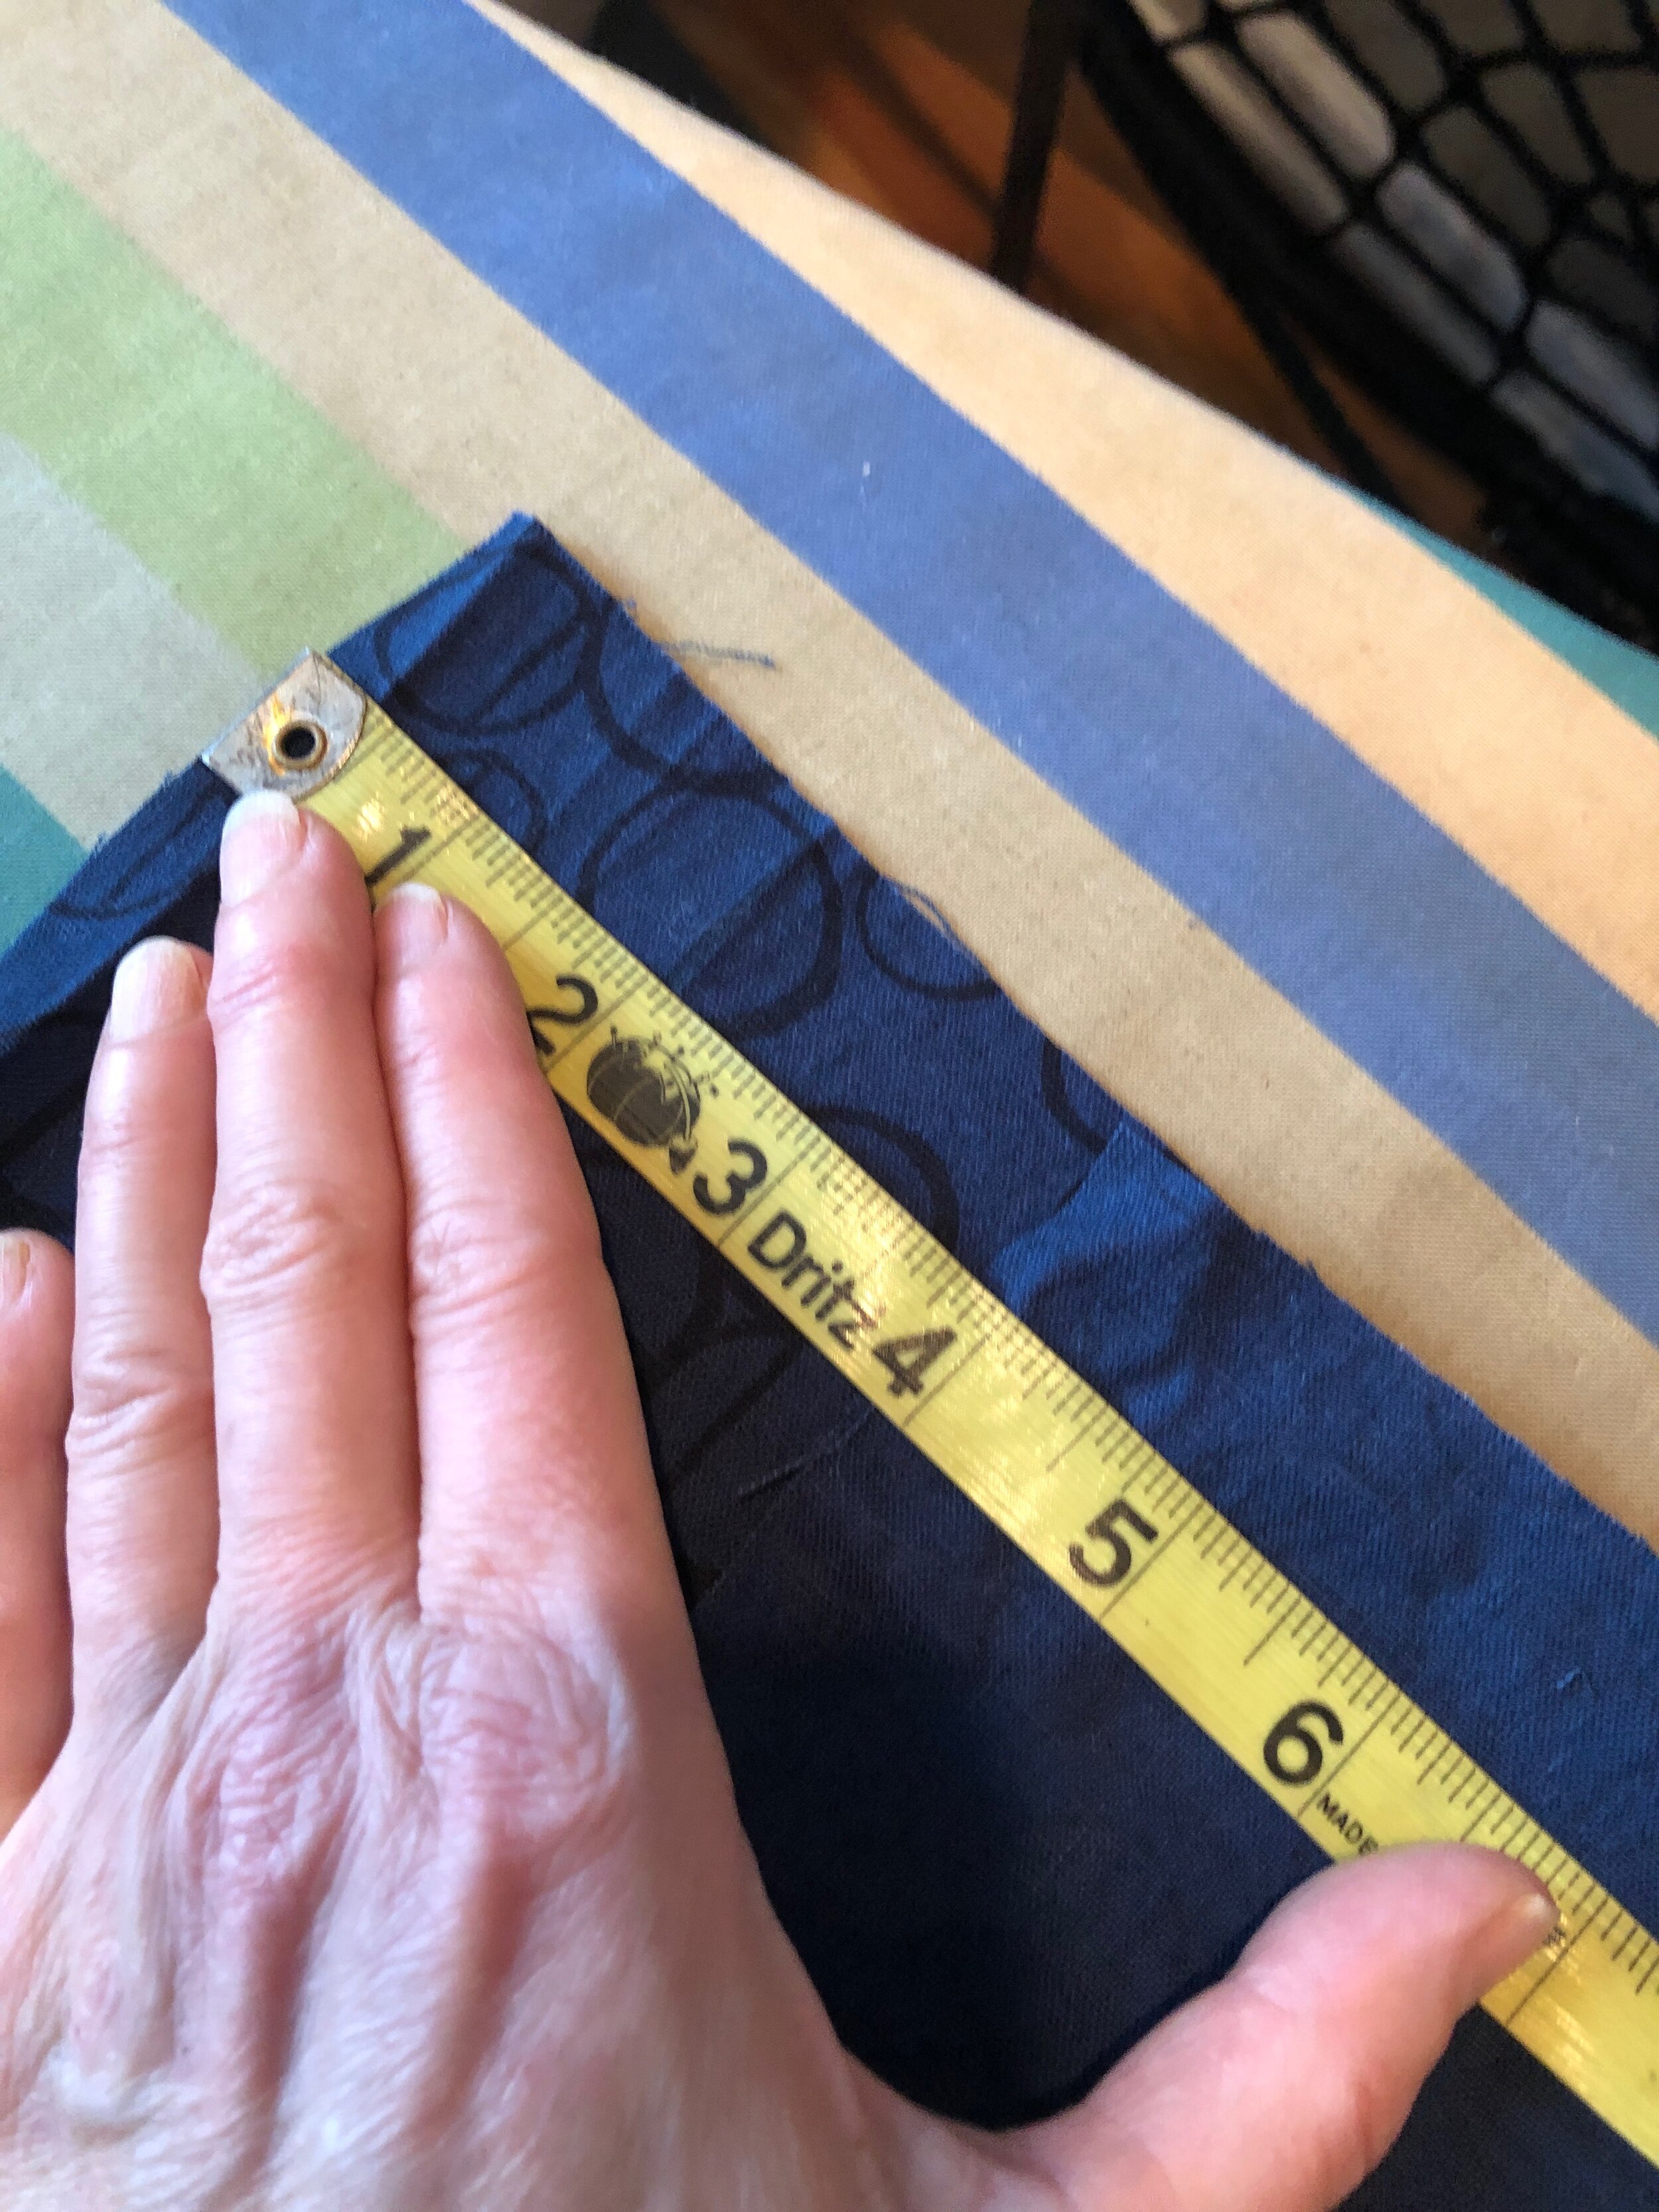
Using a large dinner plate, you’ll trace curved edges along the outside edge pattern piece. There is only one pattern piece
Place the plate so one side is along the sideseam and 1/2 of the plate is off the pattern piece. Trace the curve around to the new hemline. Remove the plate. You’ve added a few inches to the hem of the skirt, so adjust the skirt’s lengthen/shorten line by folding up the pattern and taping it down, so the final finished new hem is where you prefer it. We recommend a midi length hem for this style skirt - somewhere between 3” below the knee to 5” above ankle.
If you’re making a woven, next, place a straight ruler at the widest part of the hip curve of the pattern and draw a line straight up to intersect the waistband seam. This is your new outer sideseam without a curve. CHECK the tissue pattern measurements in the pattern envelope to ensure that the finished width at the hip will accommodate YOUR hip when sitting, if not, cut a larger size.
*Note: straighten out the waistband curve at this time if you’re making a woven fabric. It will be easier to press and sew the waist casing.
You may cut a sideseam pocket at this time – any sideseam pocket will work (from any other pattern.) Cut 4. Sew this pocket as you would sew any sideseam pocket when you sew the side seams of the skirt.
Lesson Two: Construction
(NOTE: Construction differs from the pattern instructions)
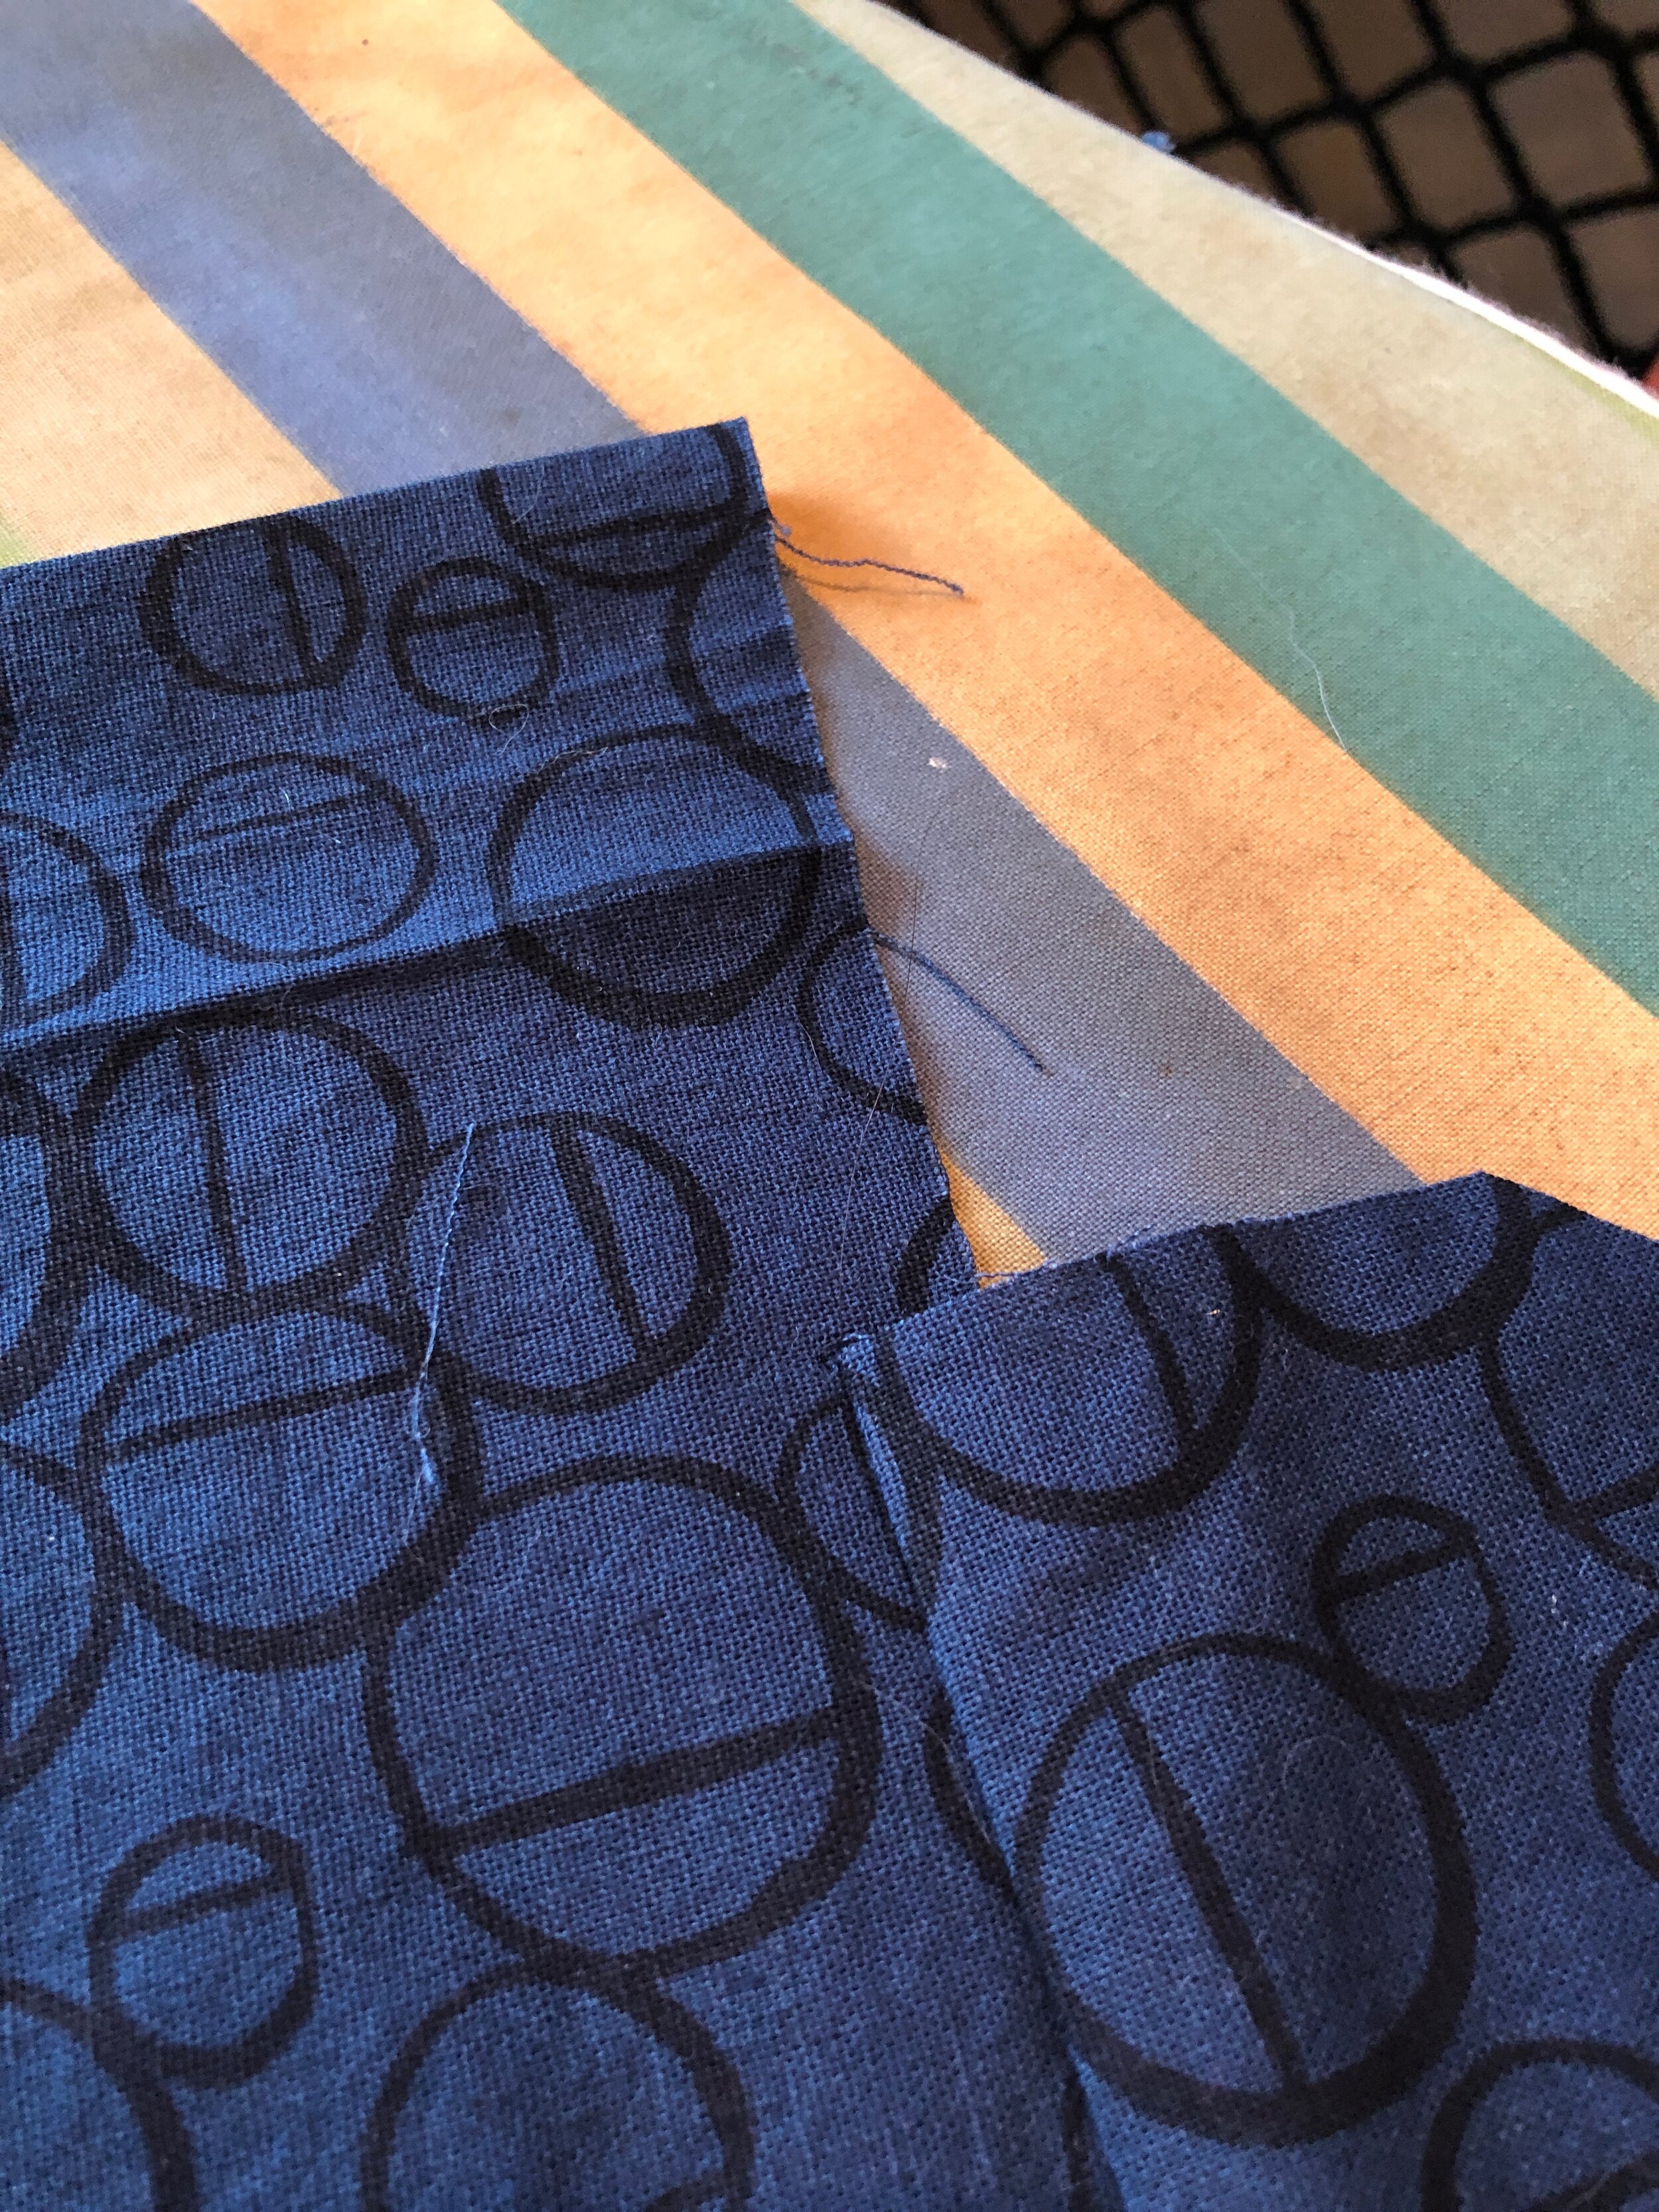
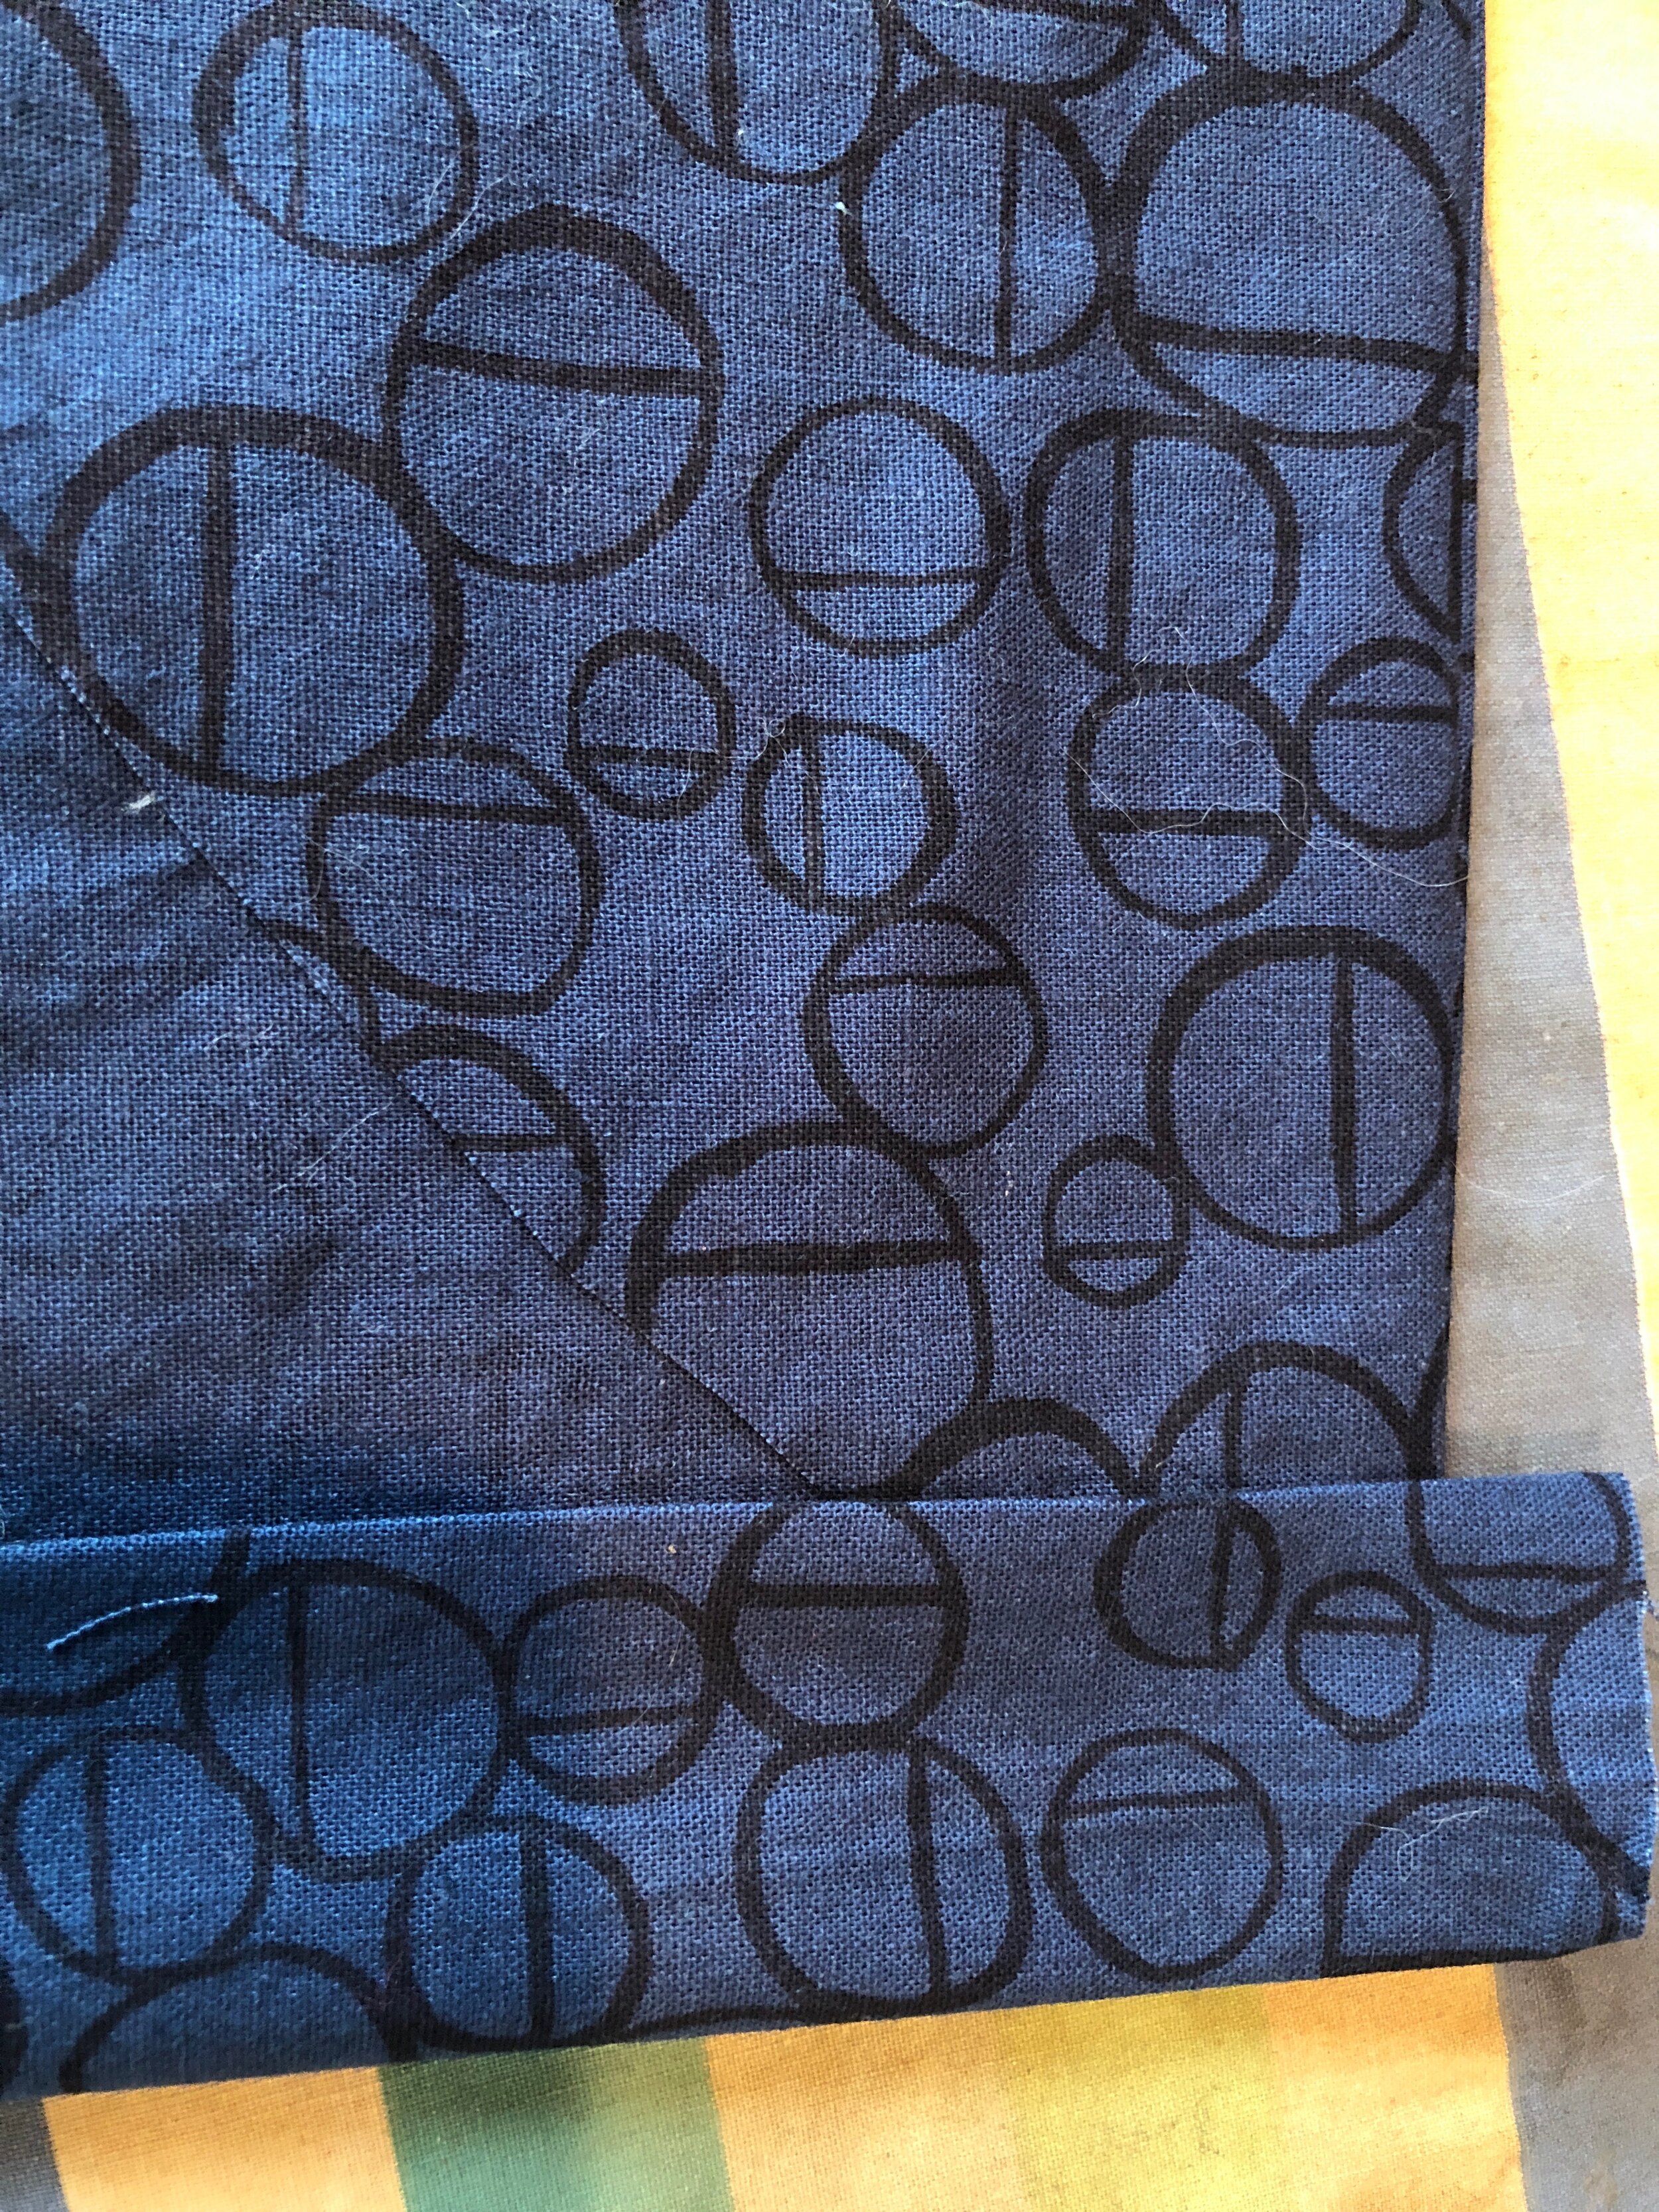
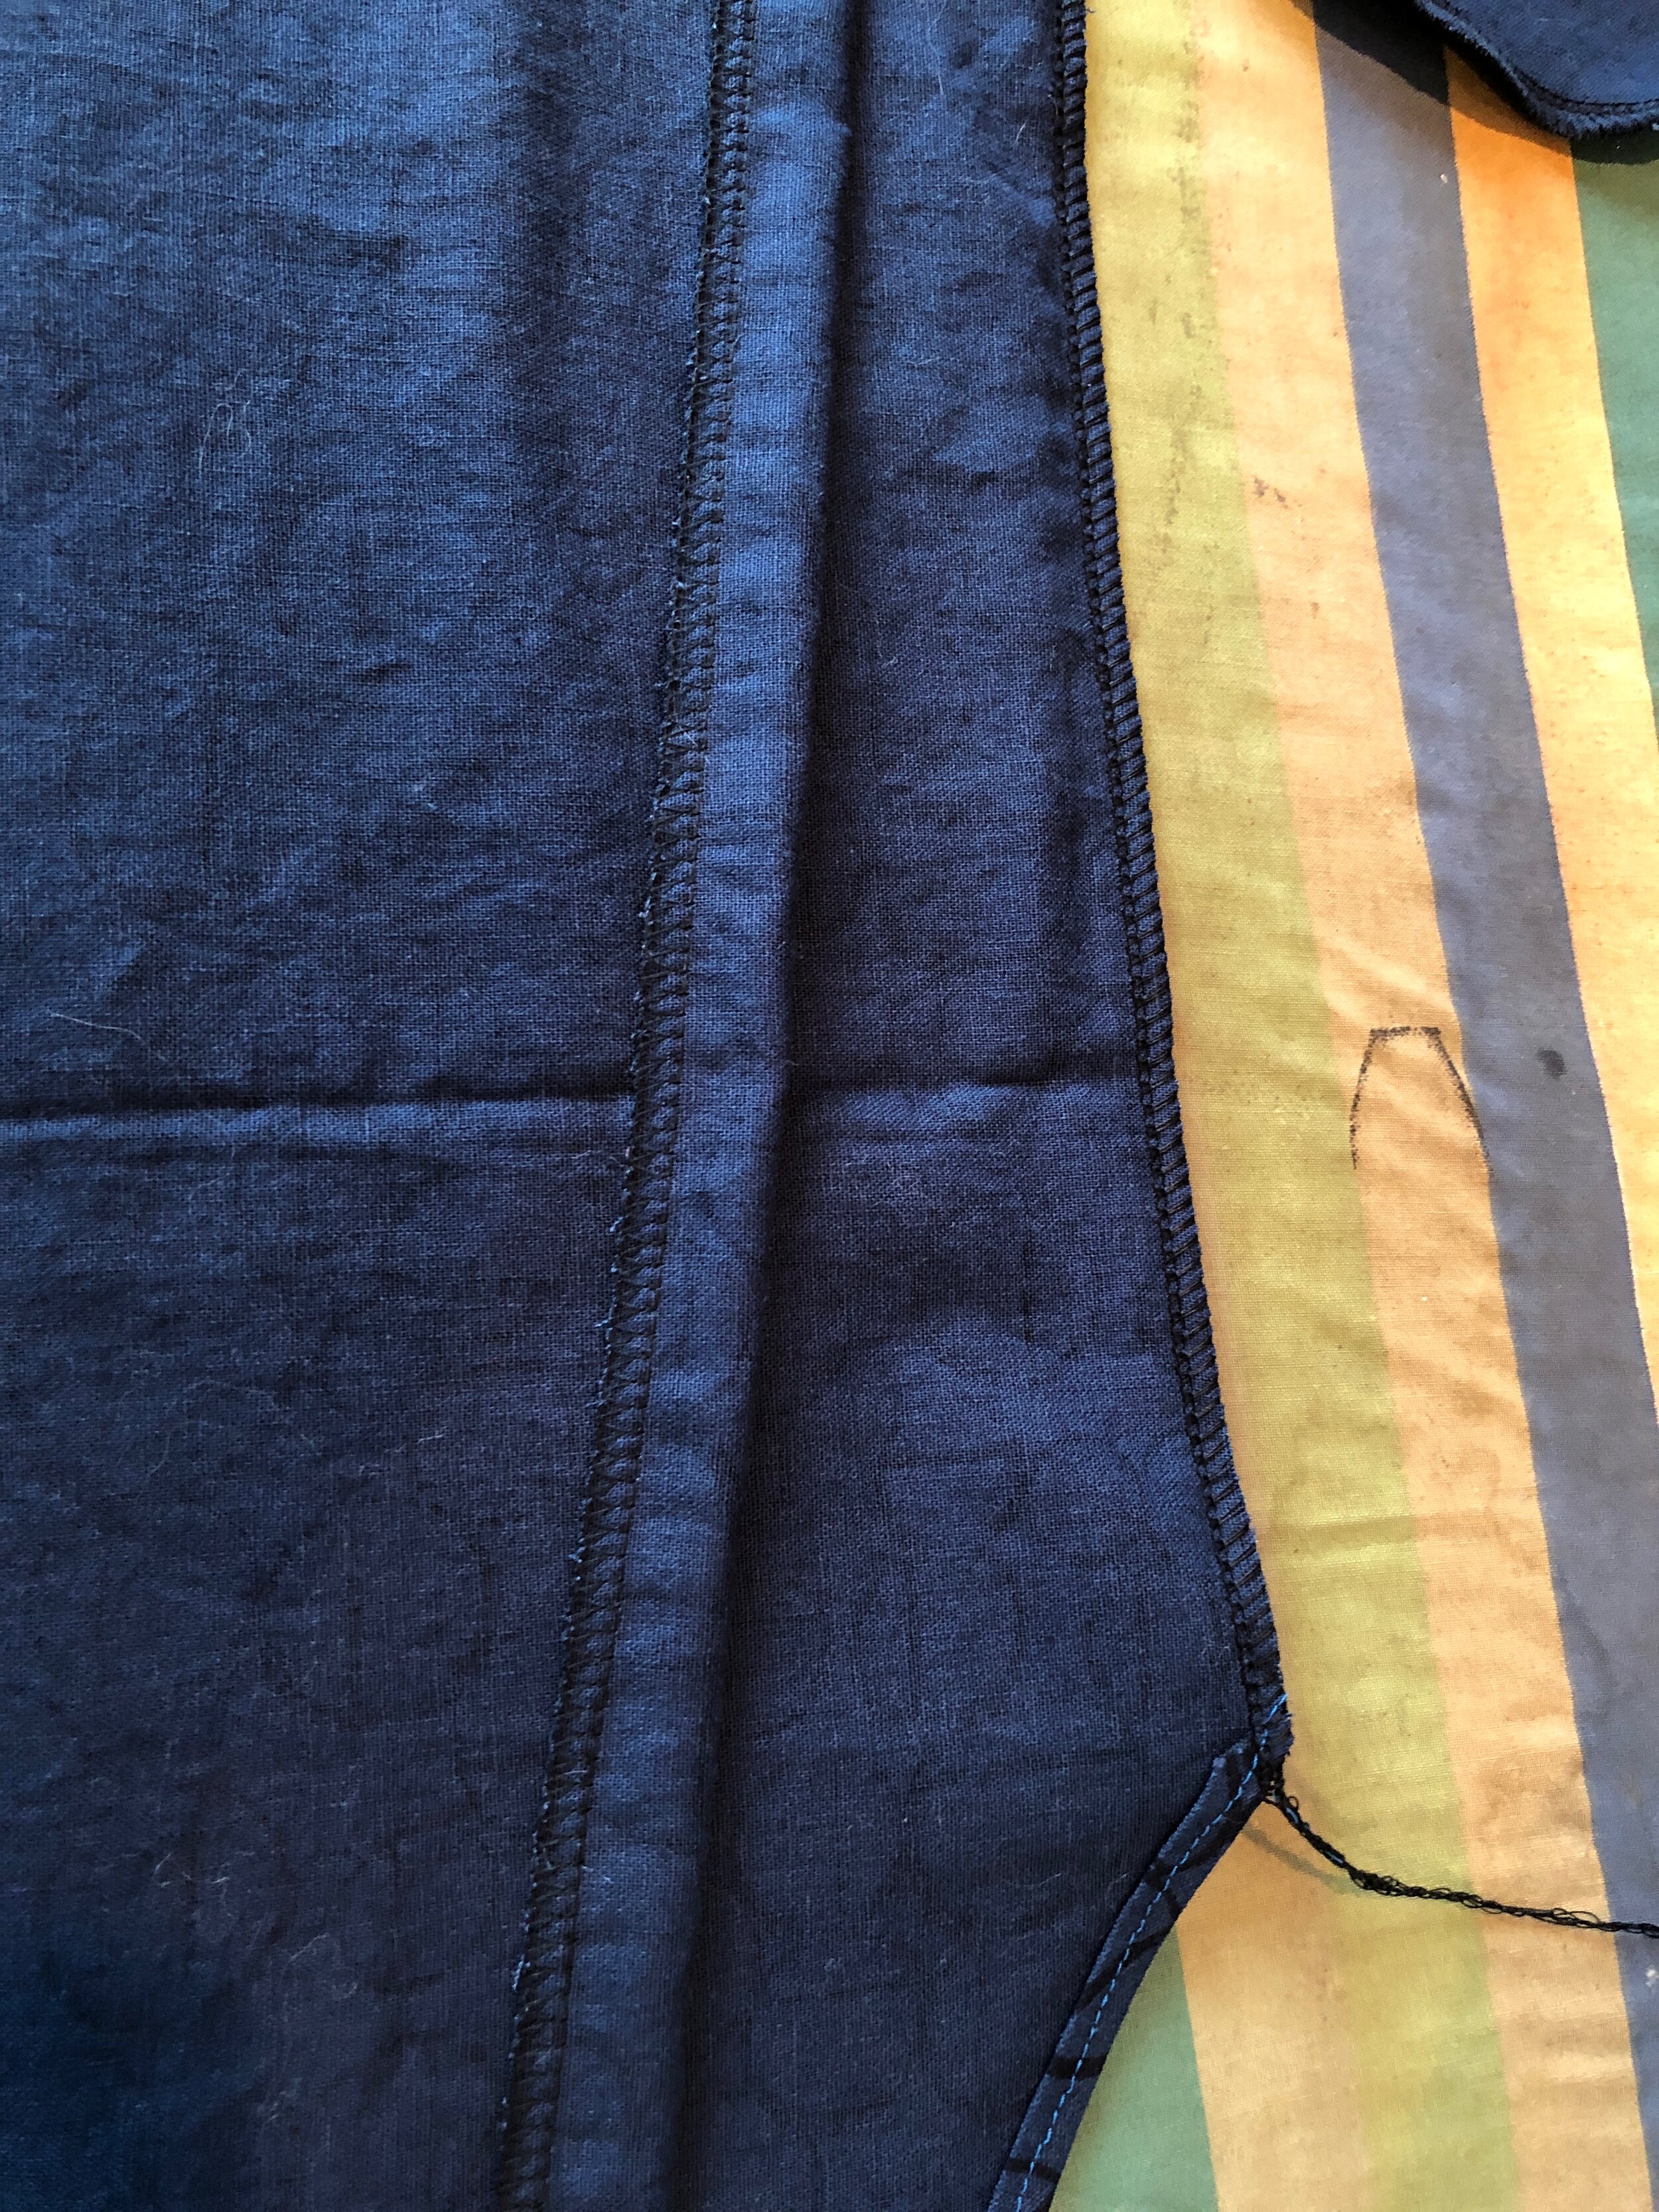
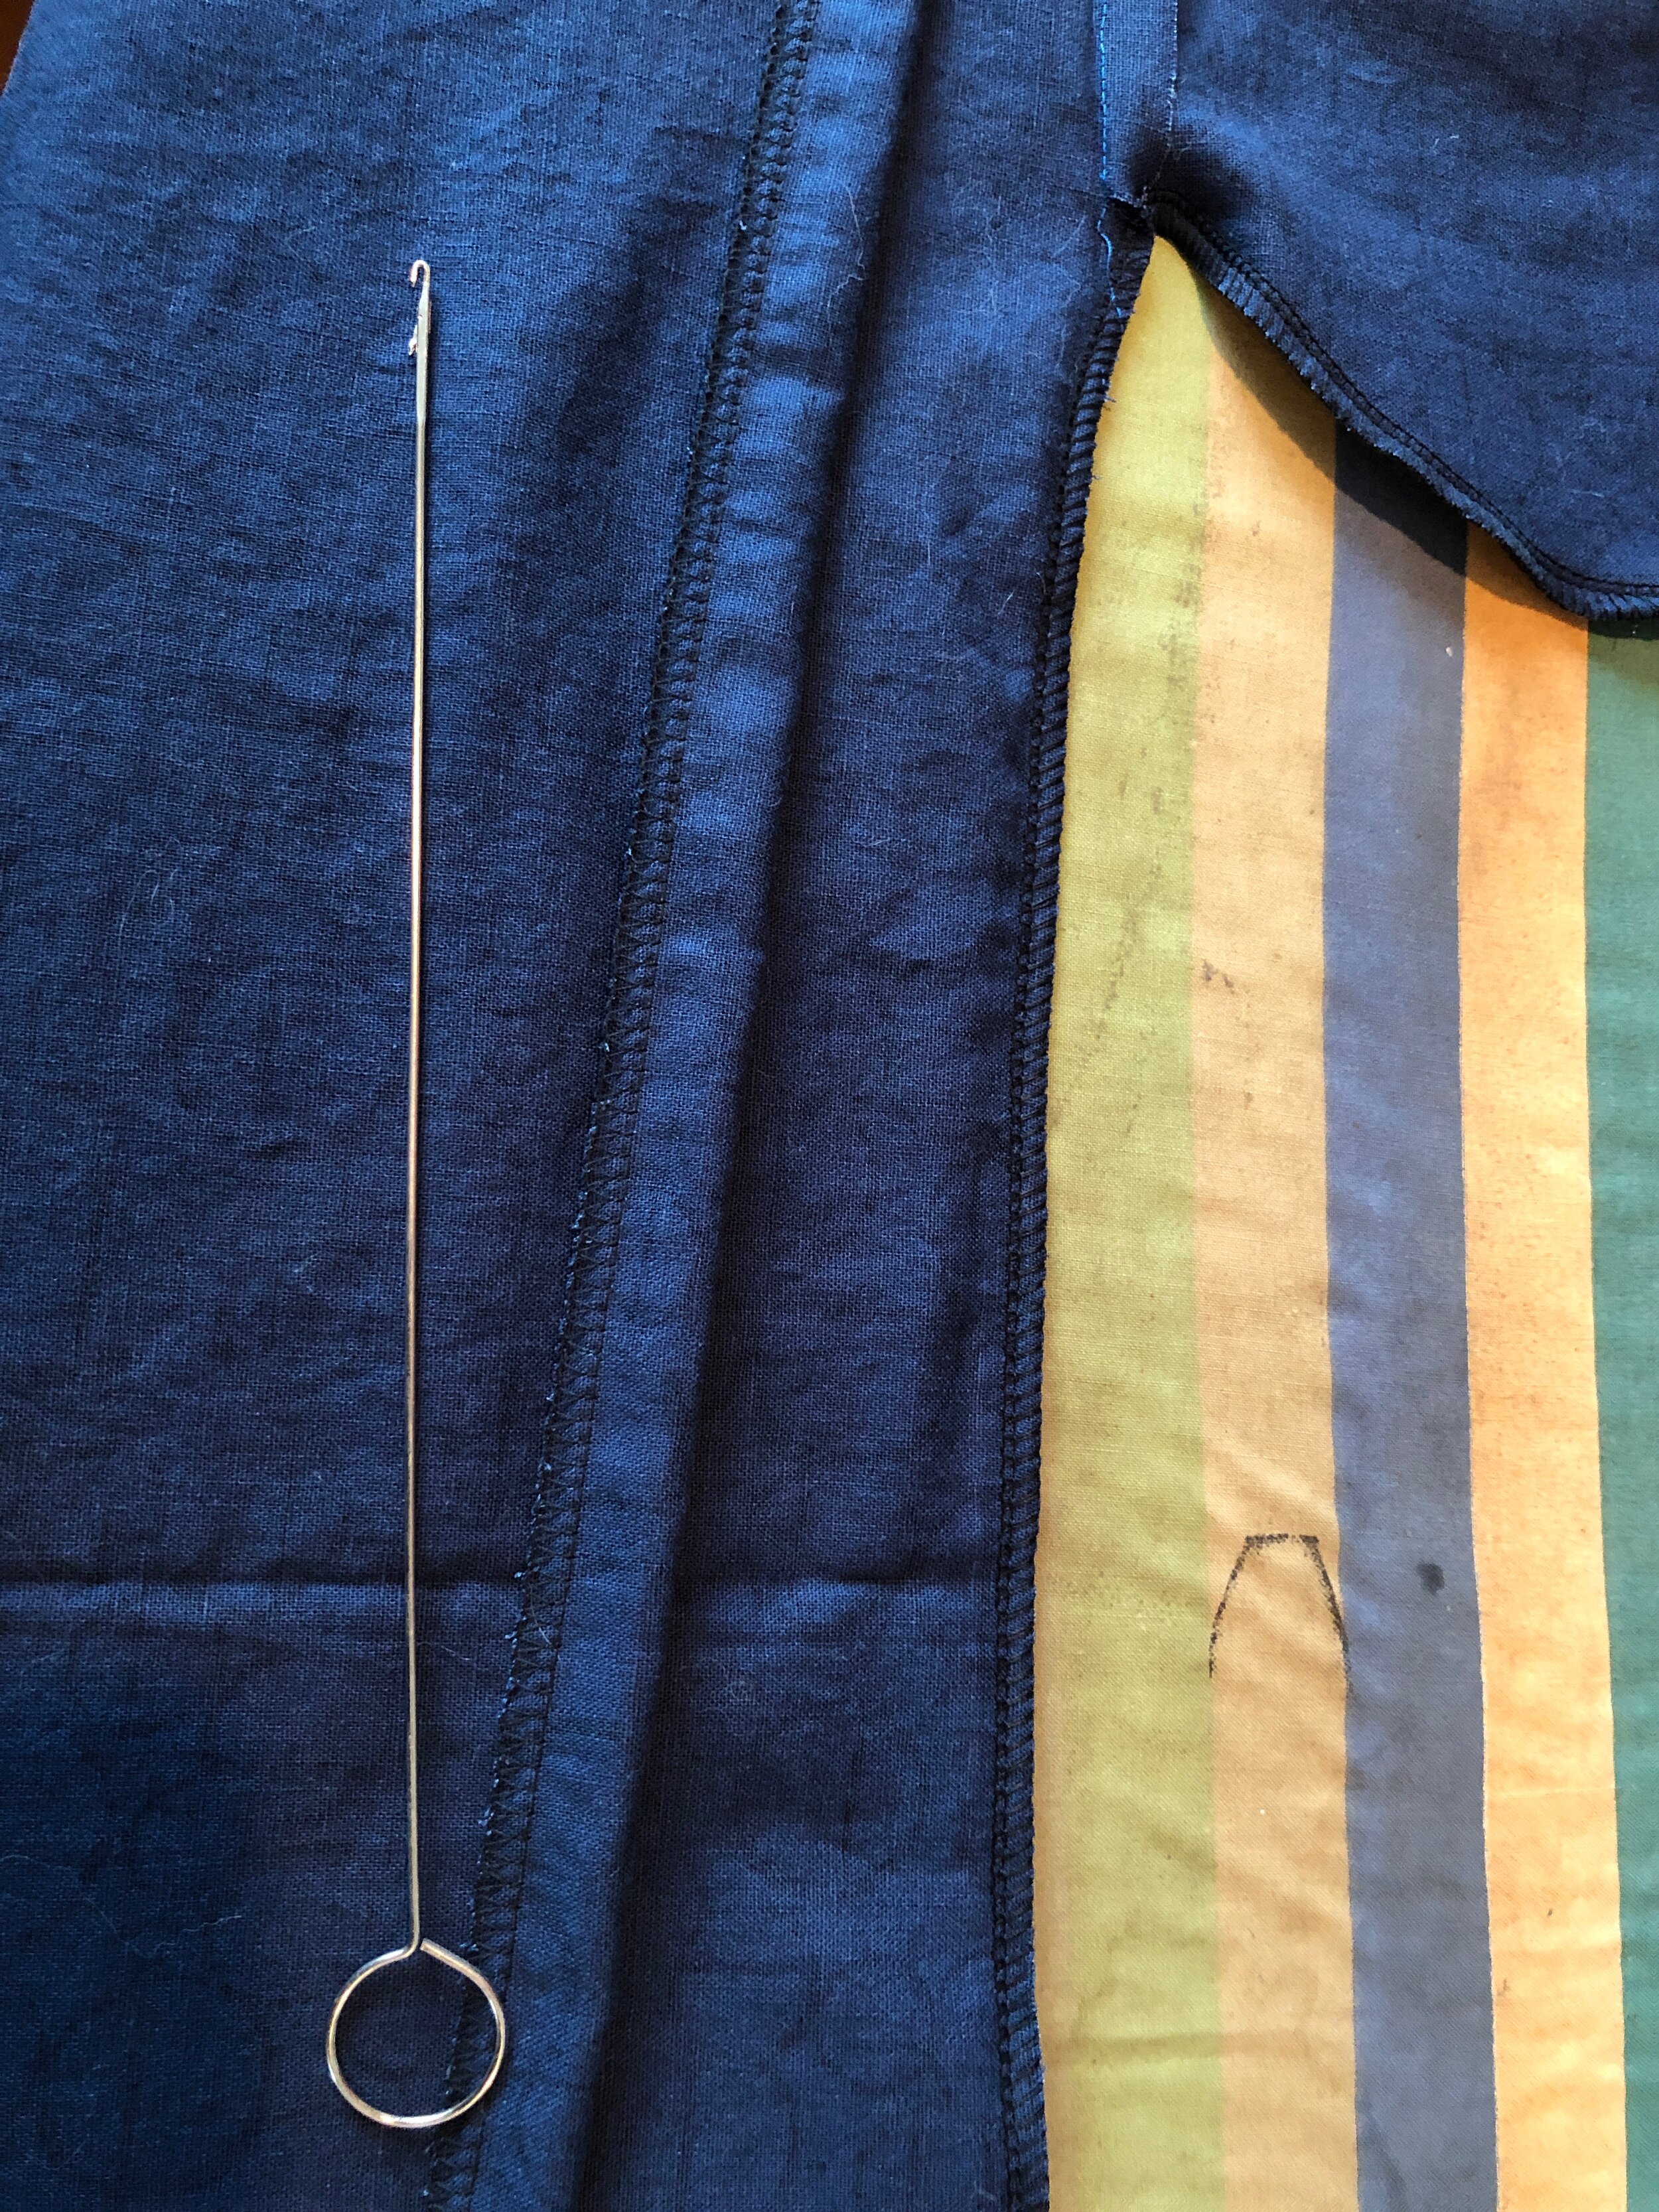
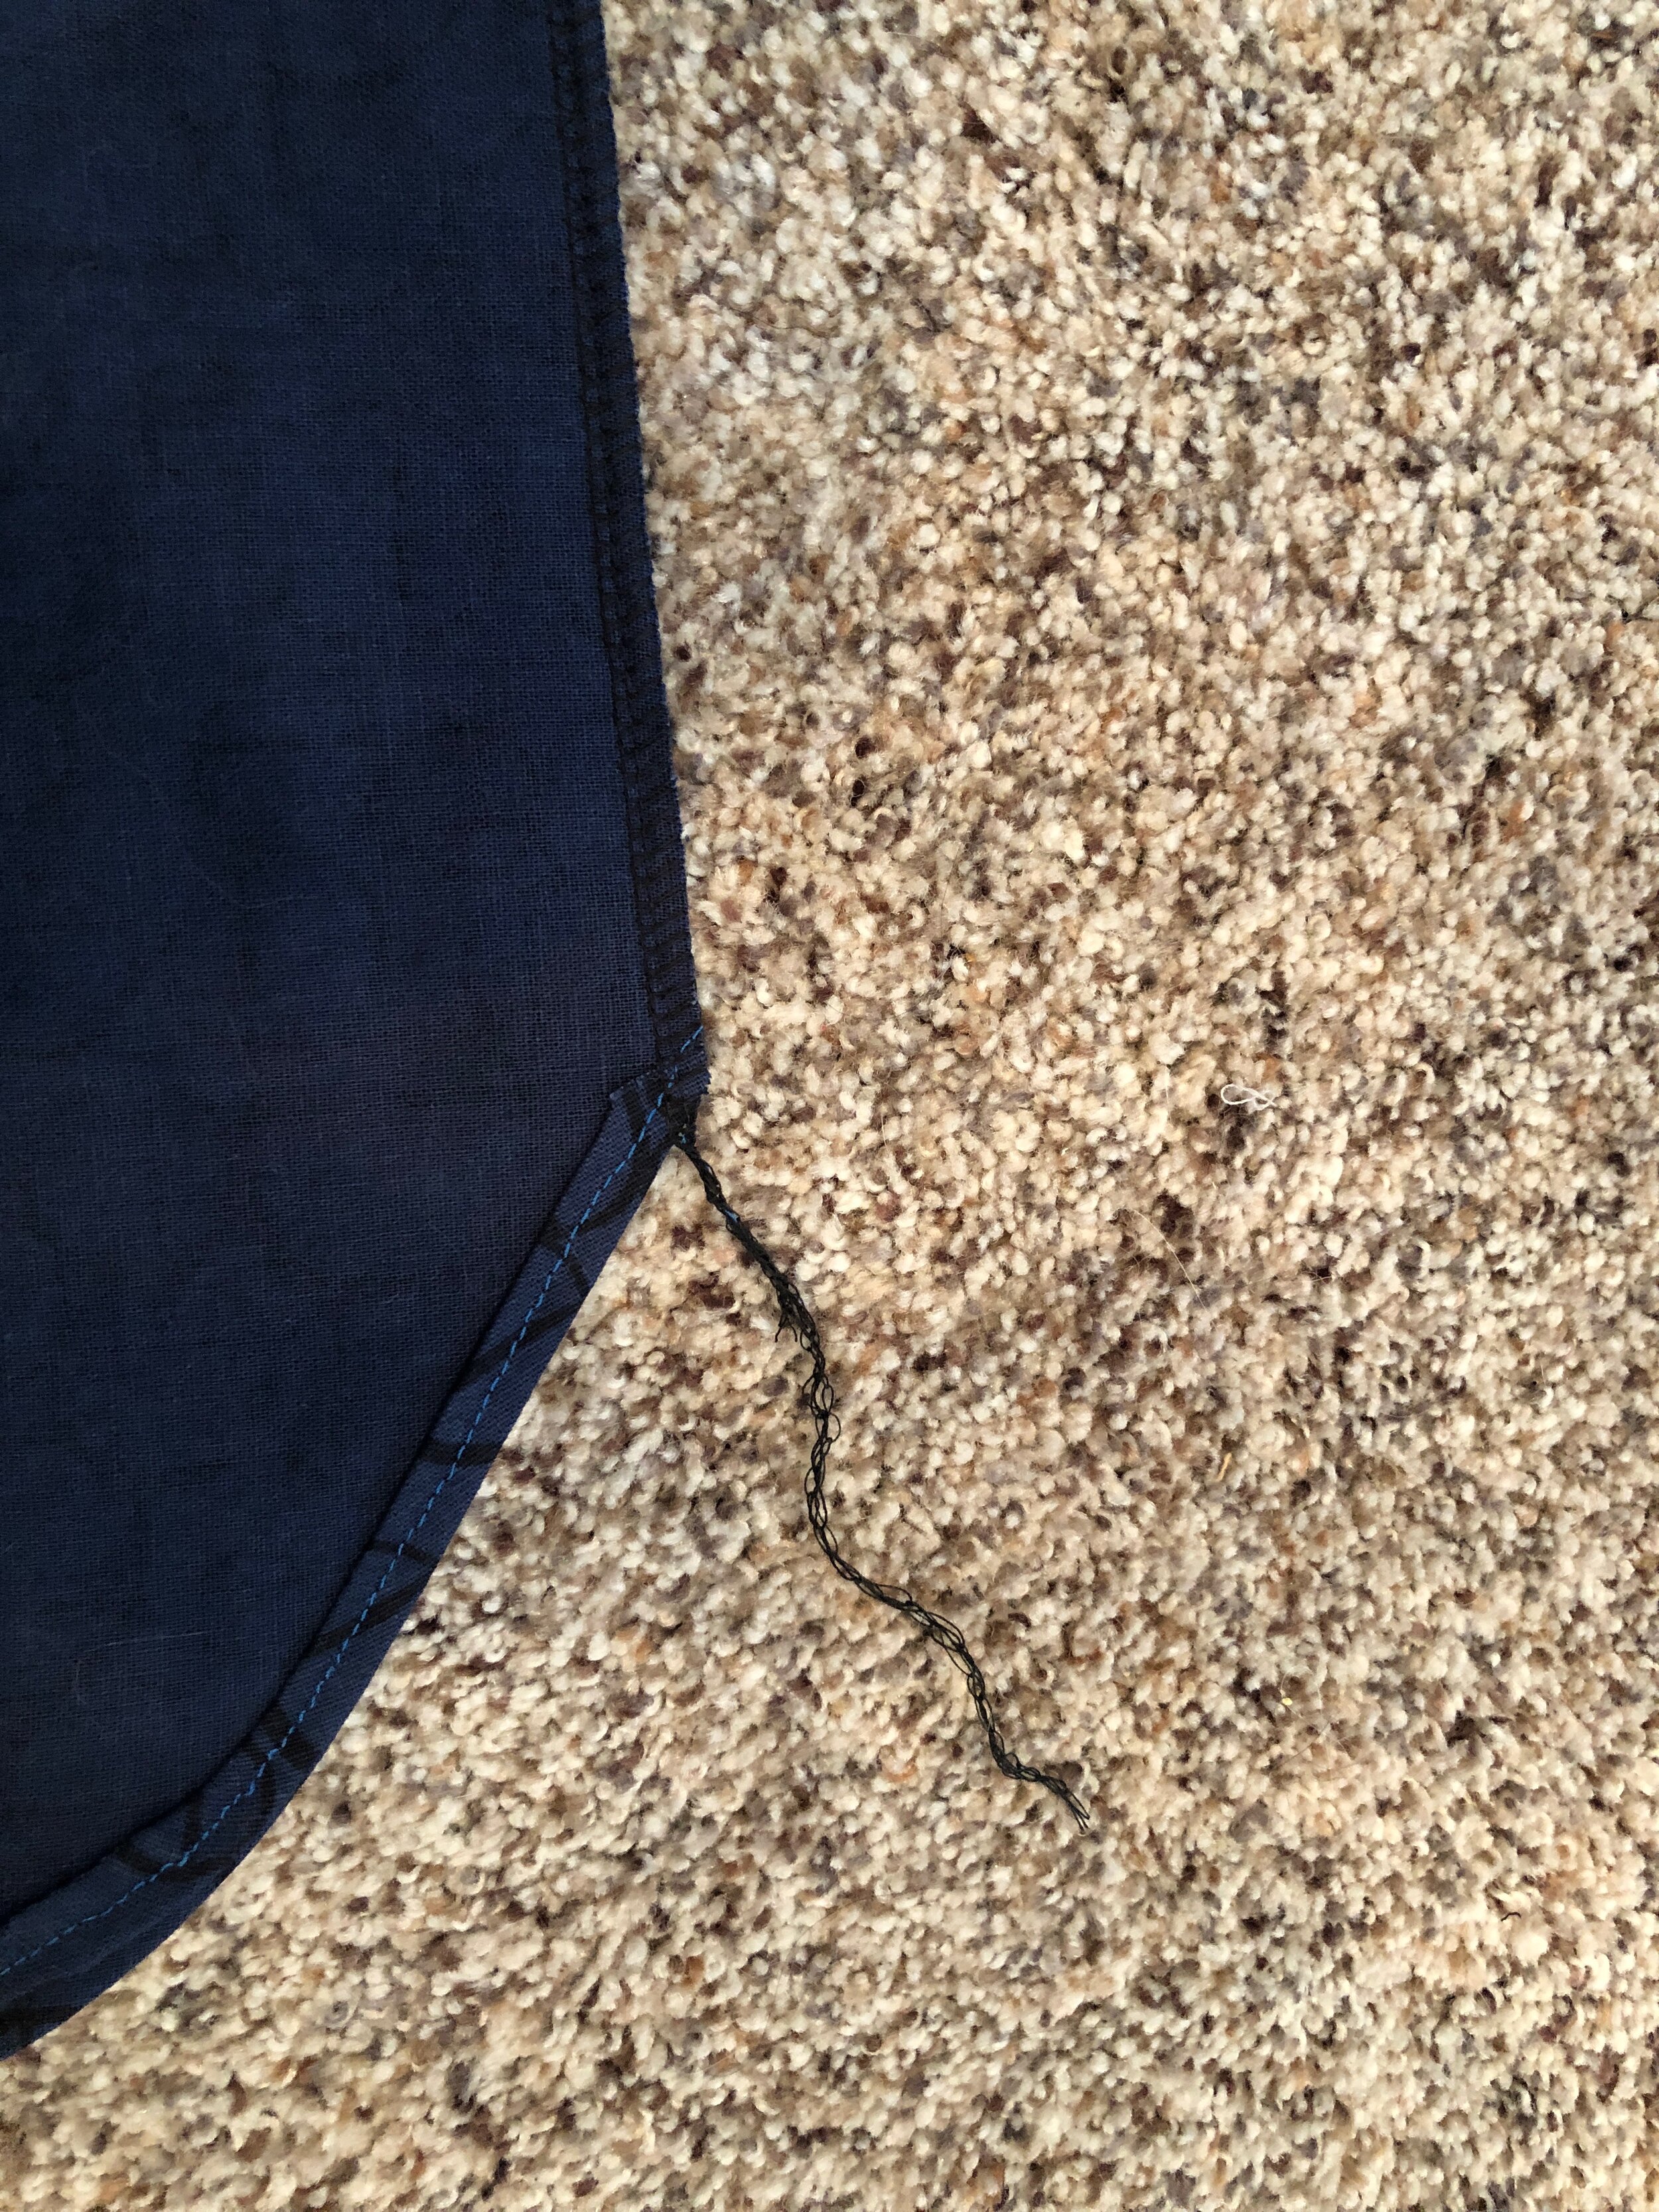
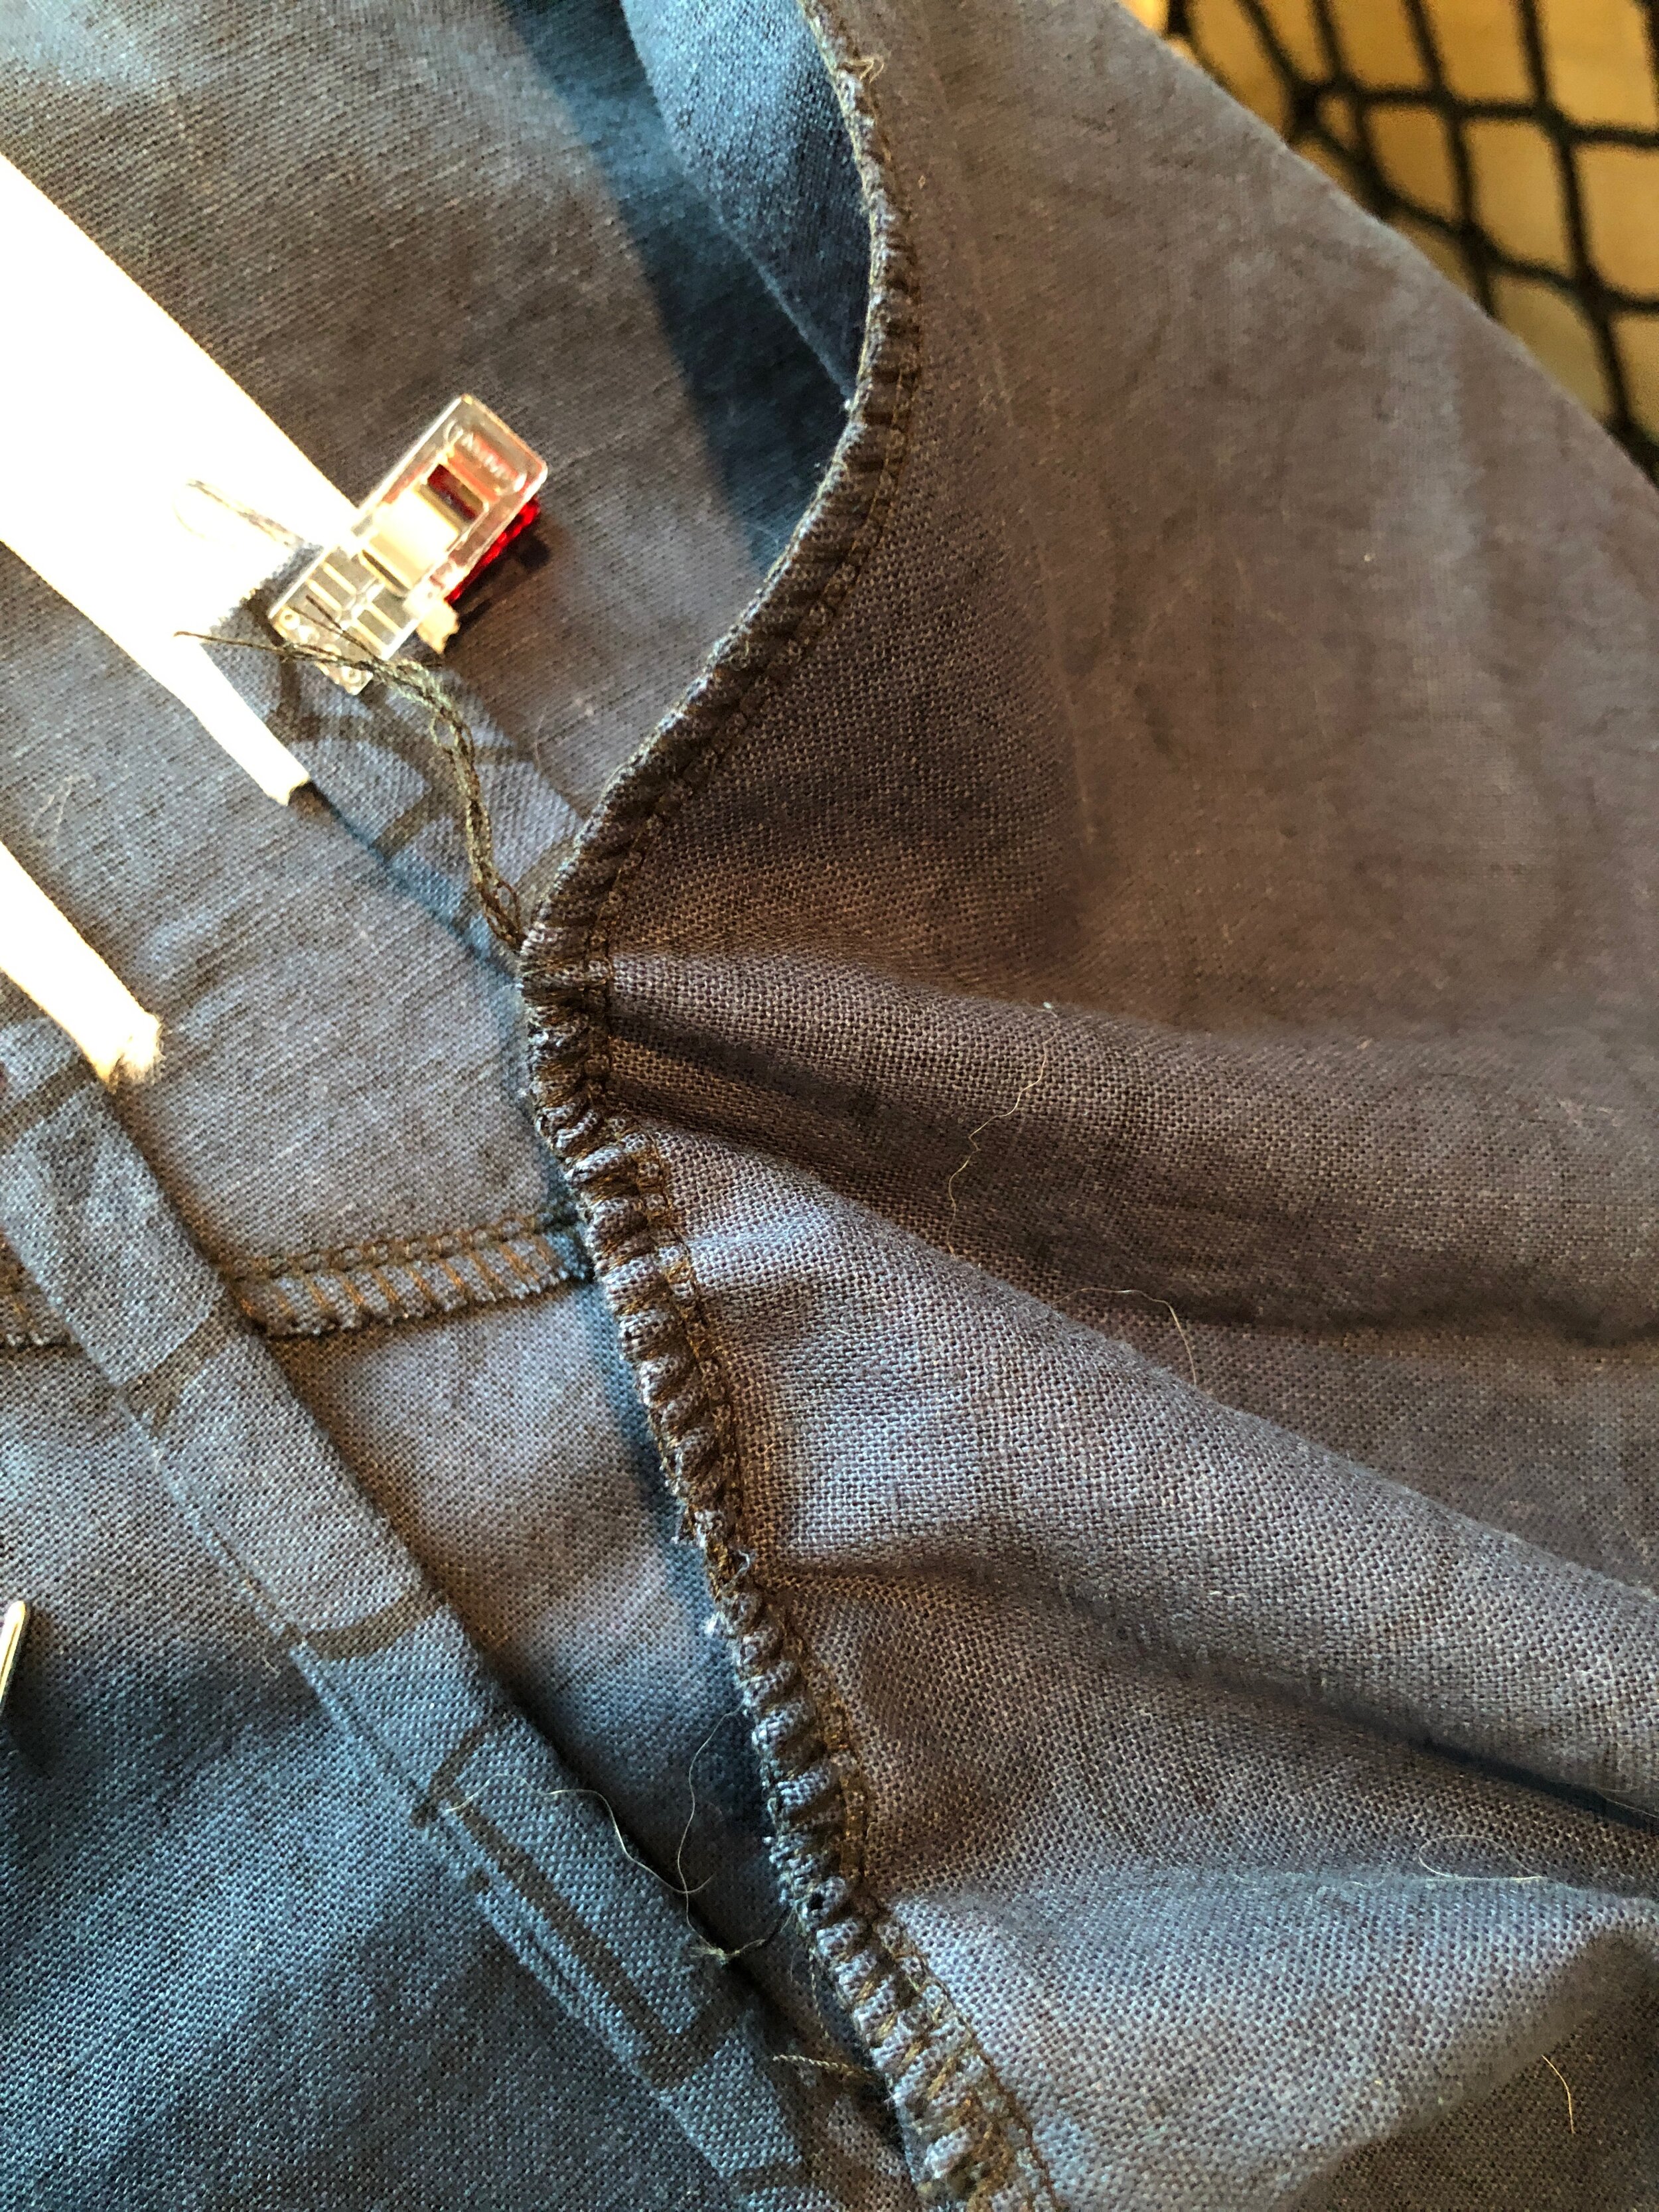
Edge serge the curved hems
Press up along the serging and fold up once more, enclosing the serging and topstitch. The sideseams are left open to do this step to get a good finish on the curved hem.
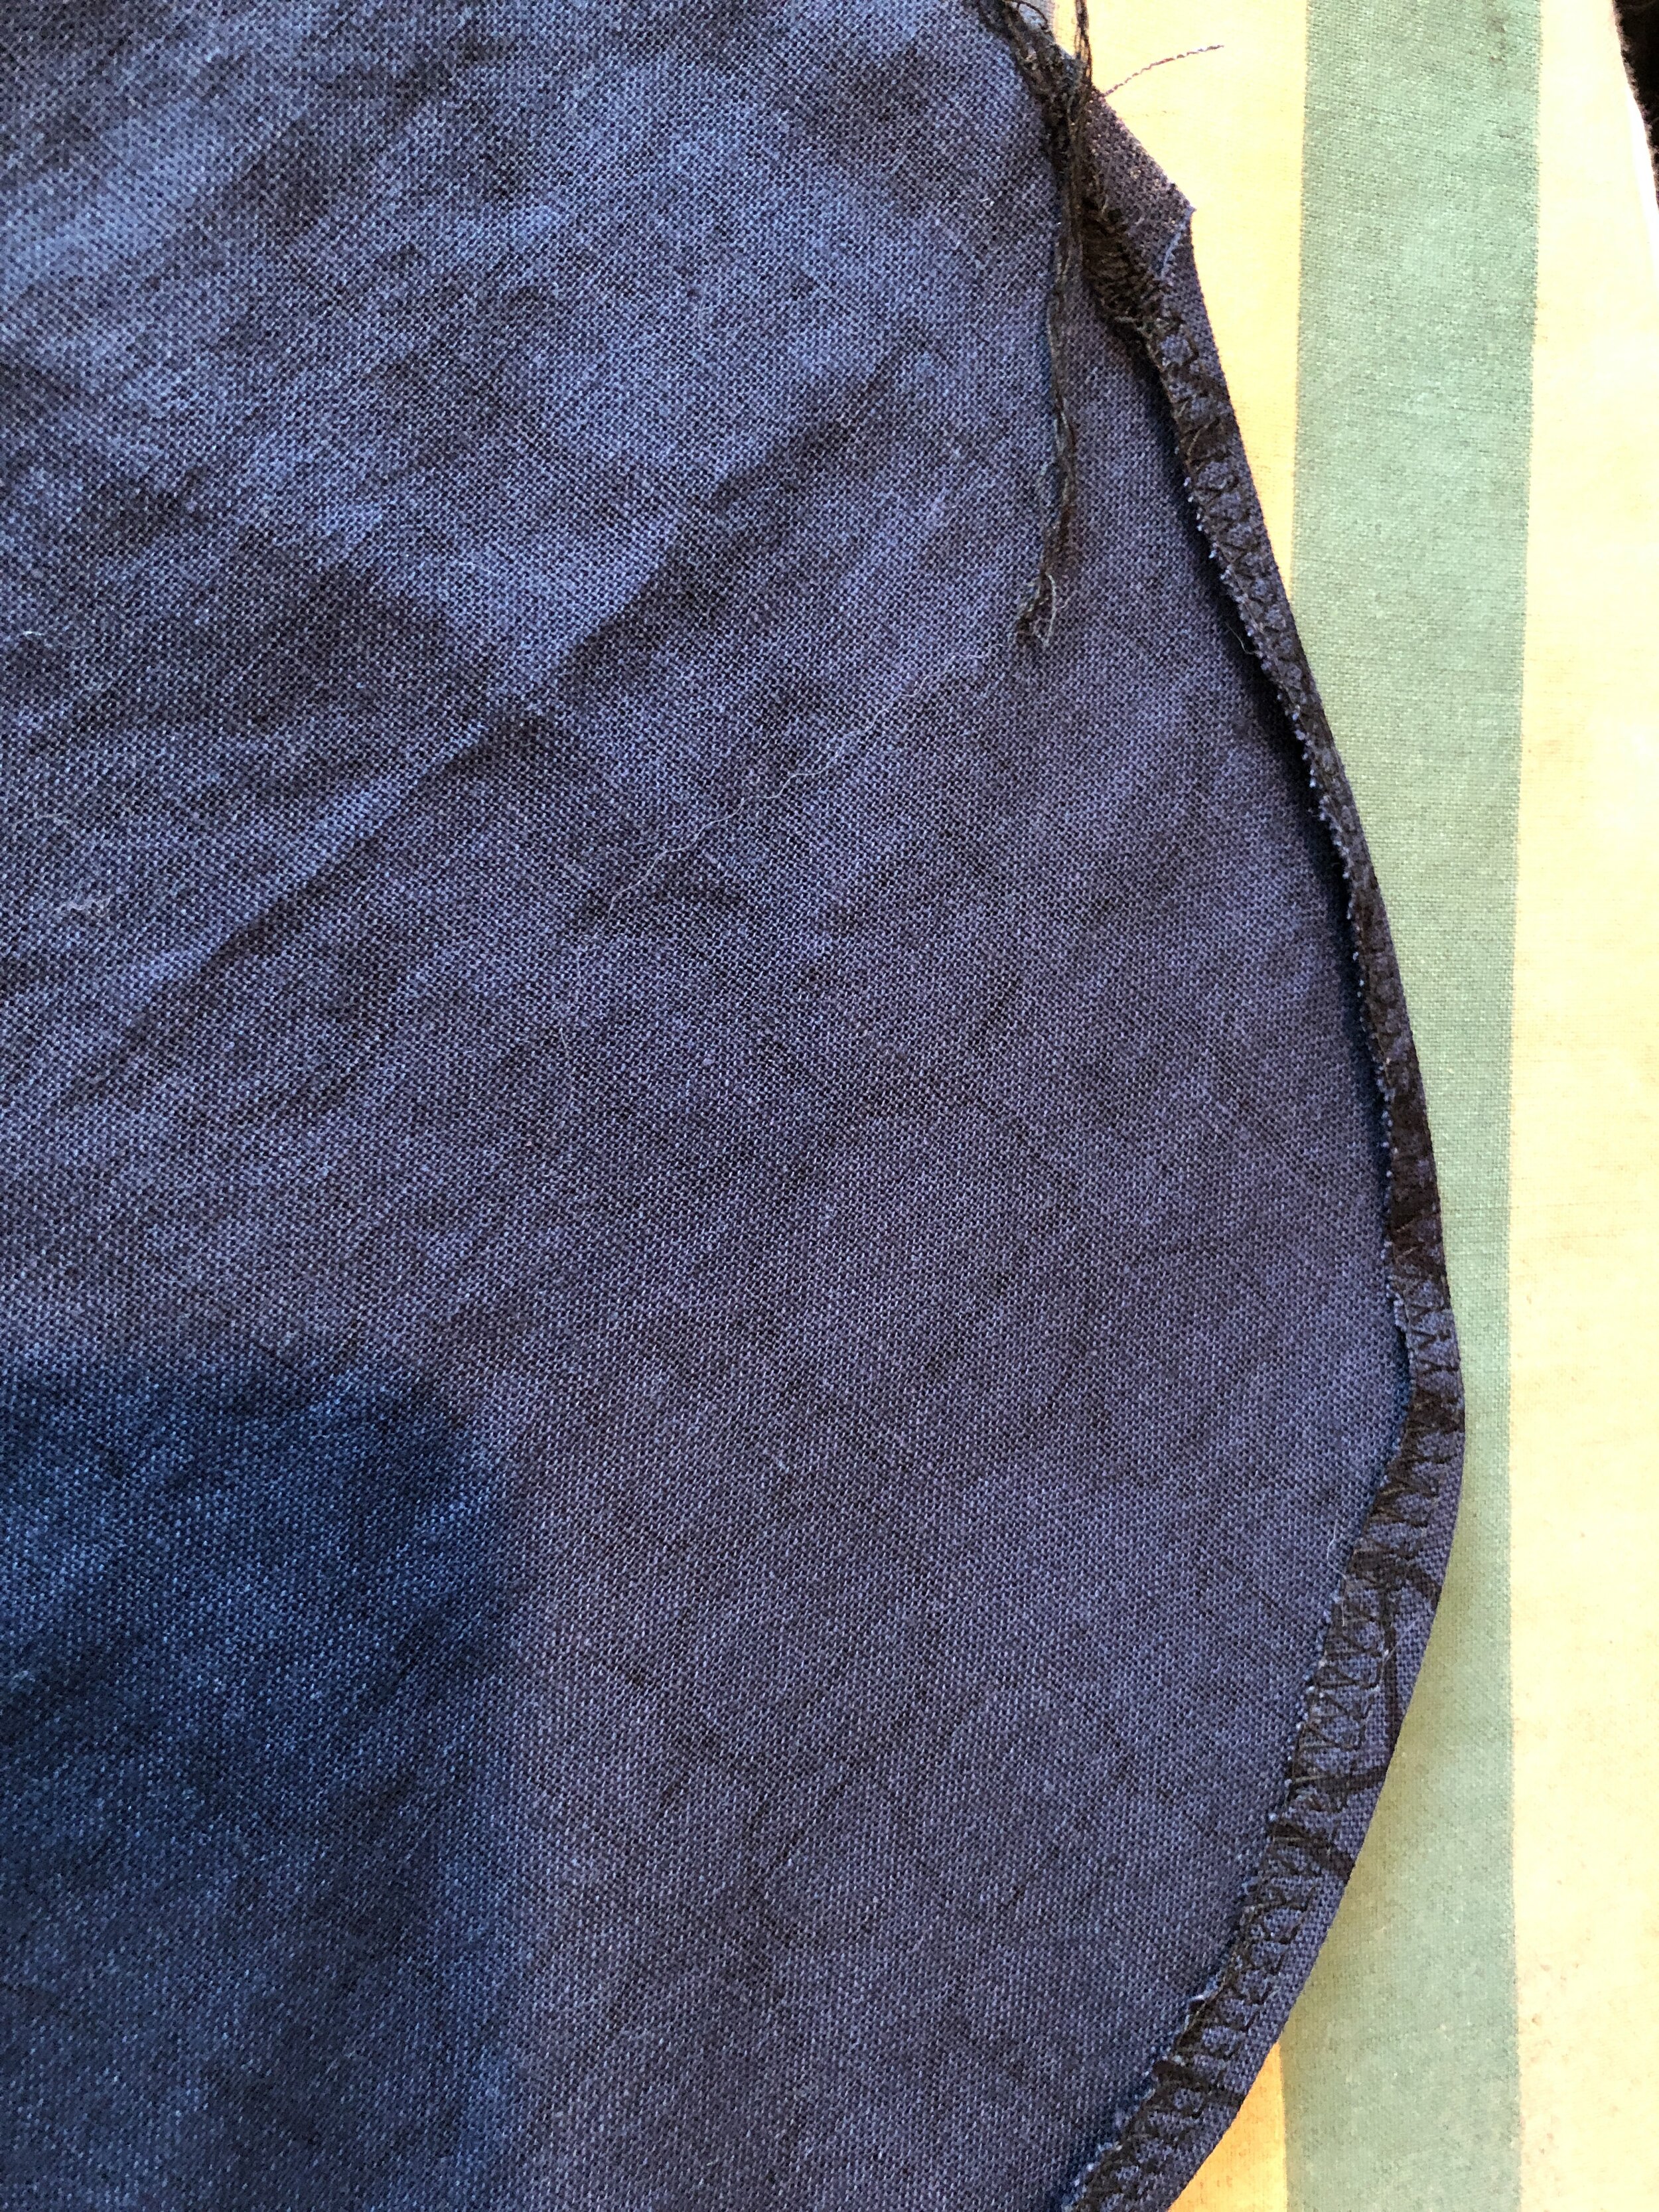
Edge serge and then turn up, press, and turn up again, press the hem. This narrow, curved hem is easier to sew having been serged first. You can even adjust your differential feed to slightly pull in the stitches to help with the curved sections. This hem is sewn BEFORE the sideseams to make it easier.
Mark the CF on your pattern and mark a line 1 ½” below the waistband as your fold line. You will place buttonholes on either side of the CF, and below the fold line and the waistband stitching line.

Fold the top edge of the hem over, and over again.
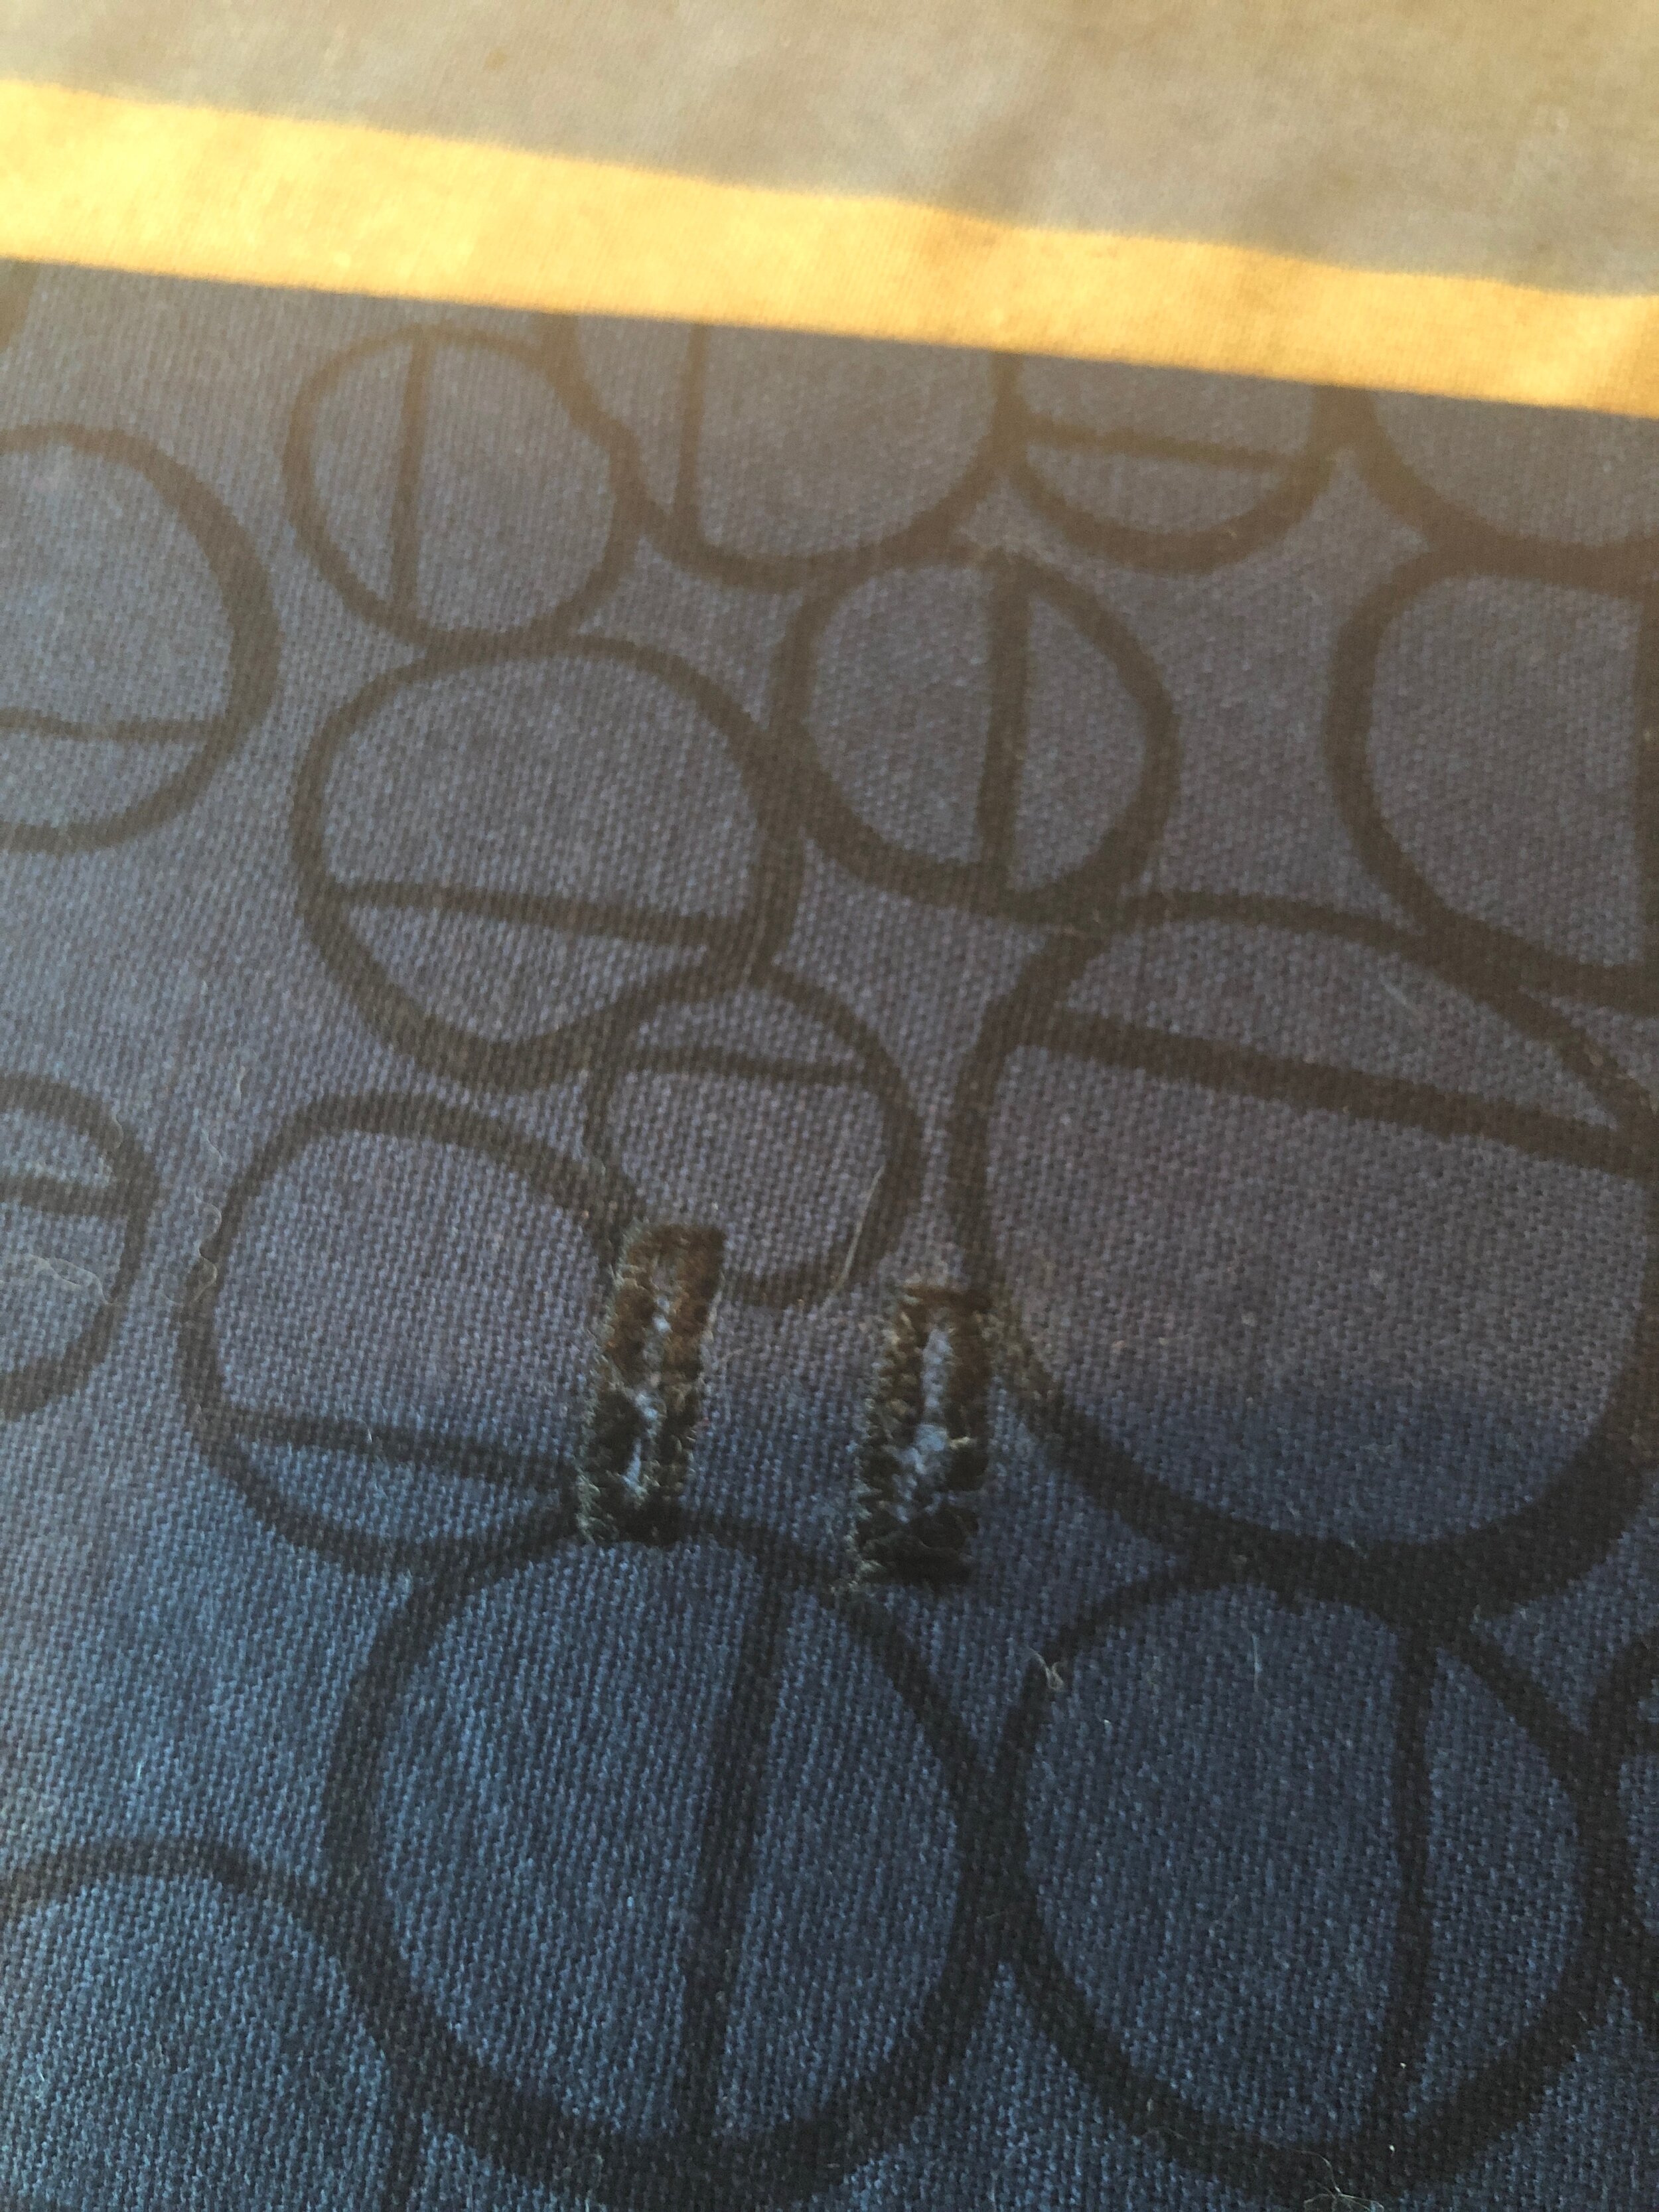

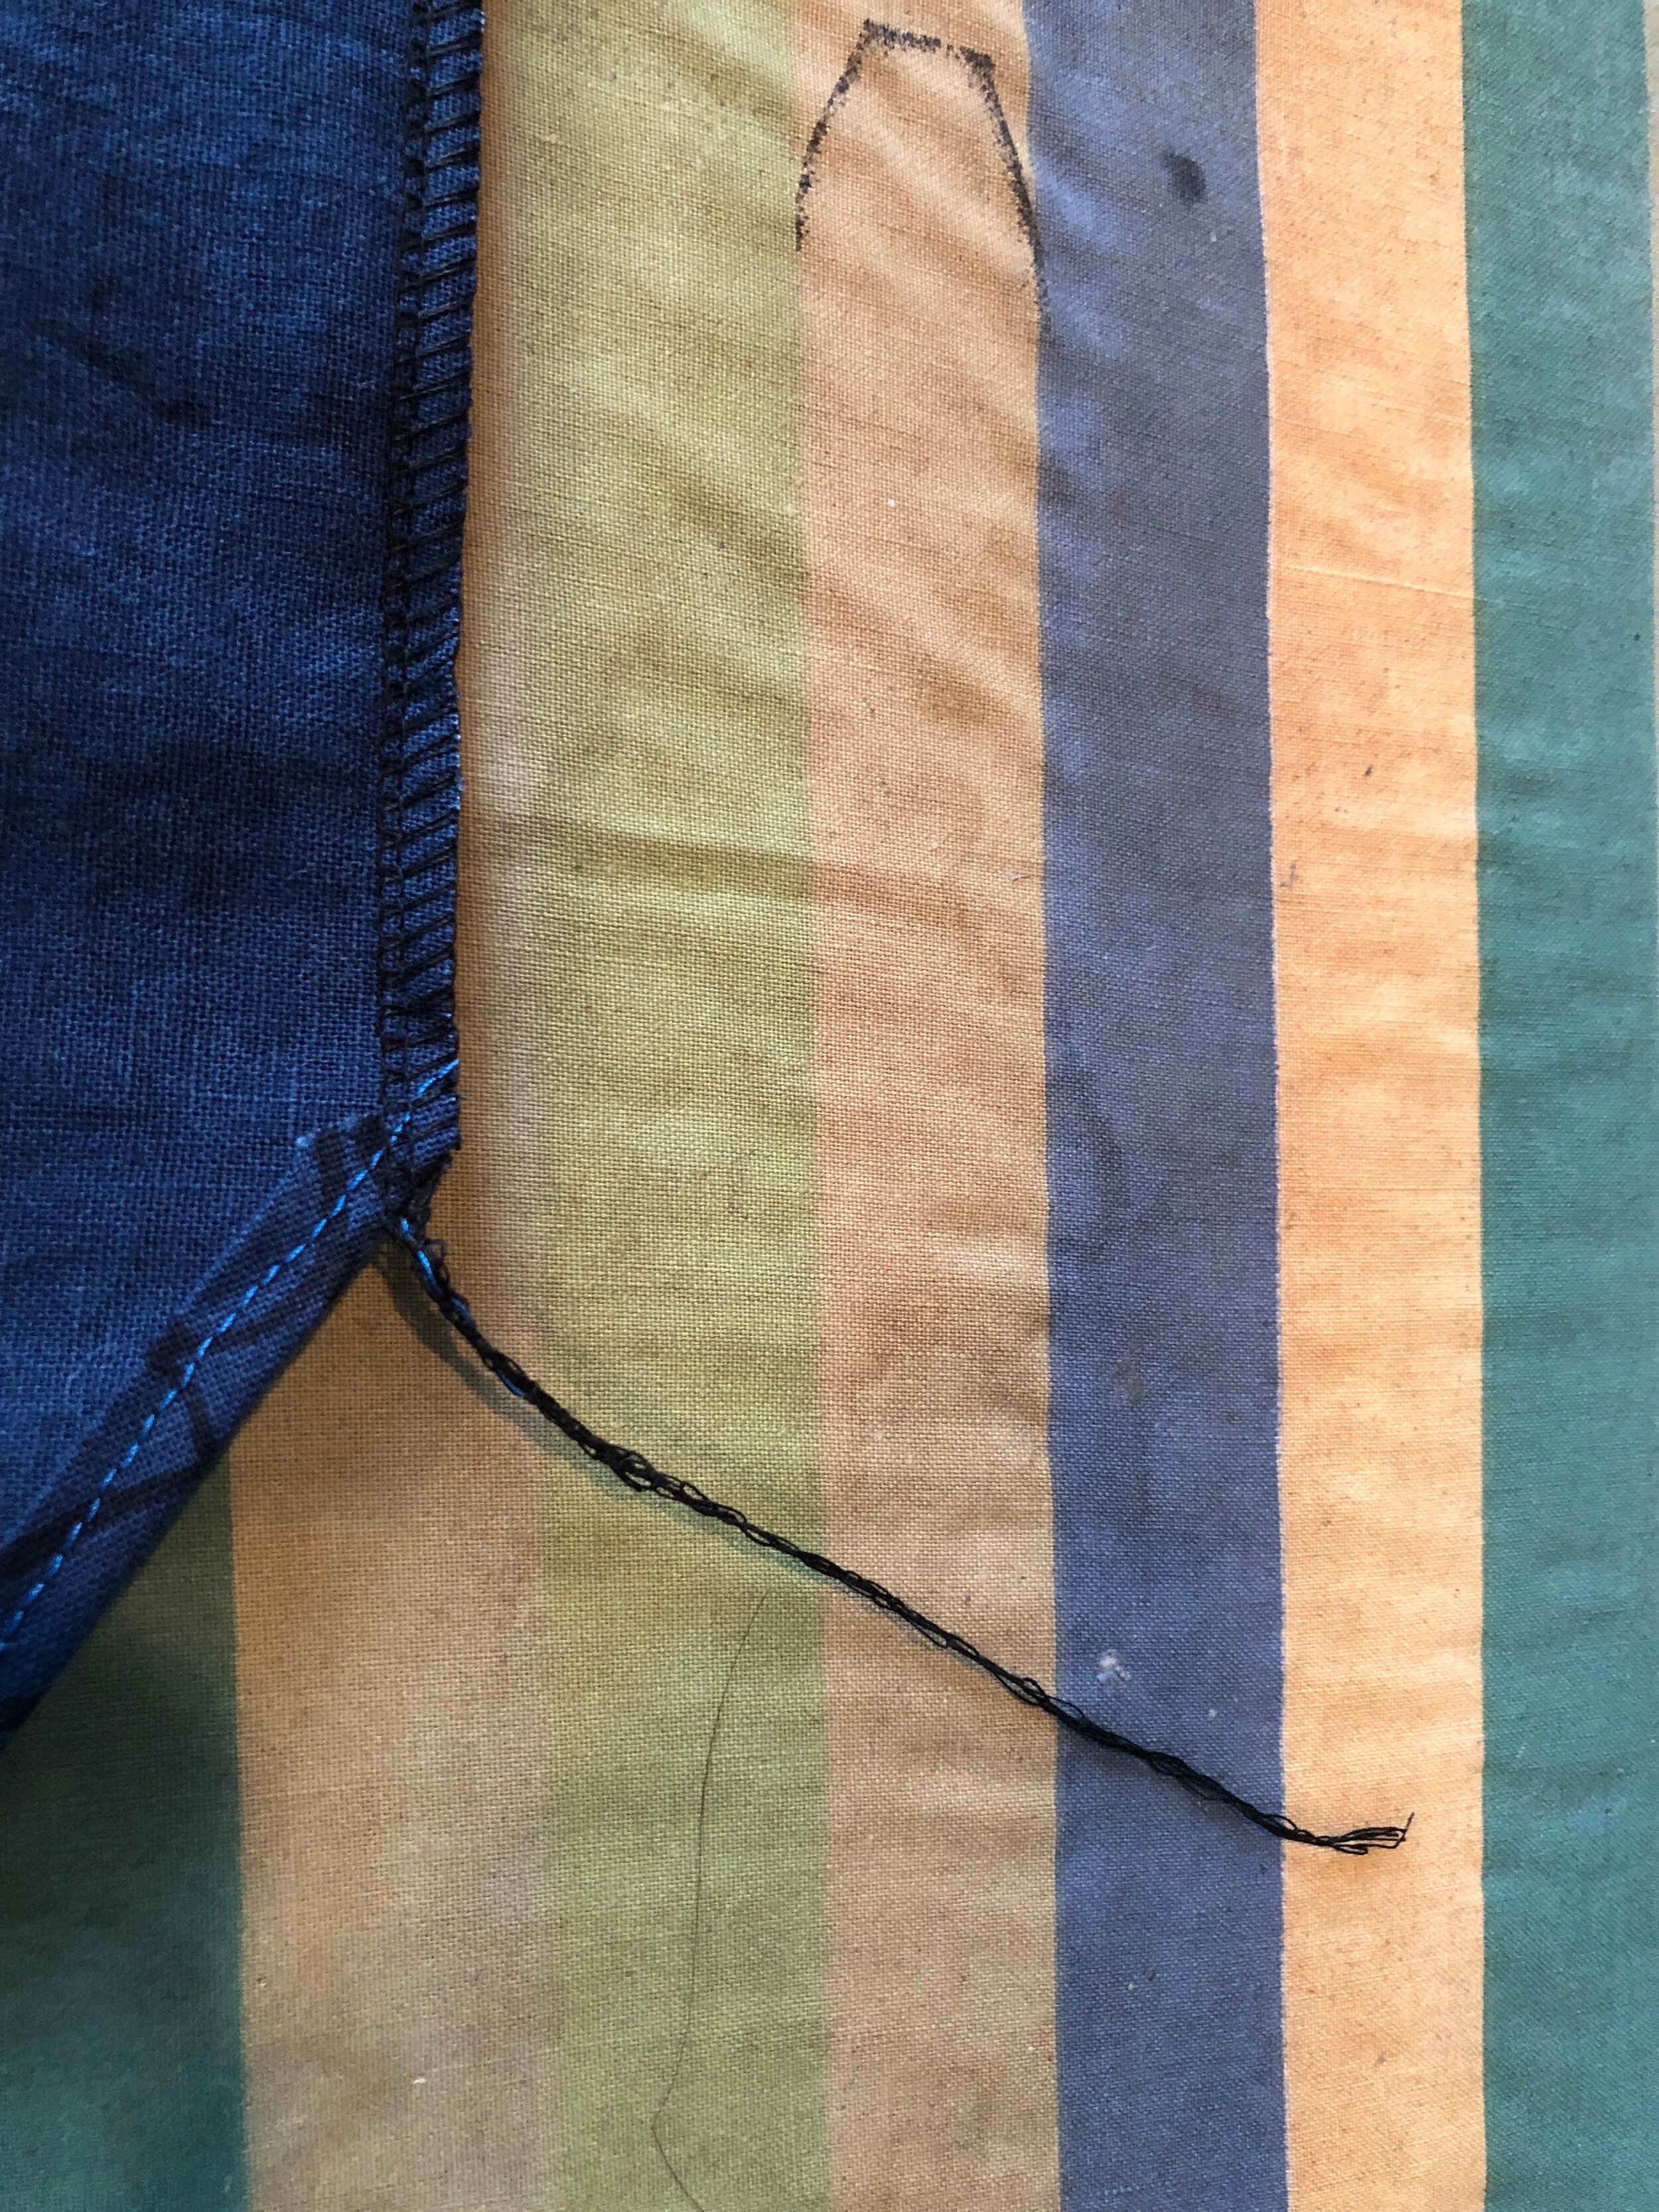
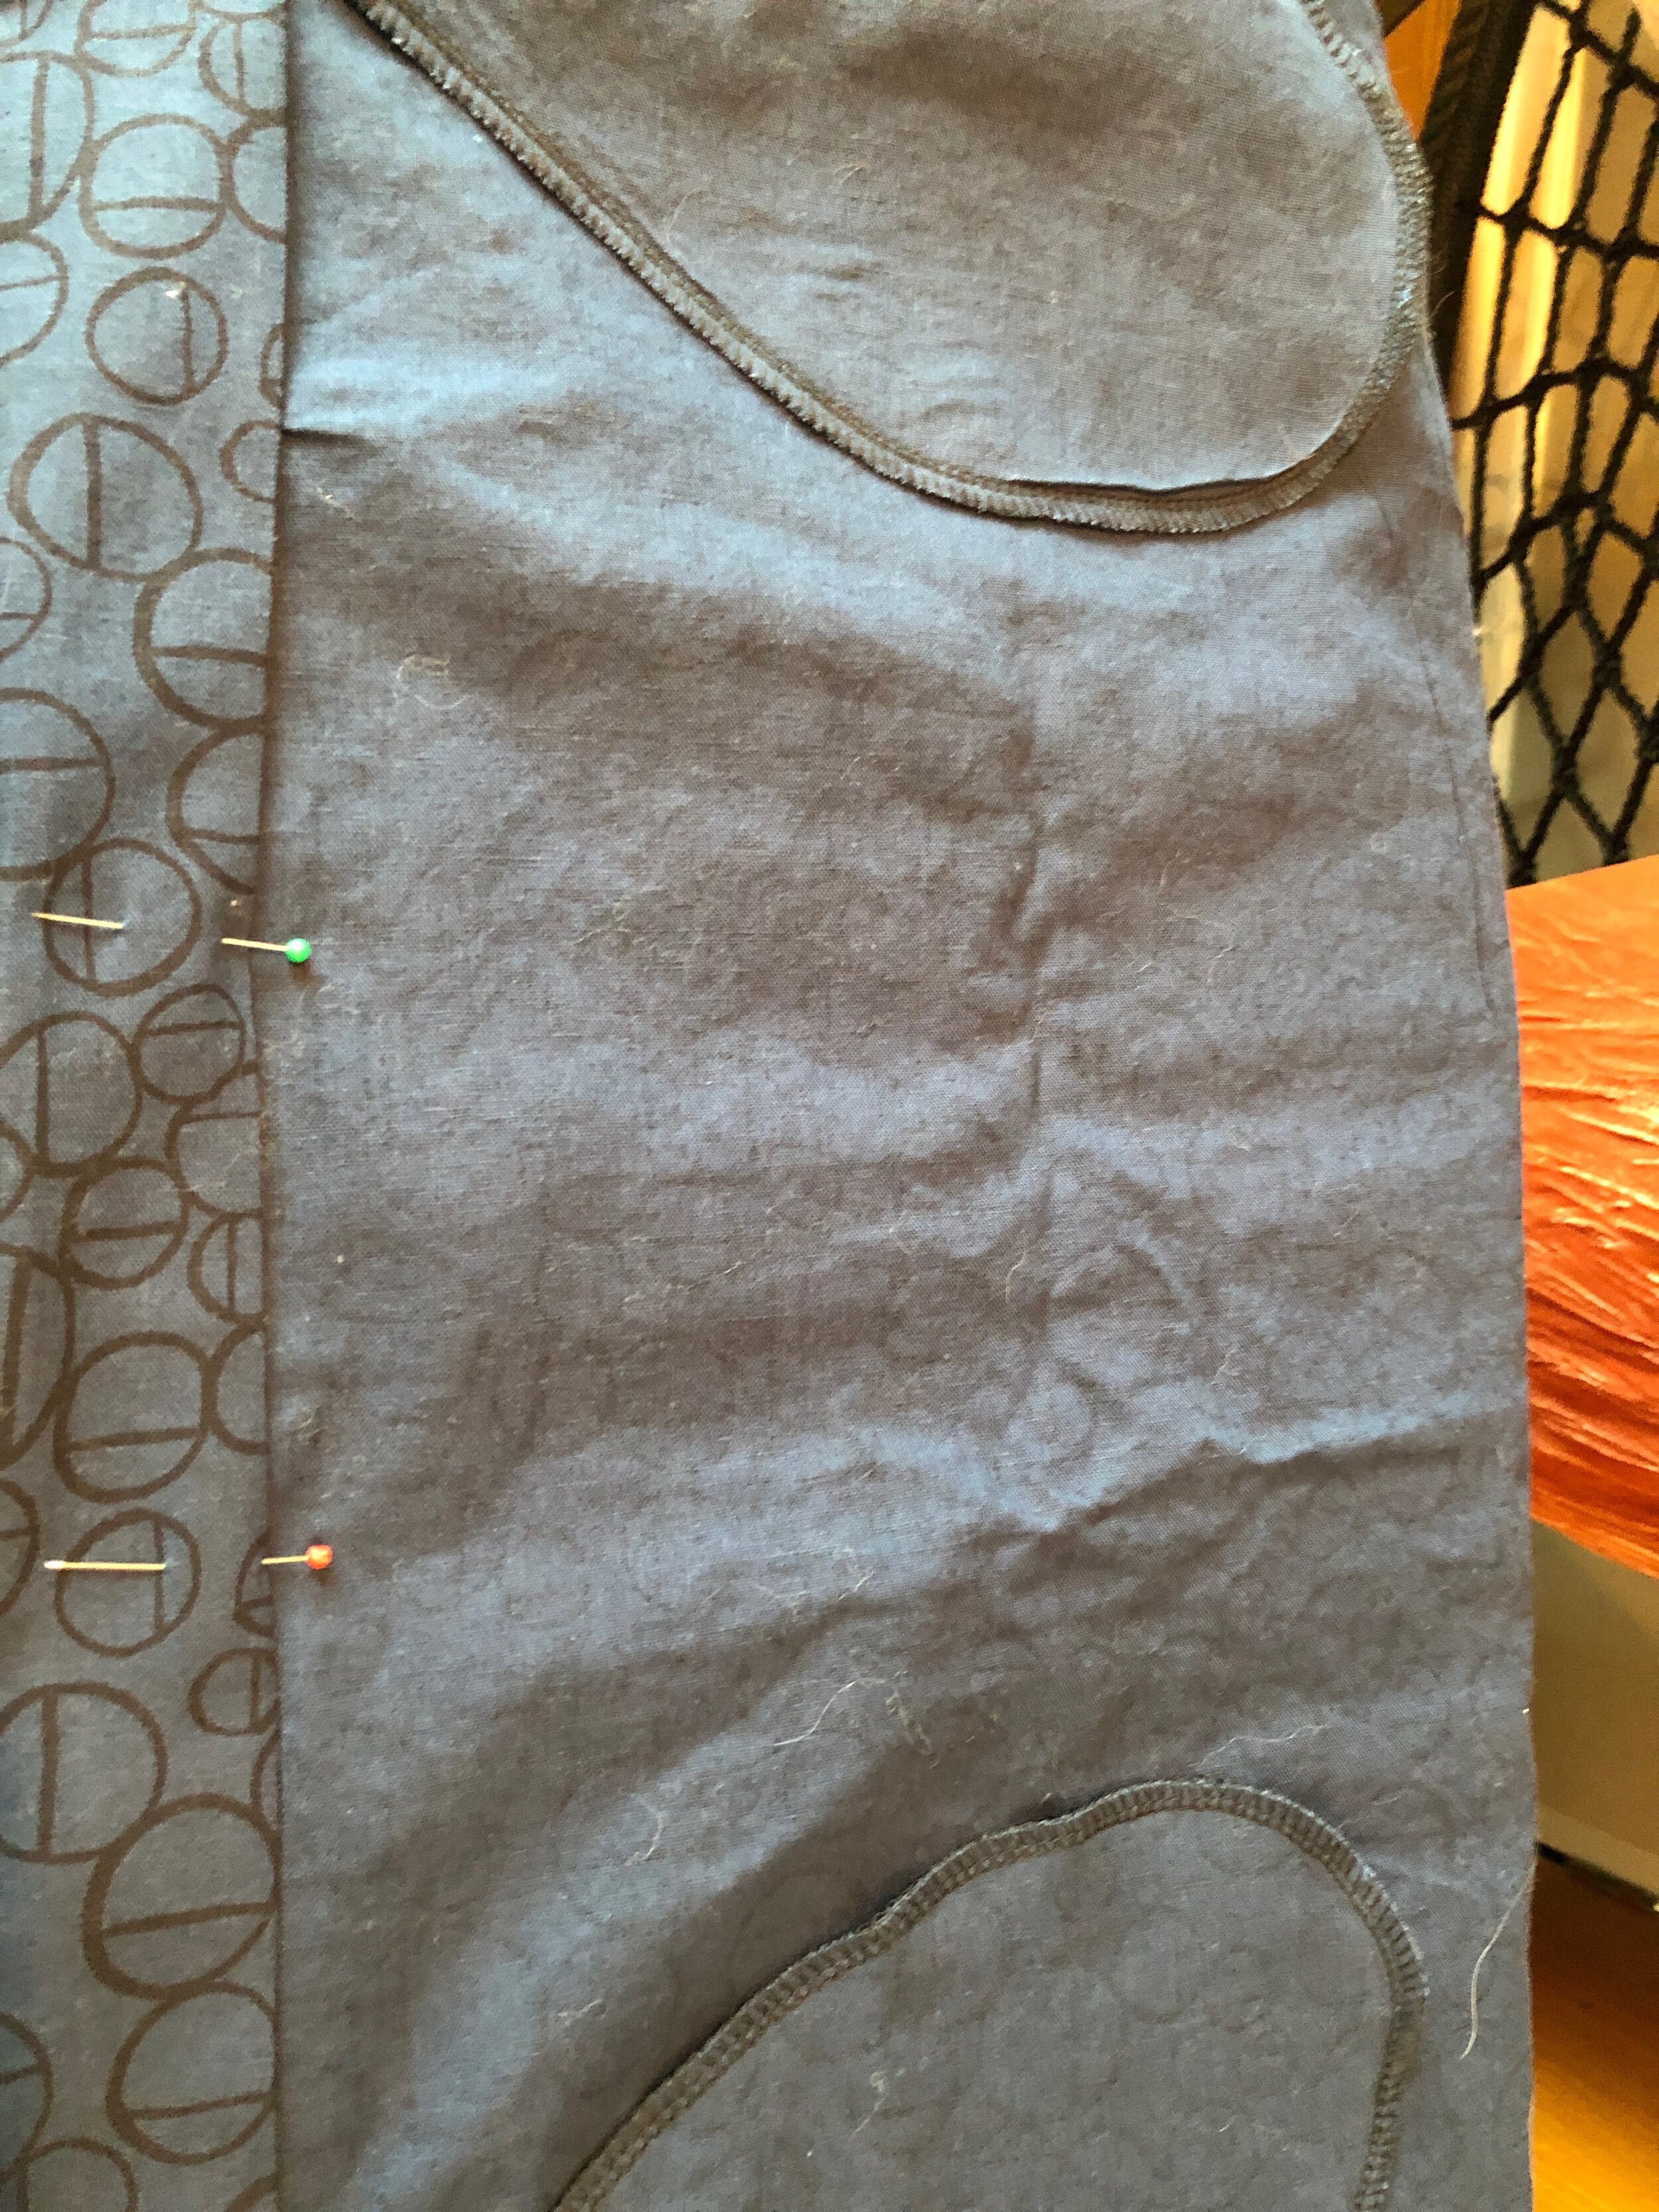
Press a piece of fusible interfacing underneath where the buttonholes will go on the WRONG side of the fabric to stabilize this area.
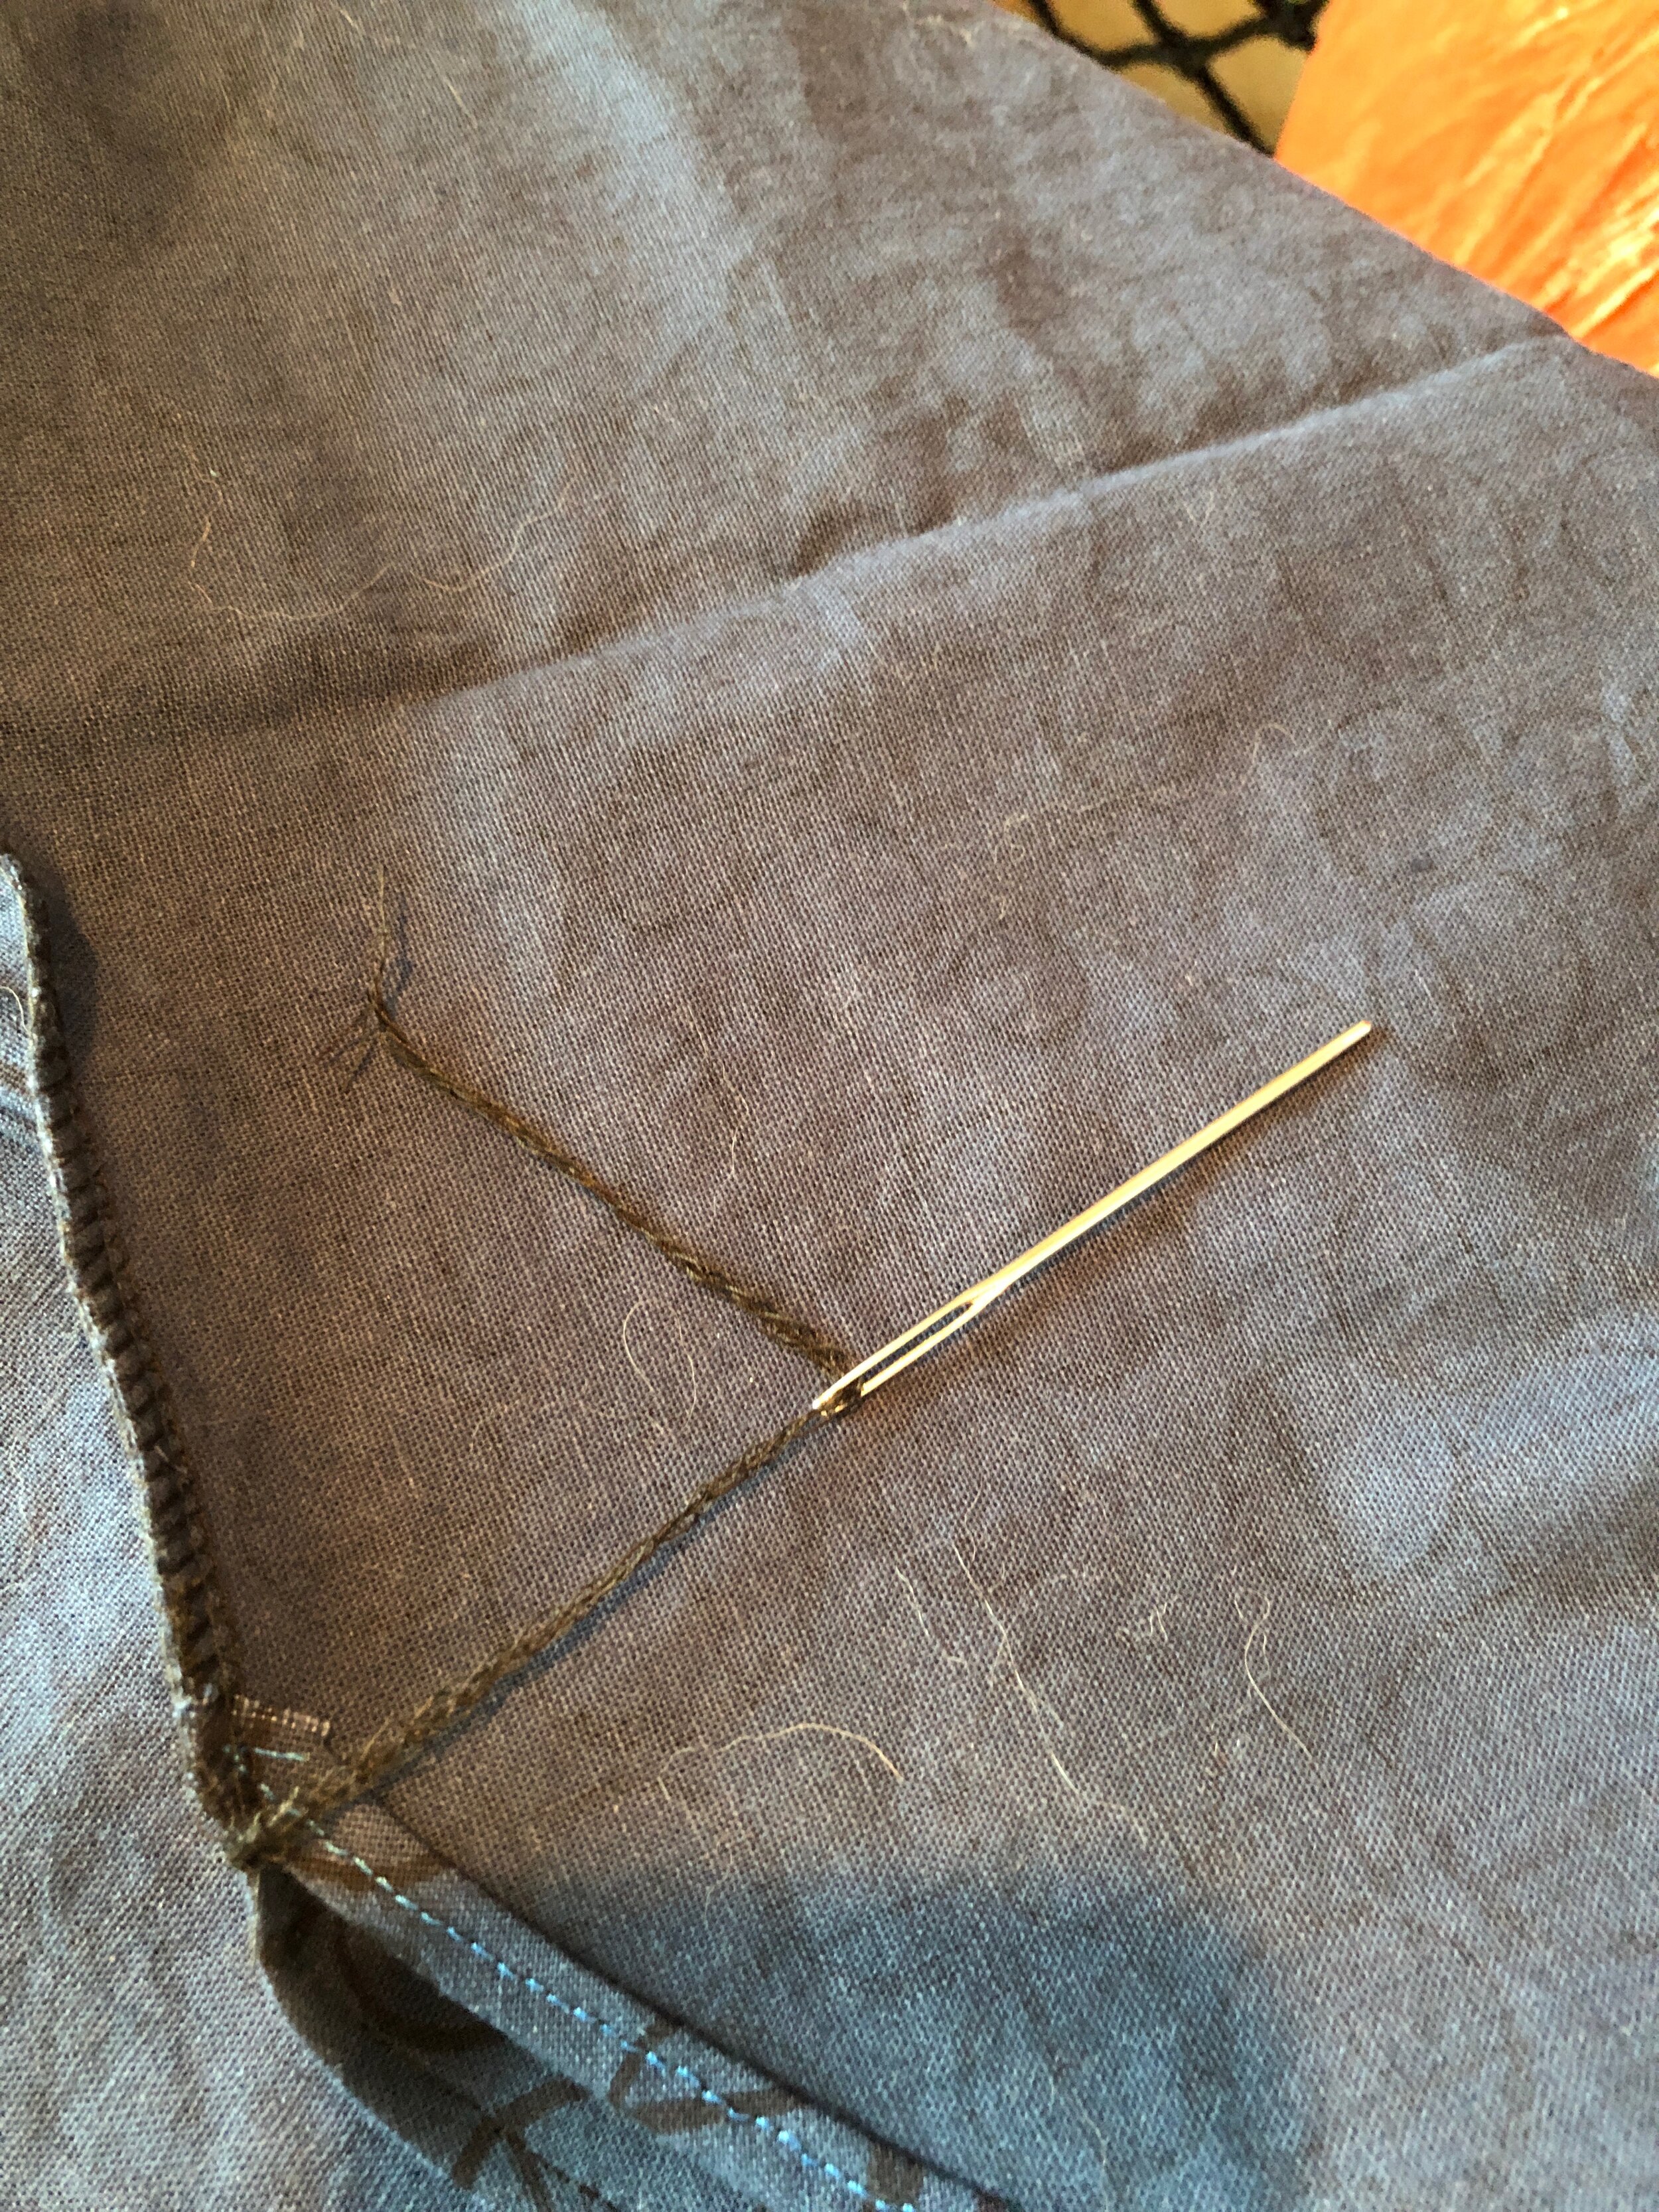
Sew two buttonholes about 1/2" long about 3/8"” apart from each other. This is where your drawstrings will exit. You may also affix grommets here, a larger grommet is the right size for your self-fabric drawstring.
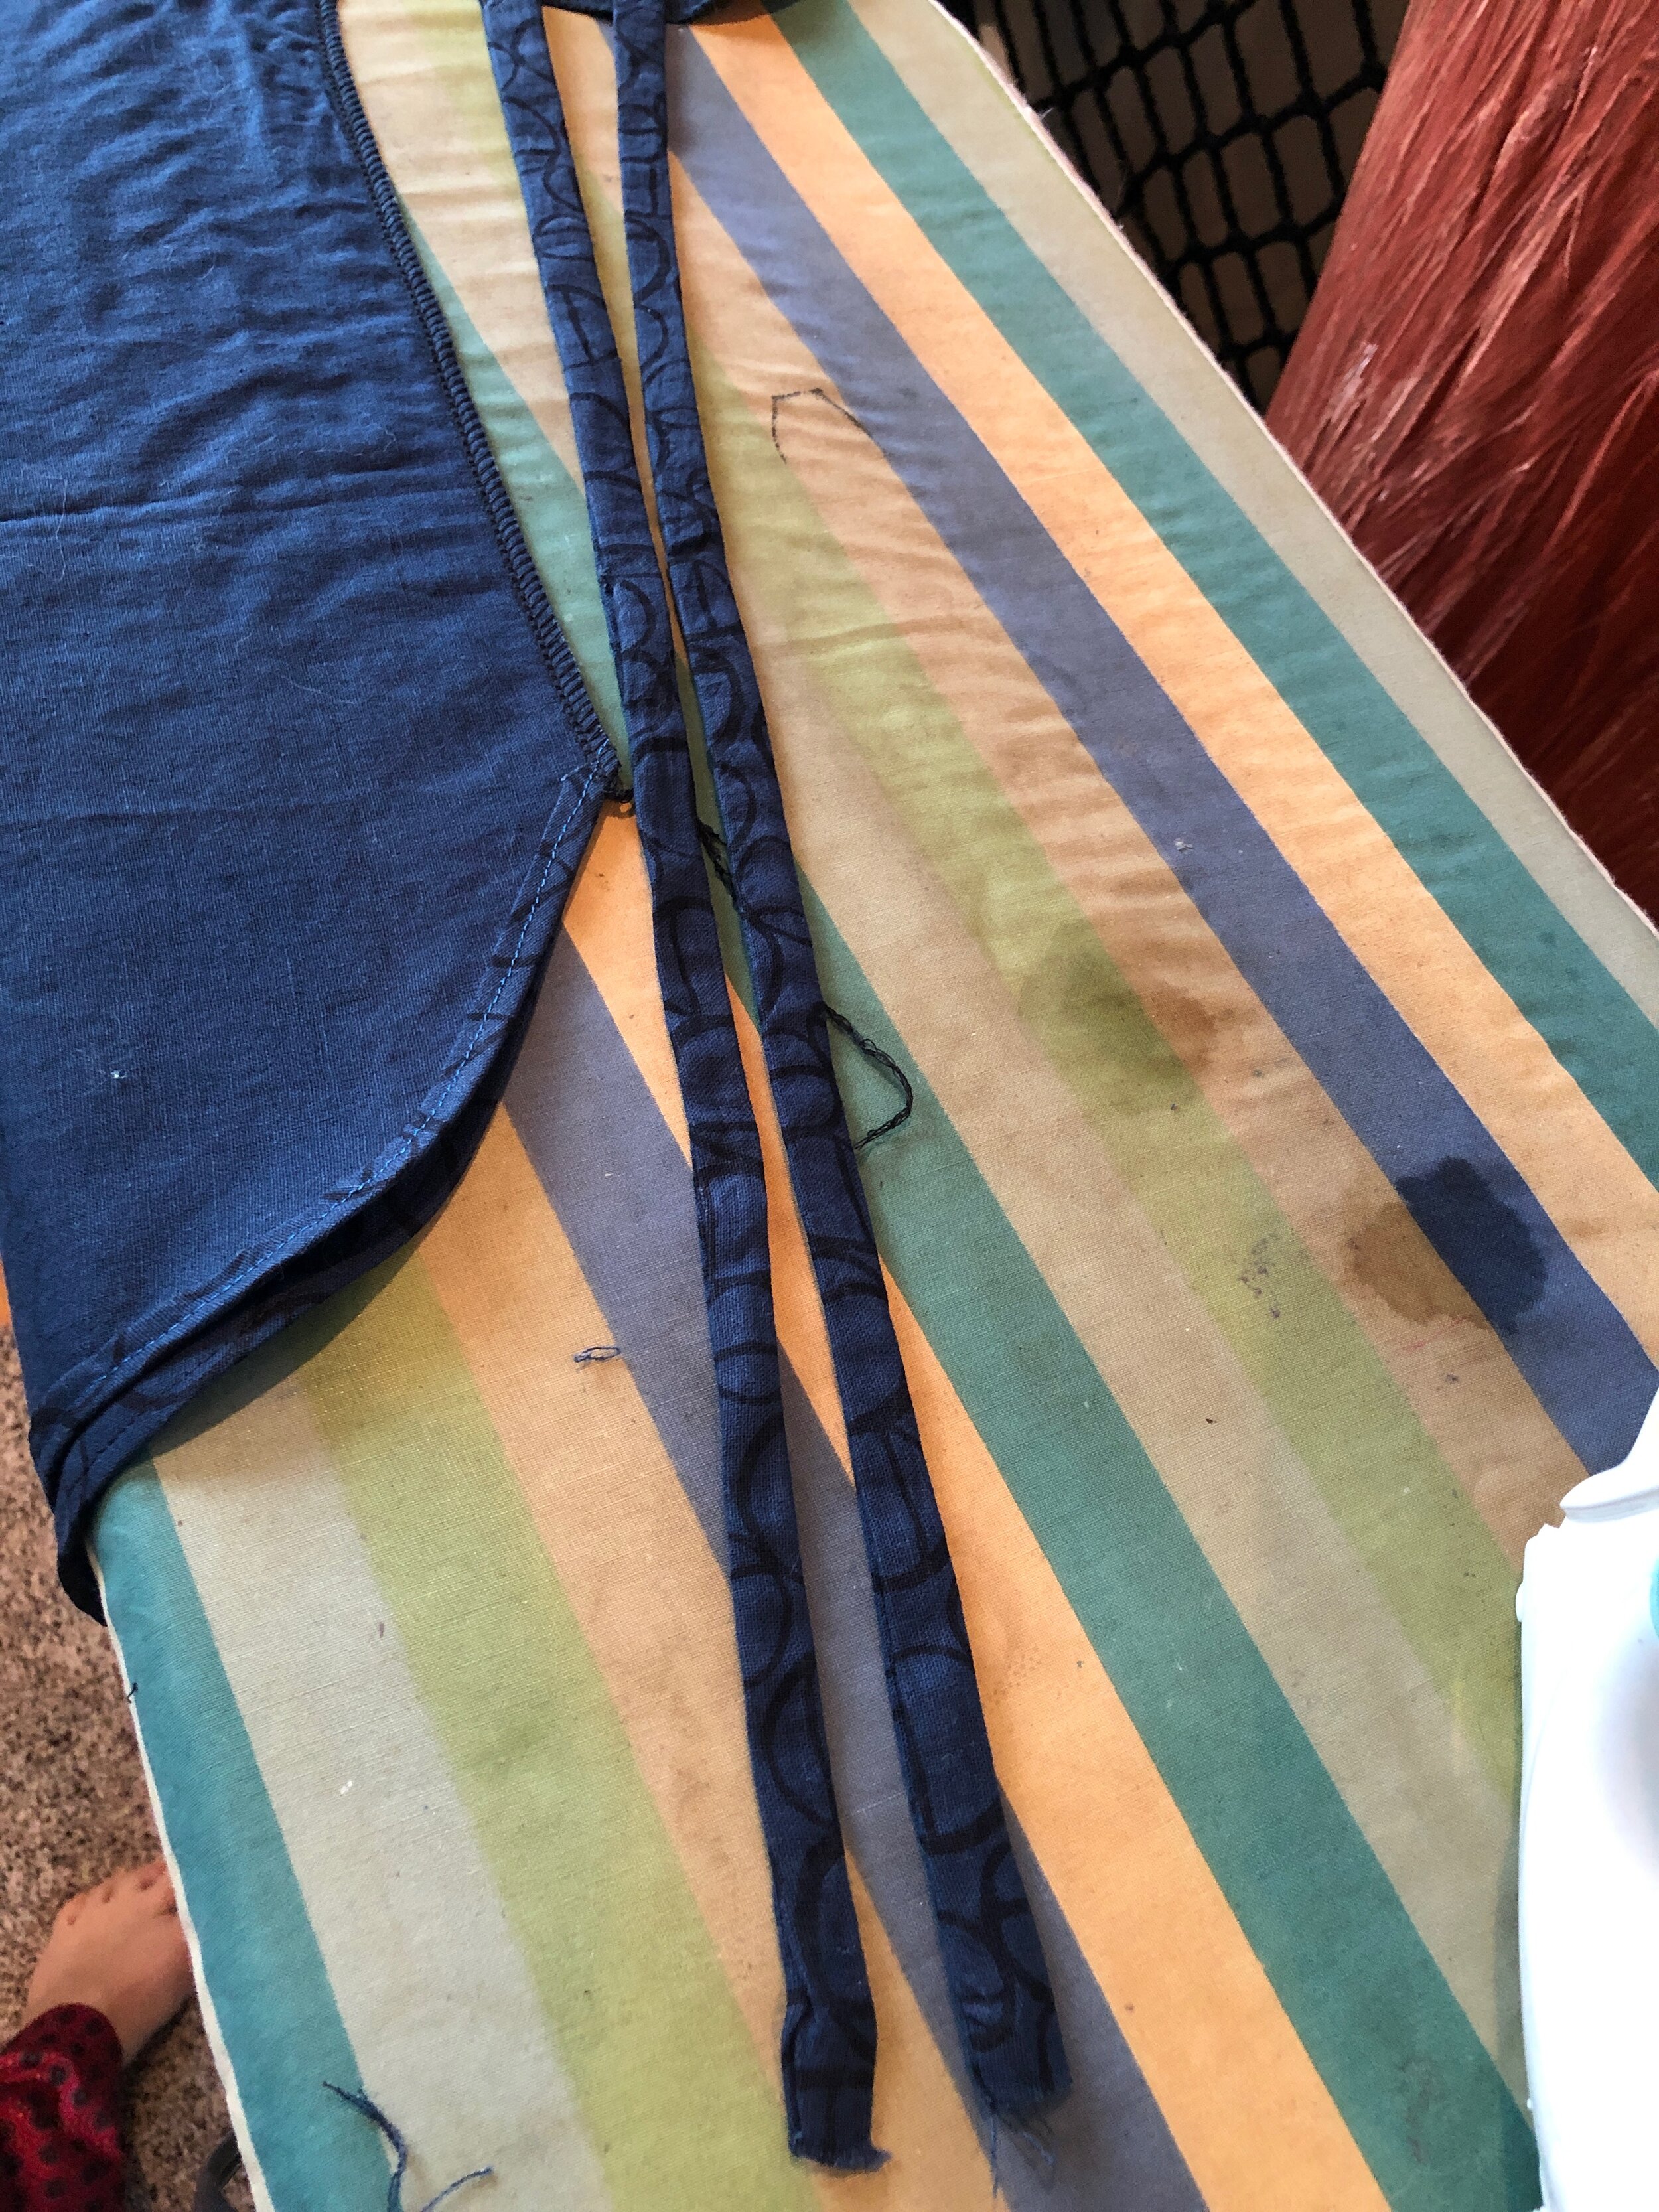
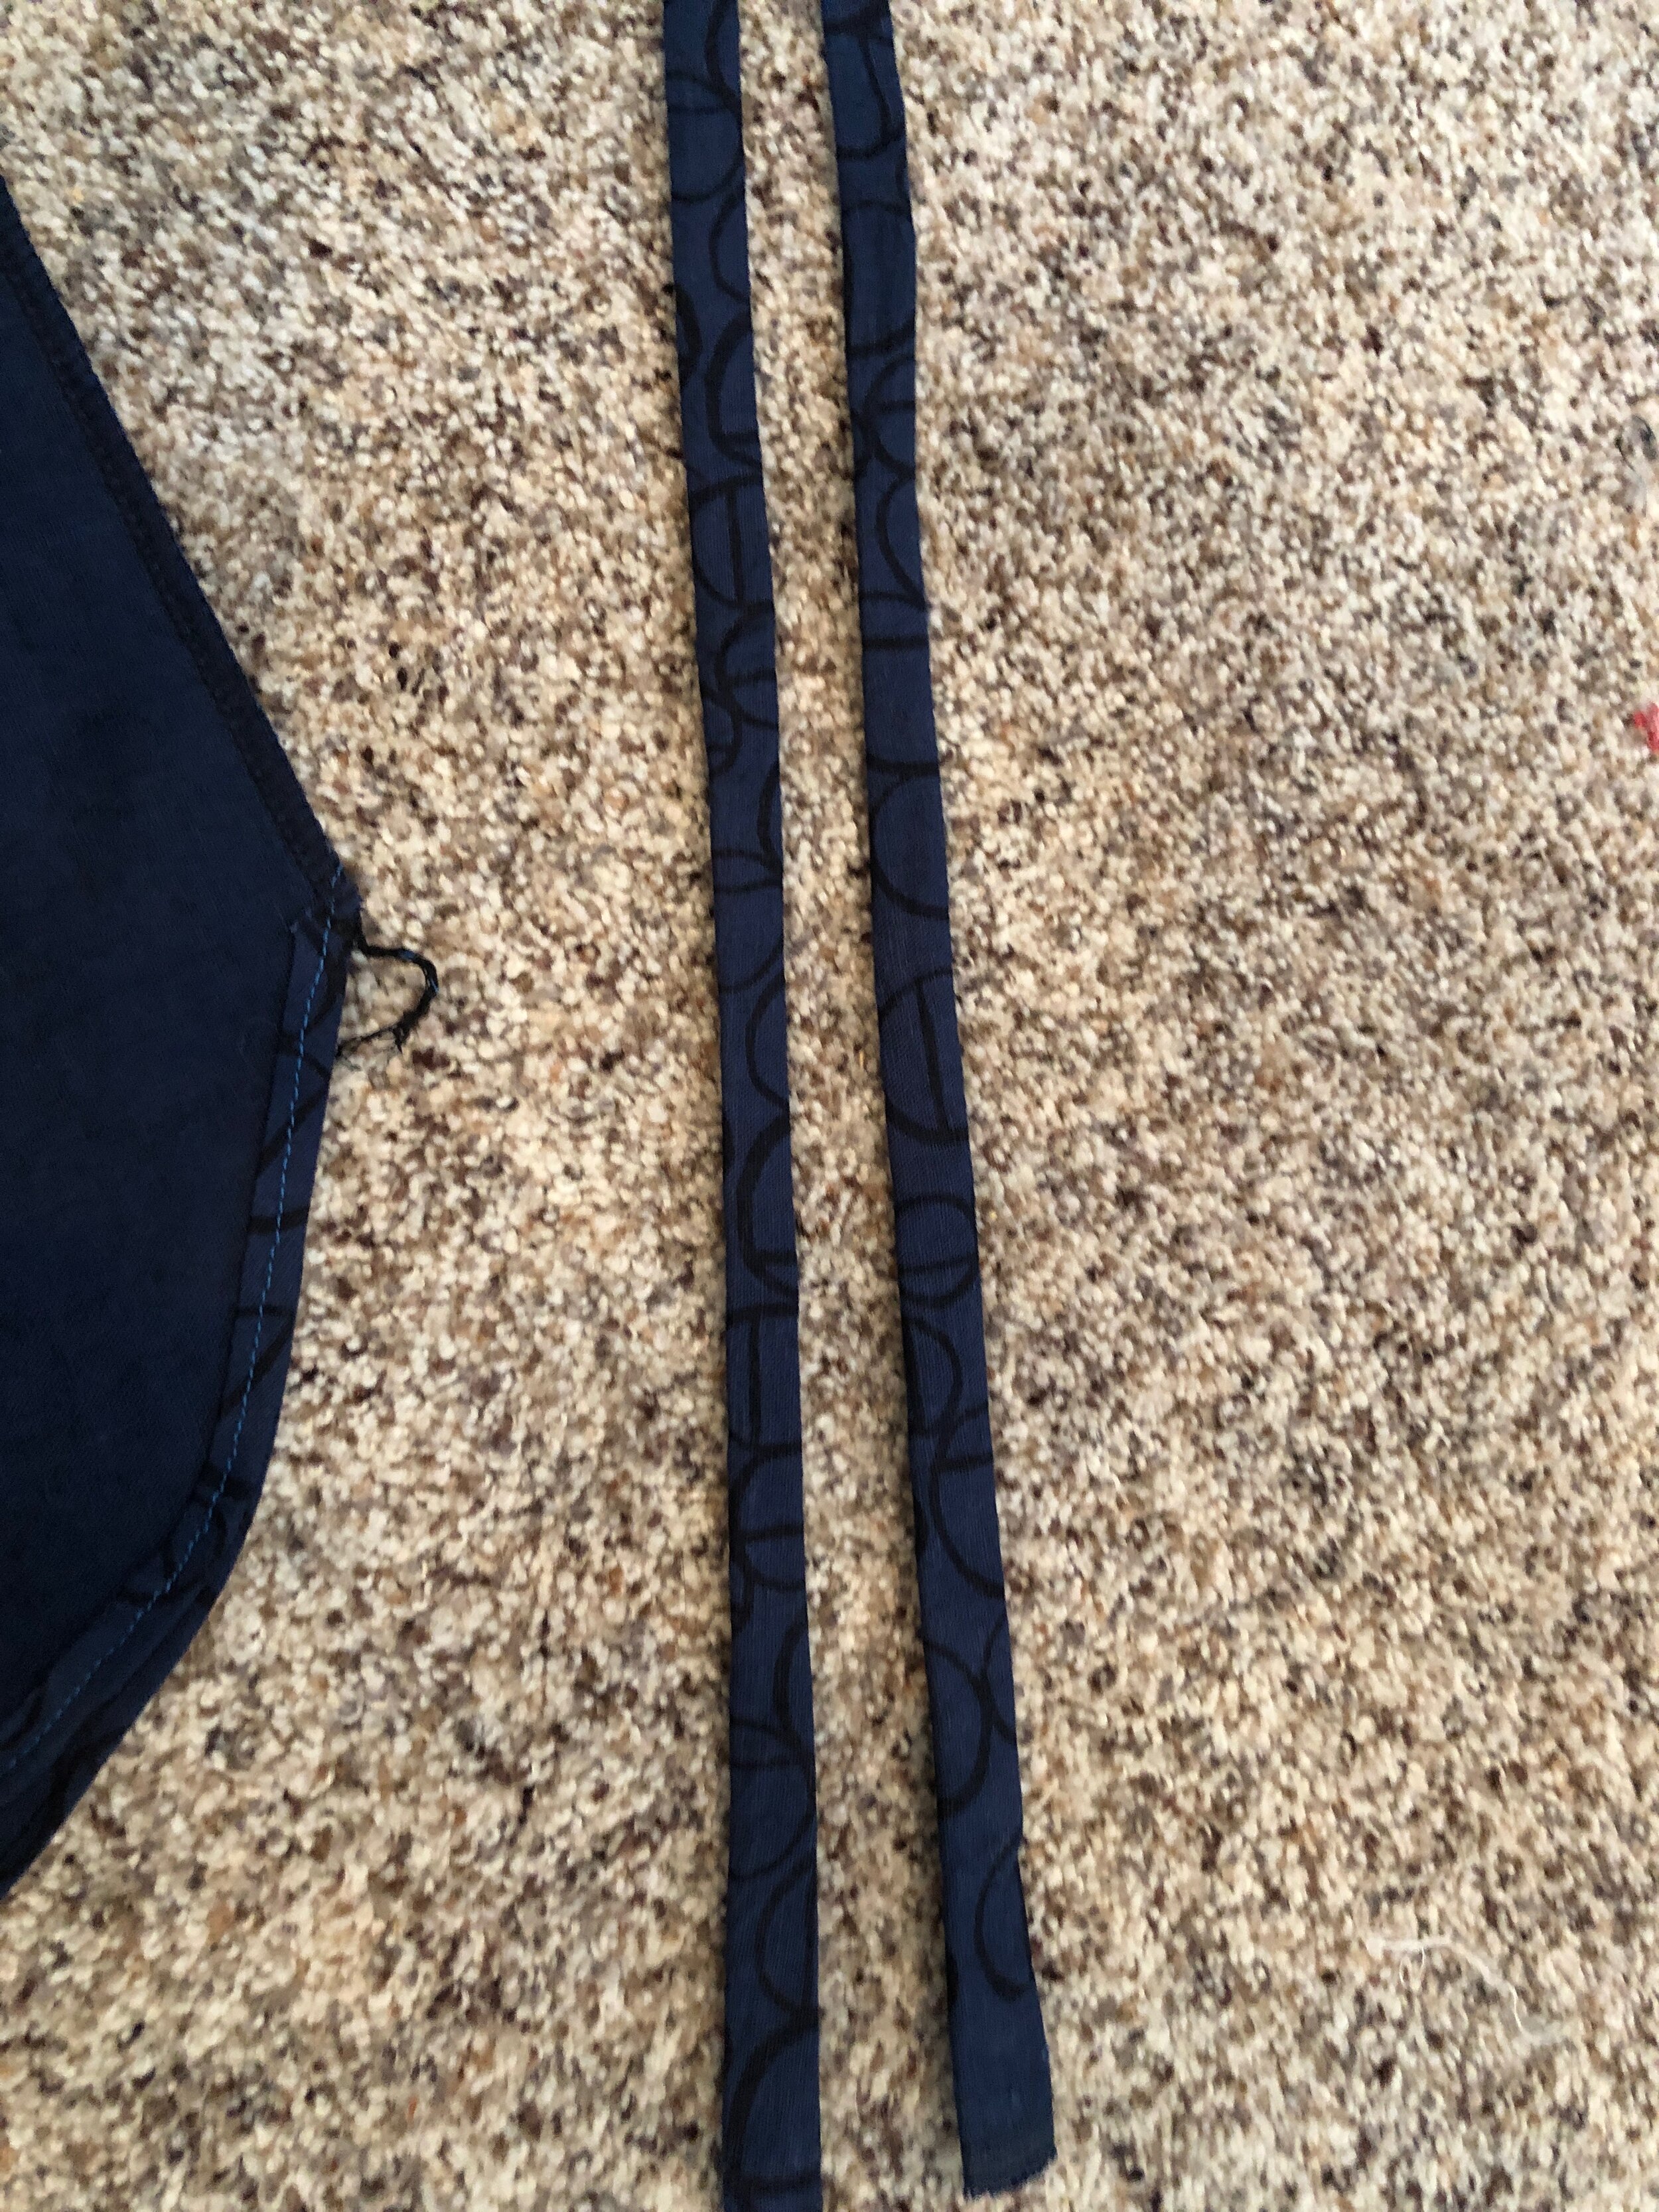
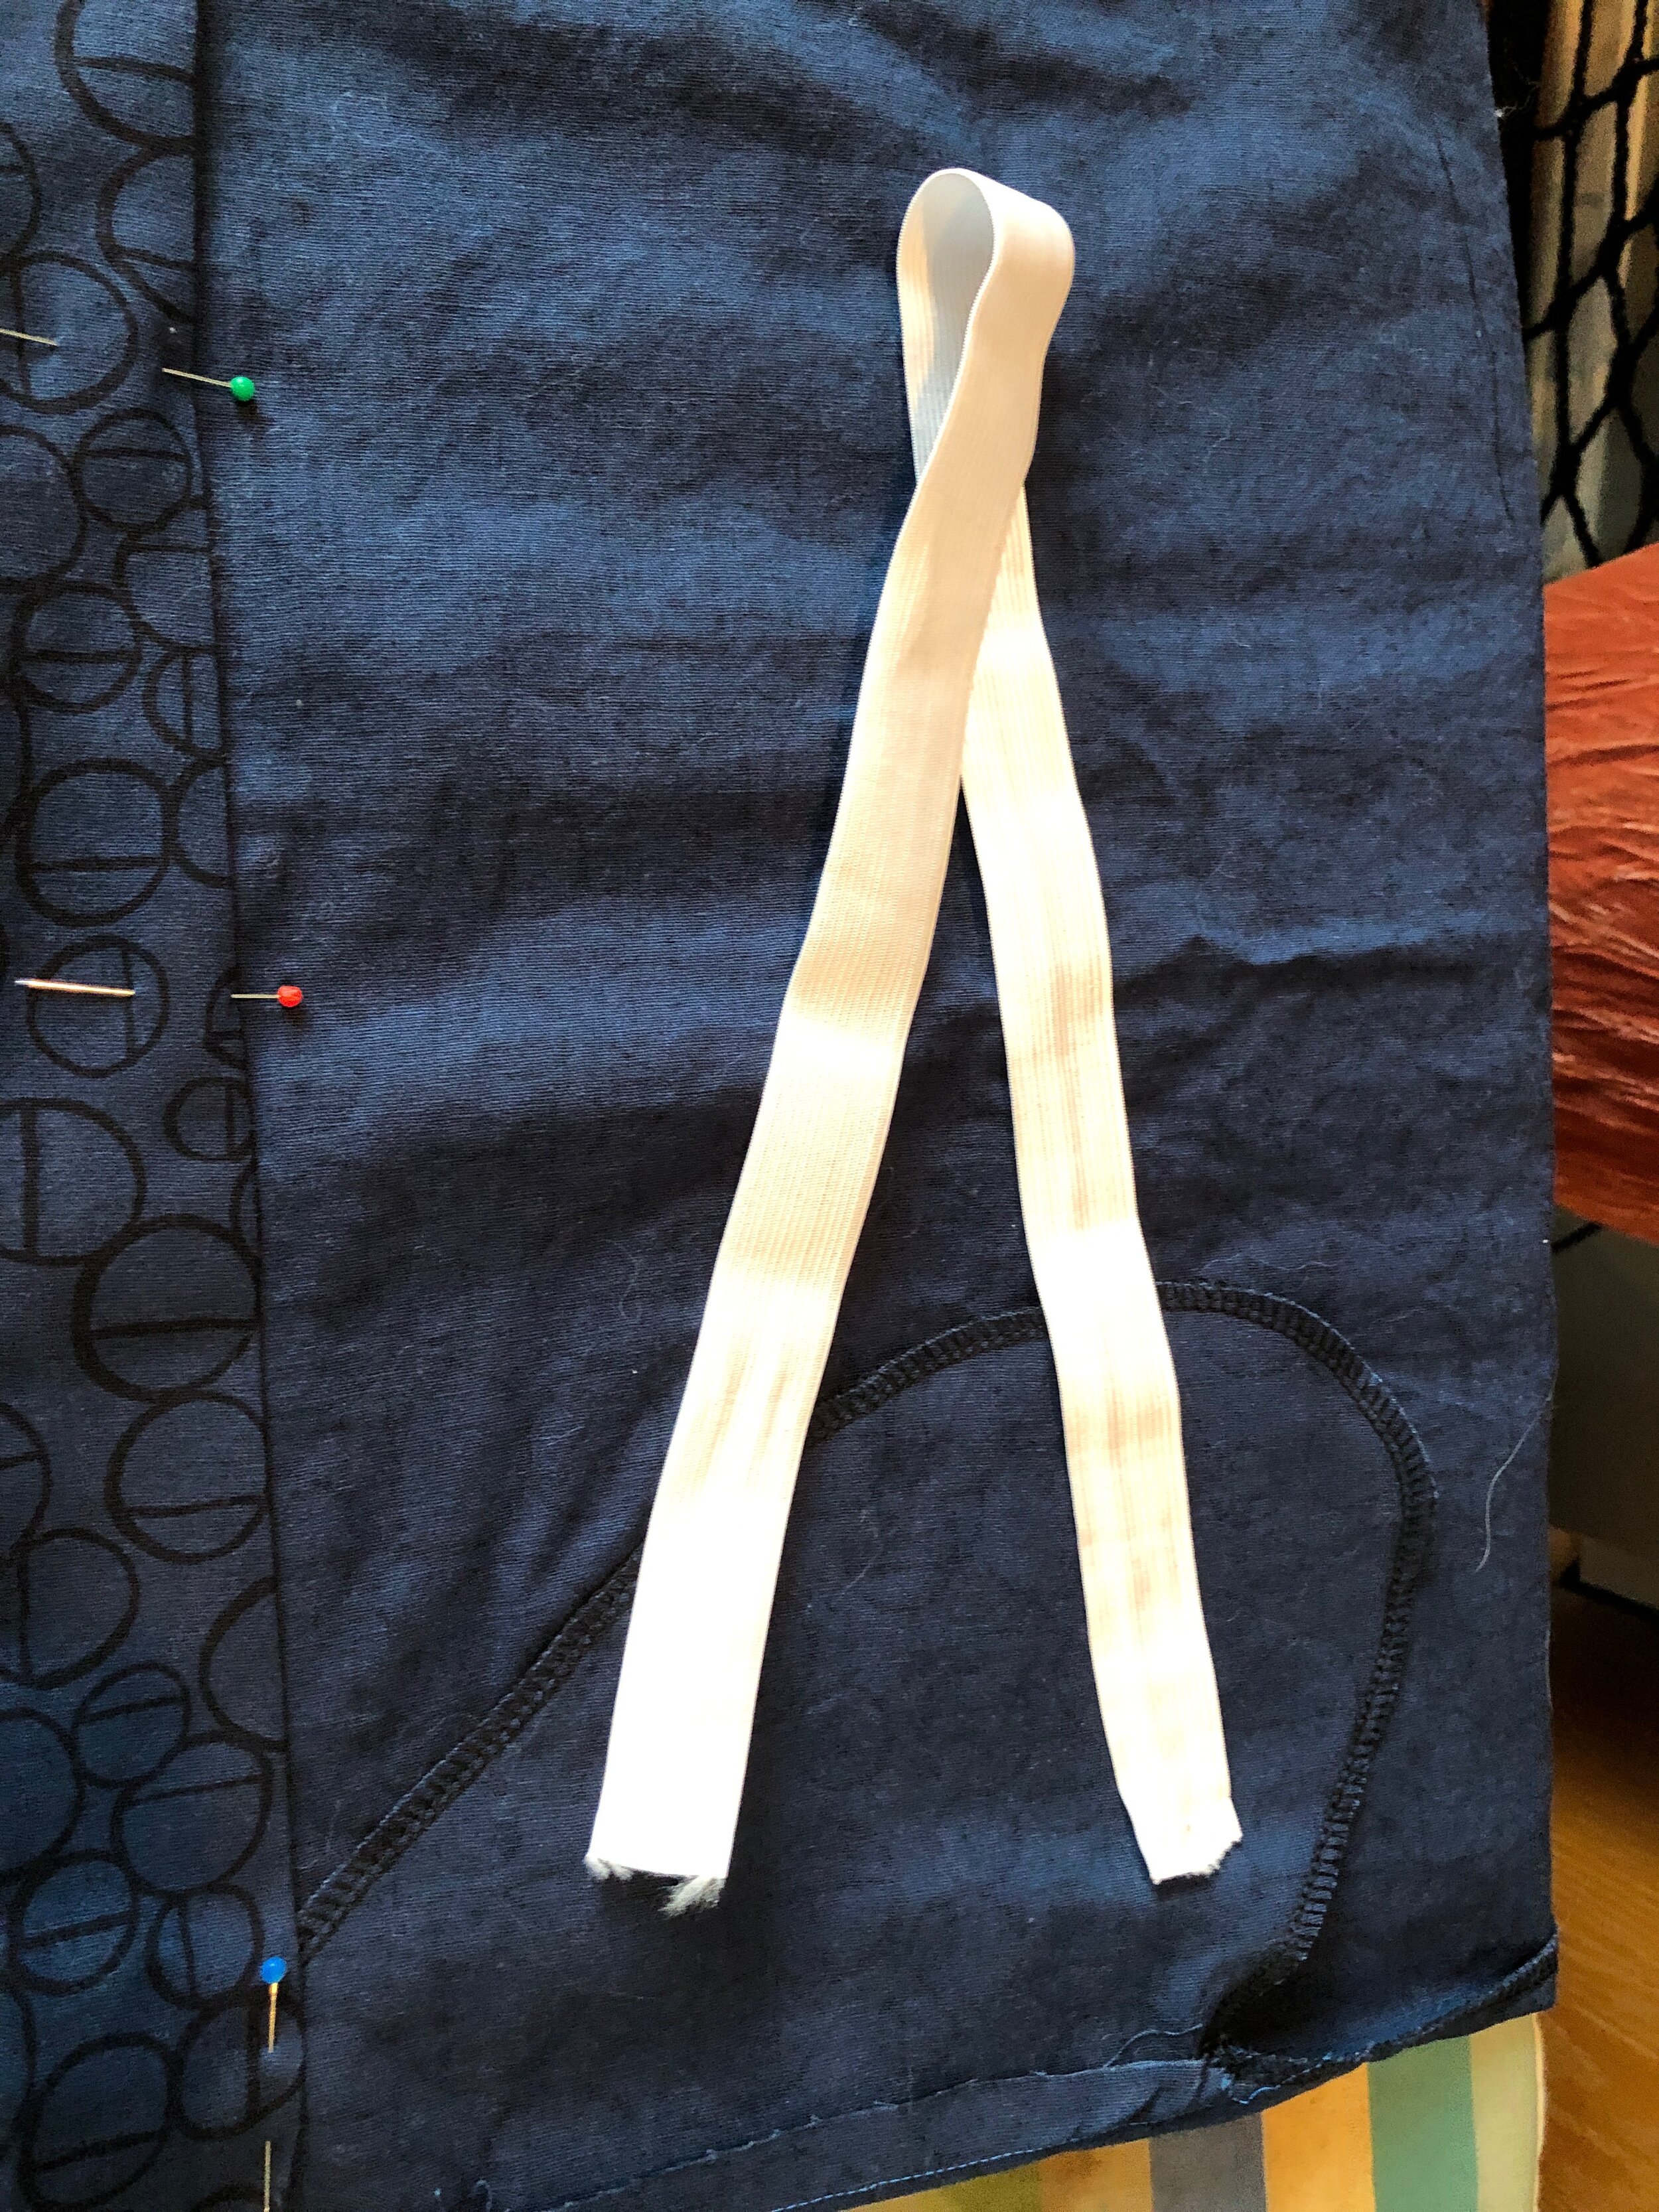
Drawstring: Cut a length of fabric 2” wide x 30 inches long. Fold in half lengthwise and serge the long end with a 1/4” seam allowance. You can use the same or contrast fabric for these.
Turn right side out and press. Mark this 15” and cut in half. Tuck in one end of each of the two drawstrings and slip stitch or top stitch closed. The raw edges will be attached to your elastic in a step ahead
If you’re using pockets, attach these now.
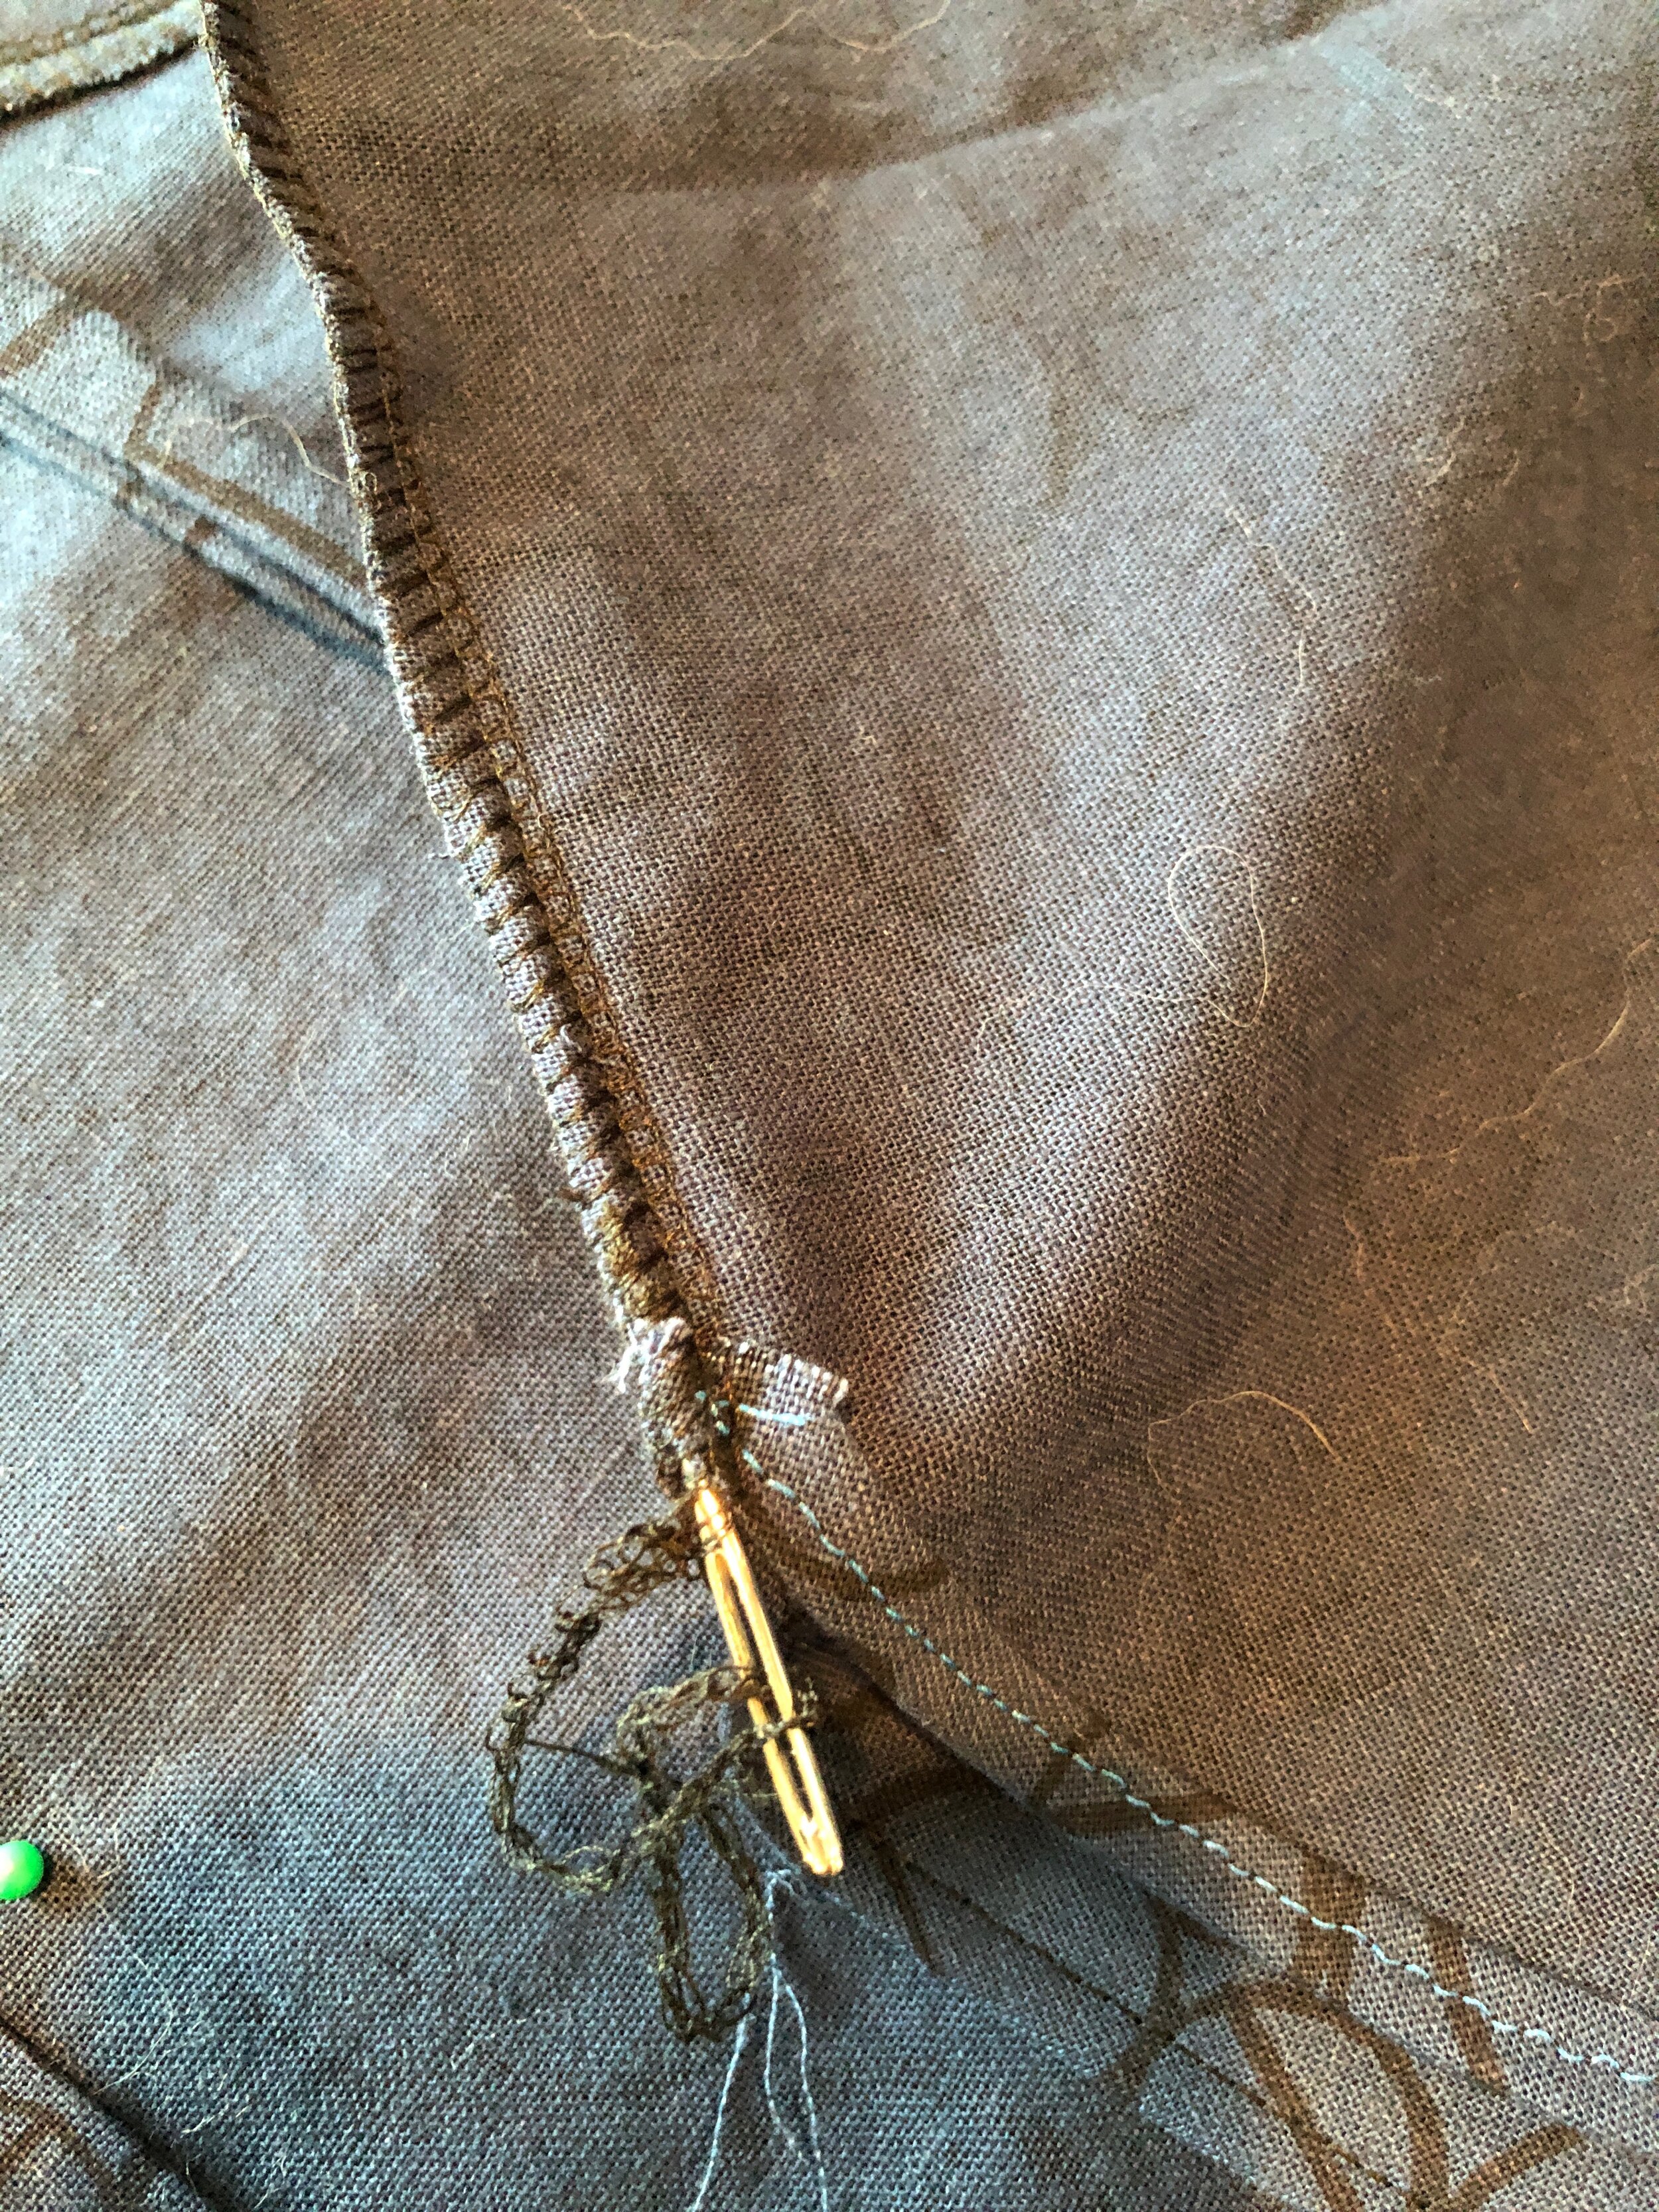
Sew the sideseams of your skirt, Leave long serger or thread tails at the bottom hem so you can thread them through a large eye embroidery needle and slide the needle and the tails into the seam 3-4” Trim the excess serger tail and let it slide inside the seam, enclosing the thread end and securing the seam.
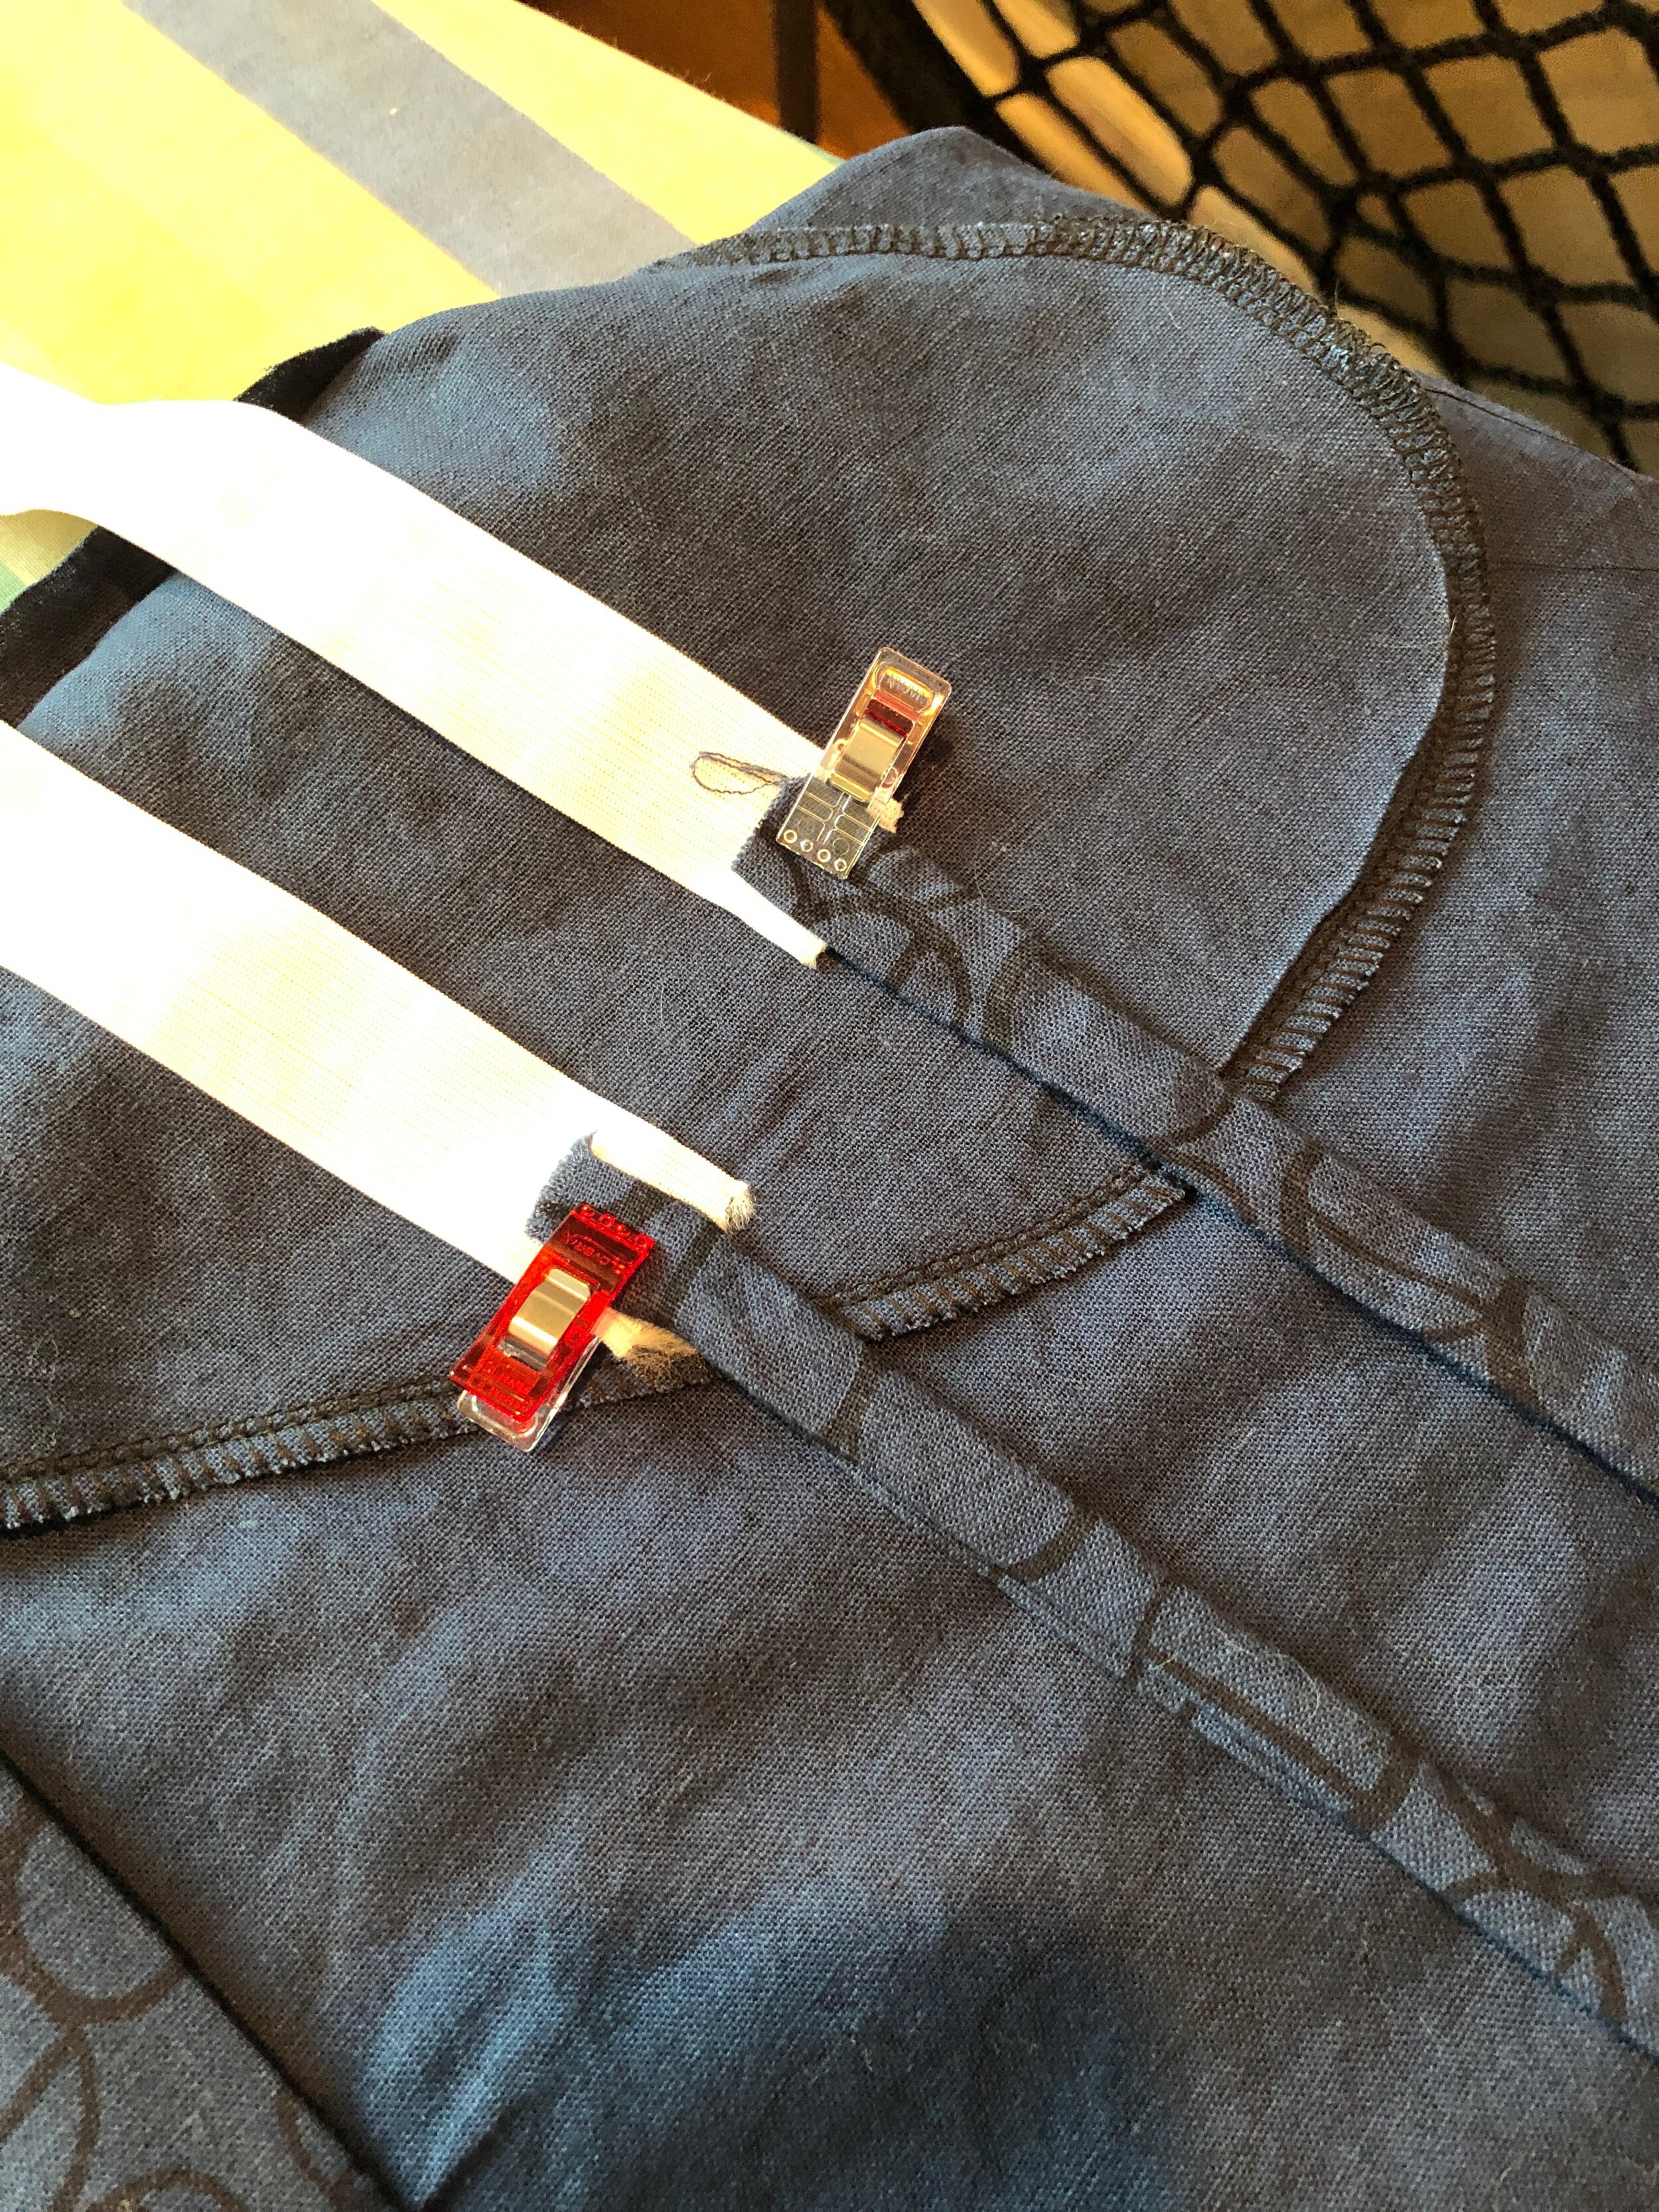
Edge serge the waistband top edge. Fold down 1” and press. Stitch a casing along the serged edge, leaving an opening near the drawstrings in FRONT.
For the elastic, use your waist measurement minus 10”
Pin the raw edges of your drawtstrings to each side of the elastic and try on. The elastic should not come all the way around your waist, but the drawstrings should easily tie in front with enough tail to be attractive. If you need to make longer drawstrings, now is the time, If you need to shorten the elastic to ensure it doesn’t peek out of the holes, do so. Stitch the drawstrings to the elastic using a zigzag, securing it back and forth several times.
Insert the elastic into the skirt waistband as usual, but then pull the drawstrings through each of the holes on the outside, Try on the skirt. Then stitch the waistband opening closed.
DONE!
For a casual look, try the skirt with sneakers or sandals
For a dressy look, tall or mid calf boots or booties look great with this style skirt.
Top with a slouchy sweater or blouse with a half-tuck in the front waistband to expose the drawstrings.
This skirt looks best with a shorter jacket like the Moto Jacket, the Double Collar Princess Jacket (cropped)
Discuss and share your progress photos online at our Facebook group! https://www.facebook.com/groups/ChristineJonsonSewingPatterns/
The BaseWearTwo pattern comes with the Straight Skirt (used for the sew along), the Taper skirt, with or without a flounce, the Base Wear Tee shirt pattern for a great fitting basic tee, sleevless or any sleeve lenth with optional mock or standard turtleneck. A great basic pattern around which to build a me-made wardrobe! The skirts are any length from mini to max.
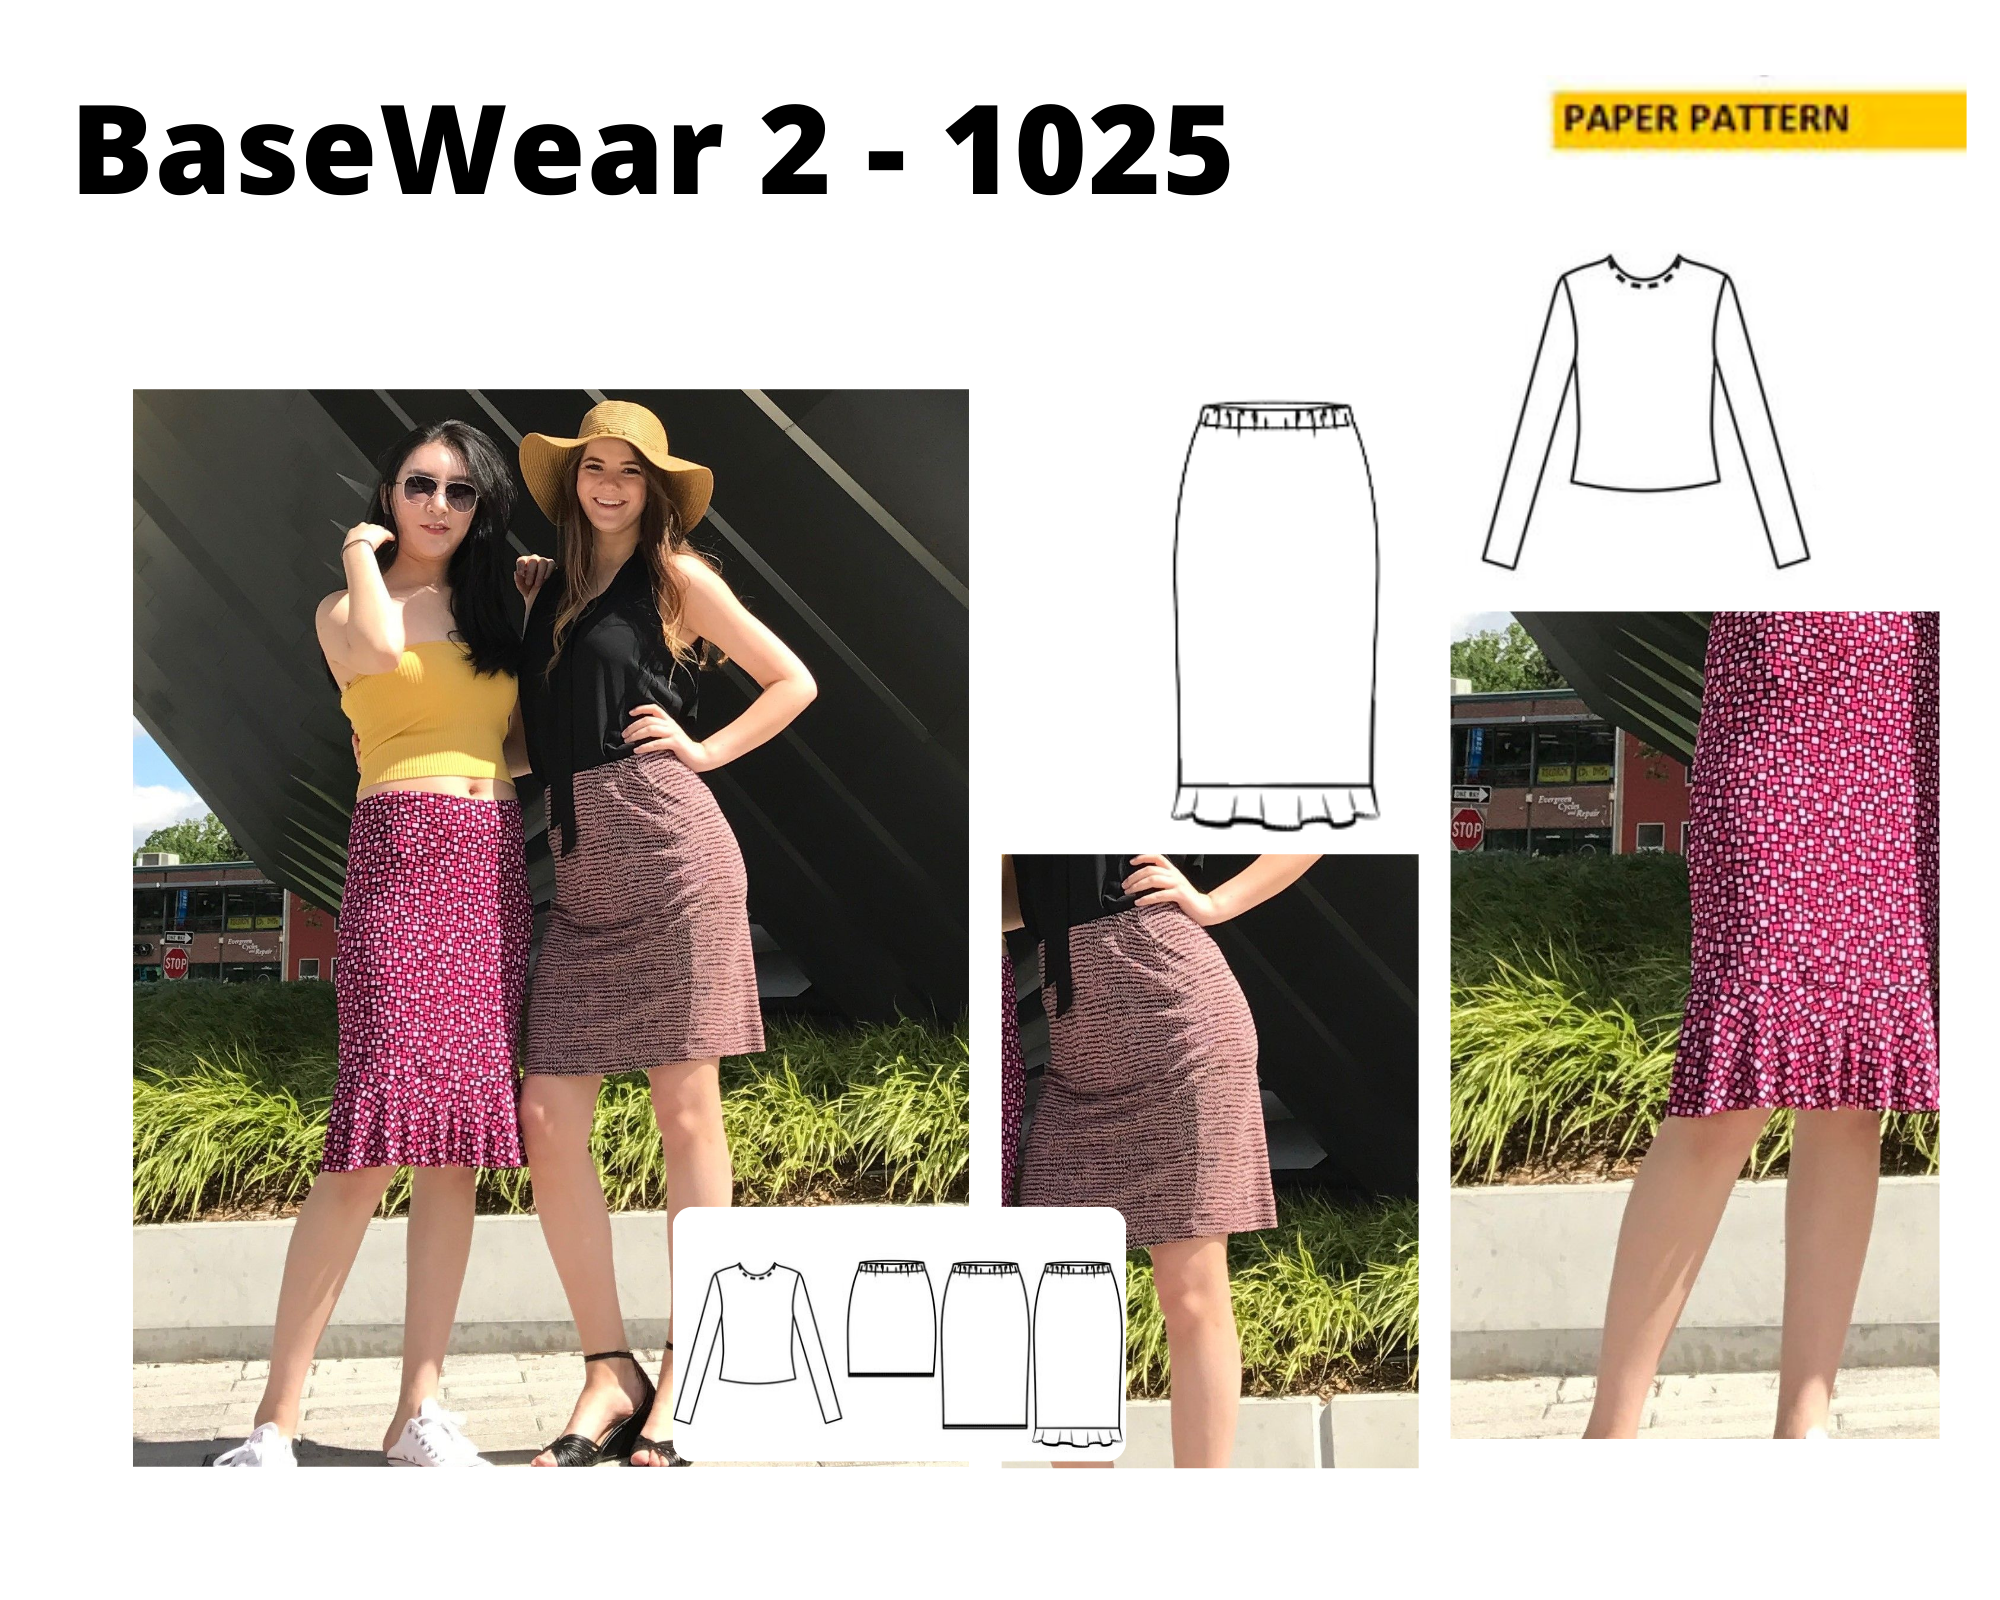
Straight Skirt: Close-fitting straight skirt with an elastic waist and shaped hip, straight to hem; optional bias flounce.
Taper Skirt: Tight-fitting tapered skirt w/elastic waist & shaped hip tapers to hem.
Top: Hip-length top w/ shaped waistline and optional ruching.
Multi-Sized:
Straight Skirt and Taper Skirt: 4 - 22
Top: XS - XL