
Sewing your own pants: three step pant fitting
I doubt there is a sewing subject that has been discussed more, yet yielded less positive results than that of successfully fitting a pant pattern. I will throw my hat into the ring with my pant pattern #1010 and the following thoughts on how to alter the pattern so it fits great. This pattern is perfect since it is very simple - just a front, back and facings.
The first thing to understand is that the crotch area of the pant is never to be changed. If you decide to redraw the crotch curve, don't! The second, choose the size pattern to be used based on the actual tissue pattern measurements of the pattern, not the body measurement chart.

My pattern comes with these measurements. Measure your hips at their widest point and choose a hip size that gives approx. 3” of hip ease. Lastly, baste together (use a stitch length that will be easy to remove) a sample pair exactly off the pattern in the chosen size using a woven, stable fabric with no stretch. Omit the facing and zipper for this step.
Download the 3-step pant fitting guide now.
Now that the sample is basted, try the pants on and pin the back zipper opening closed at 5/8”. Stand barefoot in front of a full-length mirror. Have your pins handy. Pin the bottom hem up enough so that it is not touching the top of your foot and causing
a break in the pant leg. It would be great if you have a sewing friend who can help you with the evaluating and pinning, but if not, you can do it yourself. Be patient and take your time.
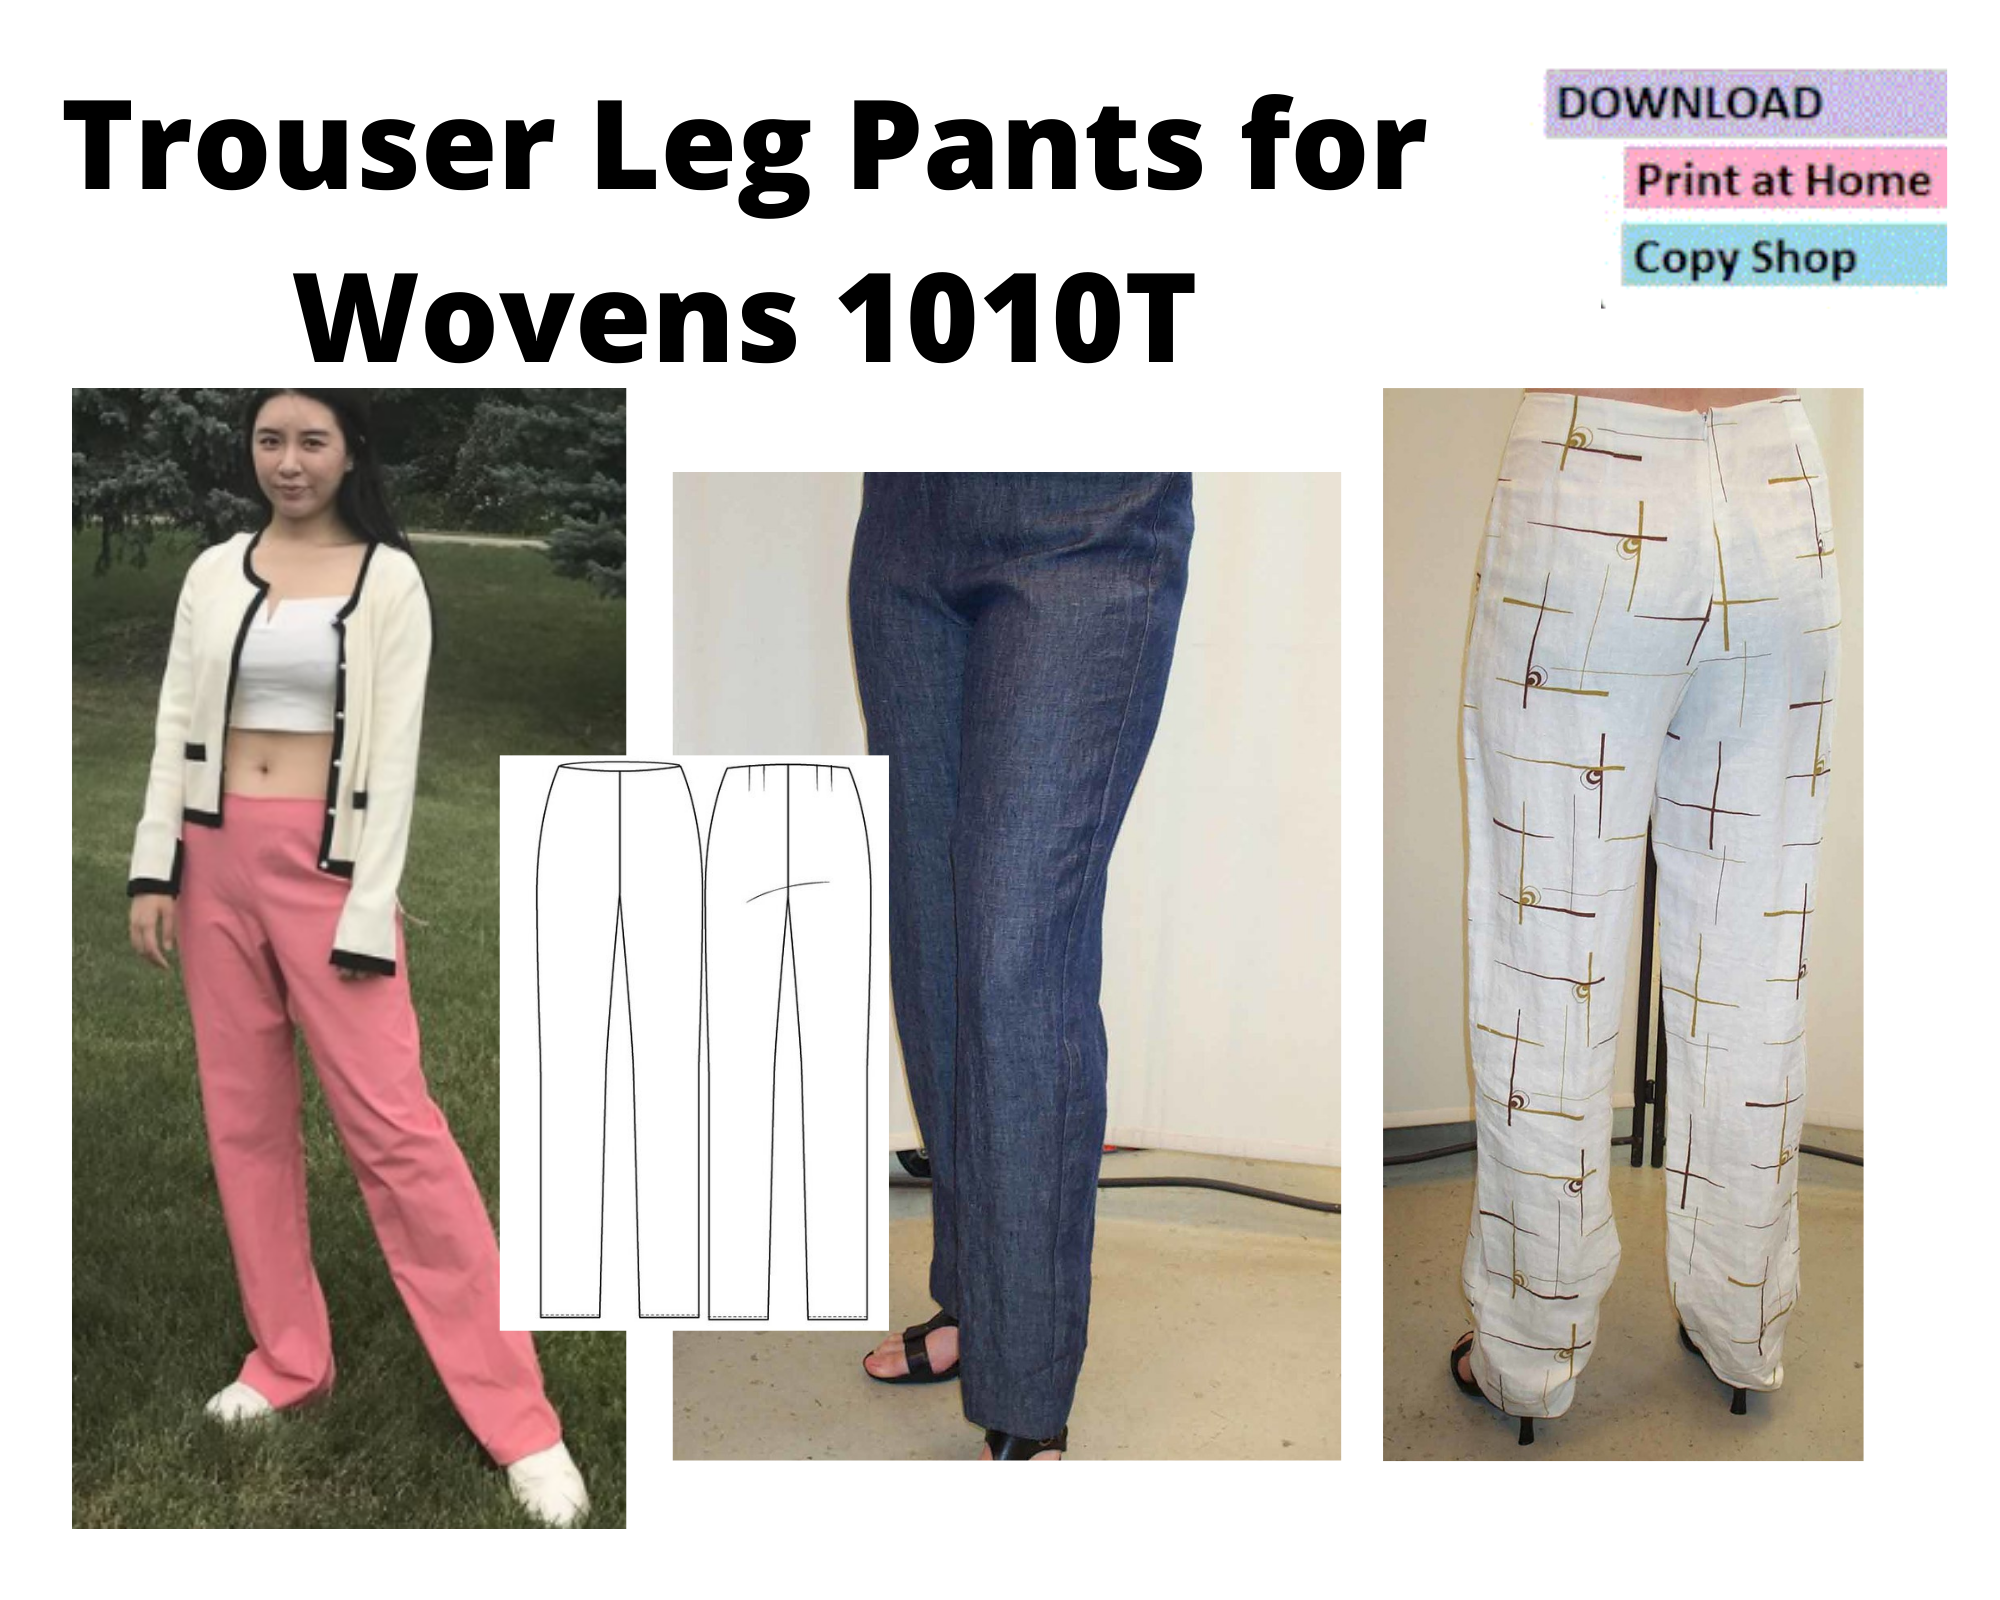
Multi-Sized: 4-22 (Classic)
Trouser Pants: This pant offers a flat front, shaped waistline and darted back with a zipper. The pant sits just above the belly button, with a little ease in the thigh, then falls into a beautiful full leg.

Multi-Sized: 4-22 (Classic)
This pant offers a flat front, shaped waistline and darted back with a zipper. It sits just below the belly button and has very little extra ease in the rise and across the top of the thigh. The leg fits comfortably down the thigh then tapers just above the knee before it flares gracefully to the hem.
What kind of pattern should you use to fit pants? You want one that looks the most like a sloper - with simple darted, waistband and not a lot of pocket details. The 1010 Trouser Pant, Flare Leg Pant (and Keyhole top) sewing pattern is designed for pant fitting. It’s a teaching pattern.